Safe Task is made up of both a Hierarchical Task Analysis table and an associated diagram. In this guide, we’ll show you how to correctly set up a table, in turn kick-starting your HTA diagram. Whether you choose to work from the table or the diagram, each element will update to reflect the other.
In this article, we will cover:
Building a Hierarchical Task Analysis table
Add, edit & delete a column
Copy, paste & split row values
Metadata
Copy & paste metadata
How to display metadata on the diagram
Table navigation
Search bar
Keyboard shortcuts
Building a Hierarchical Task Analysis table
In Safe Task, there are three types of columns you can use for inputting data when building out your table. Below, we will take you through all three and outline the differences.
Add a Text column
Text columns are the best way to add descriptive data to your table.
Step 1: Click on the + Icon and then click Text option. 
Step 2: In the pop-up, enter a name for your new column, choose a colour, and click SAVE. The new Text column will now show on the right side of your table after the task splitter. 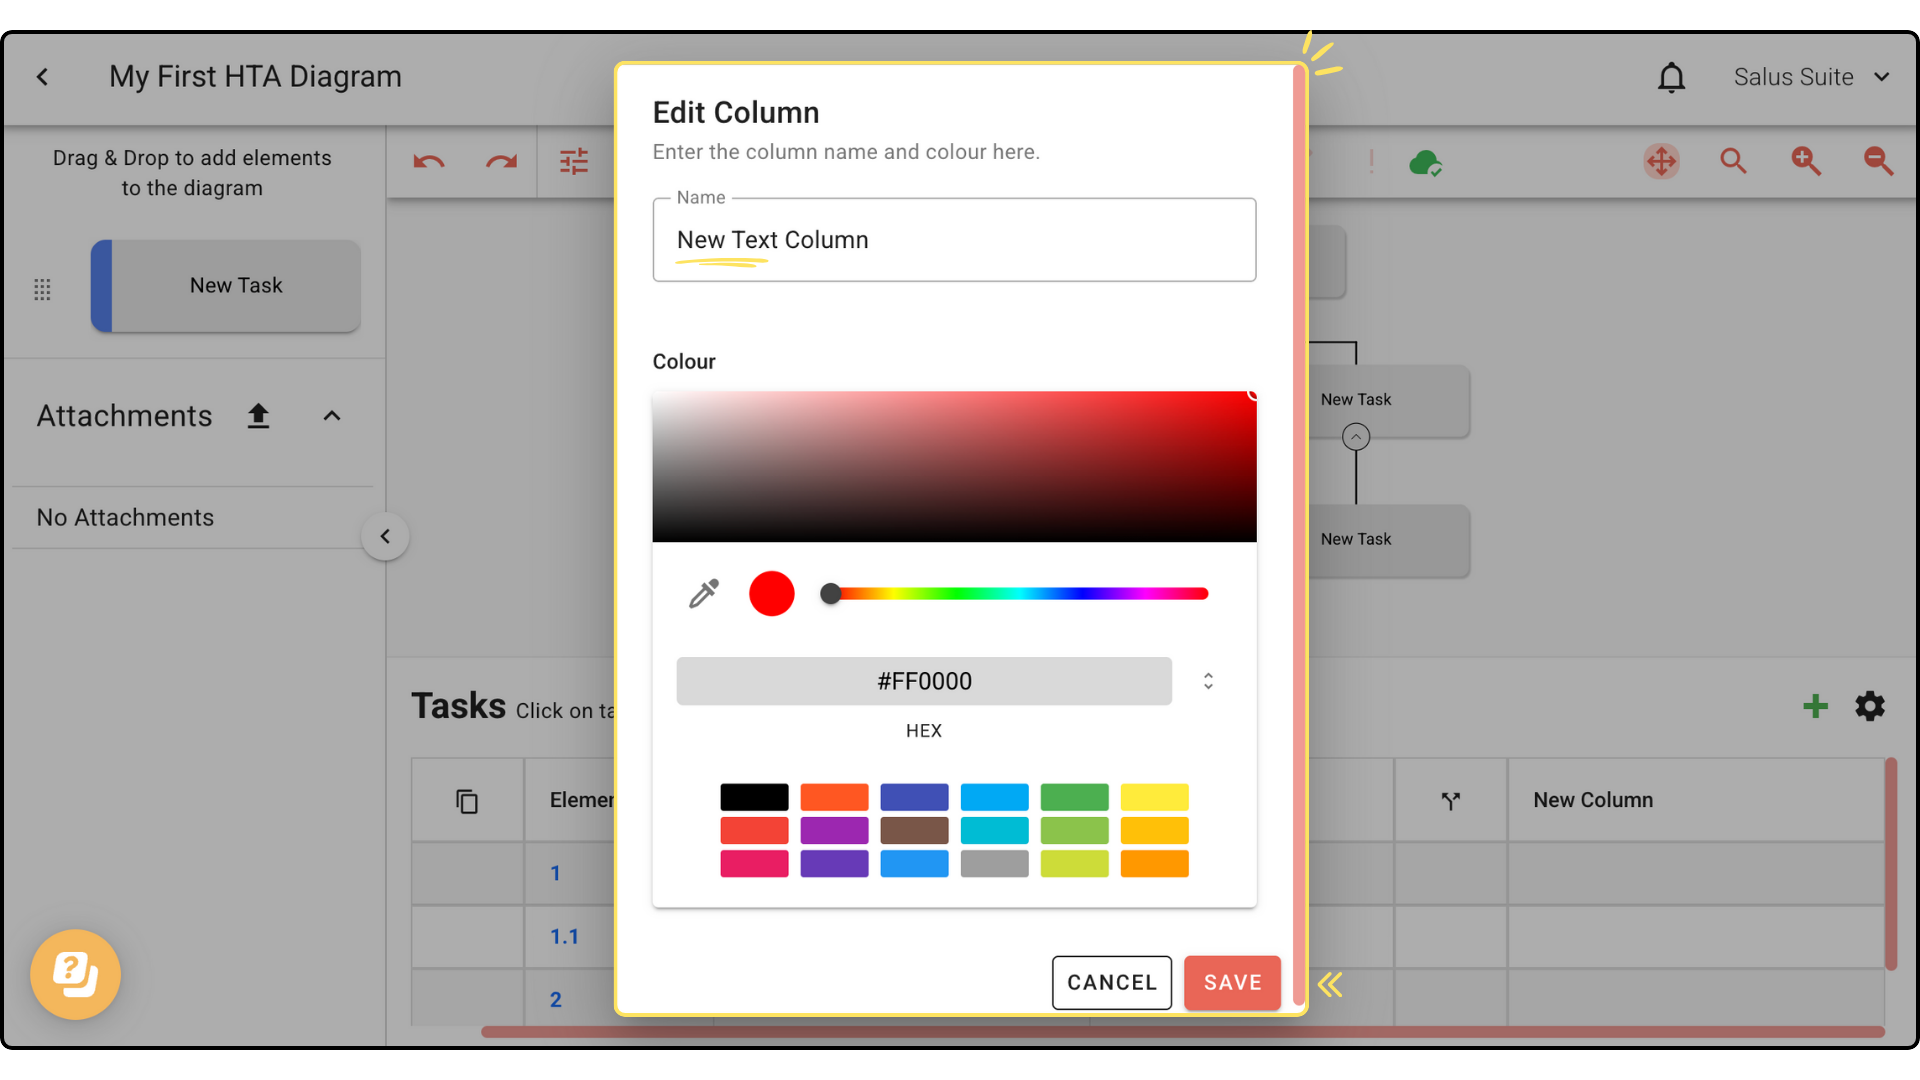
Add a Date column
Date columns are the best way to add important dates to your table.
Step 1: Click on the + Icon and then click Date option. 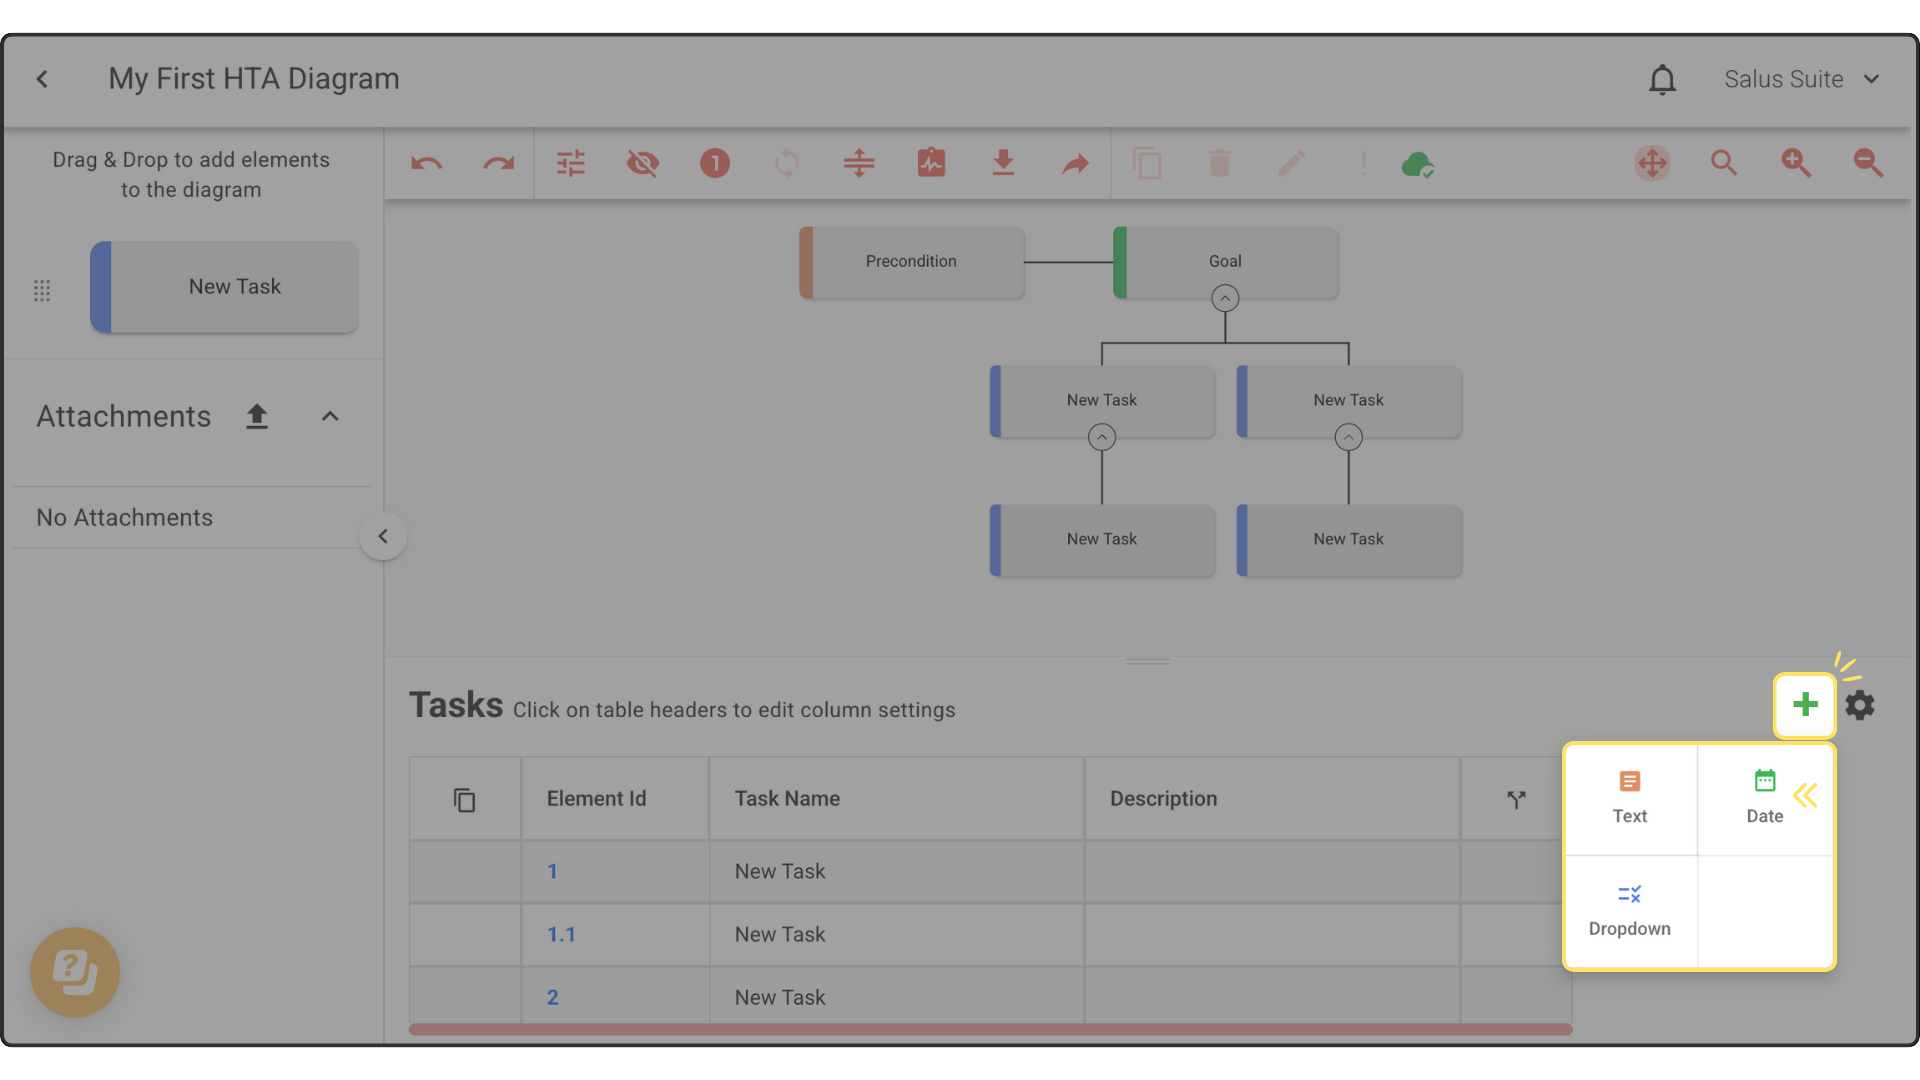 Step 2: In the pop-up, enter a name for your new column, choose a colour, and click SAVE. The new Date column will now show on the right side of your table after the task splitter.
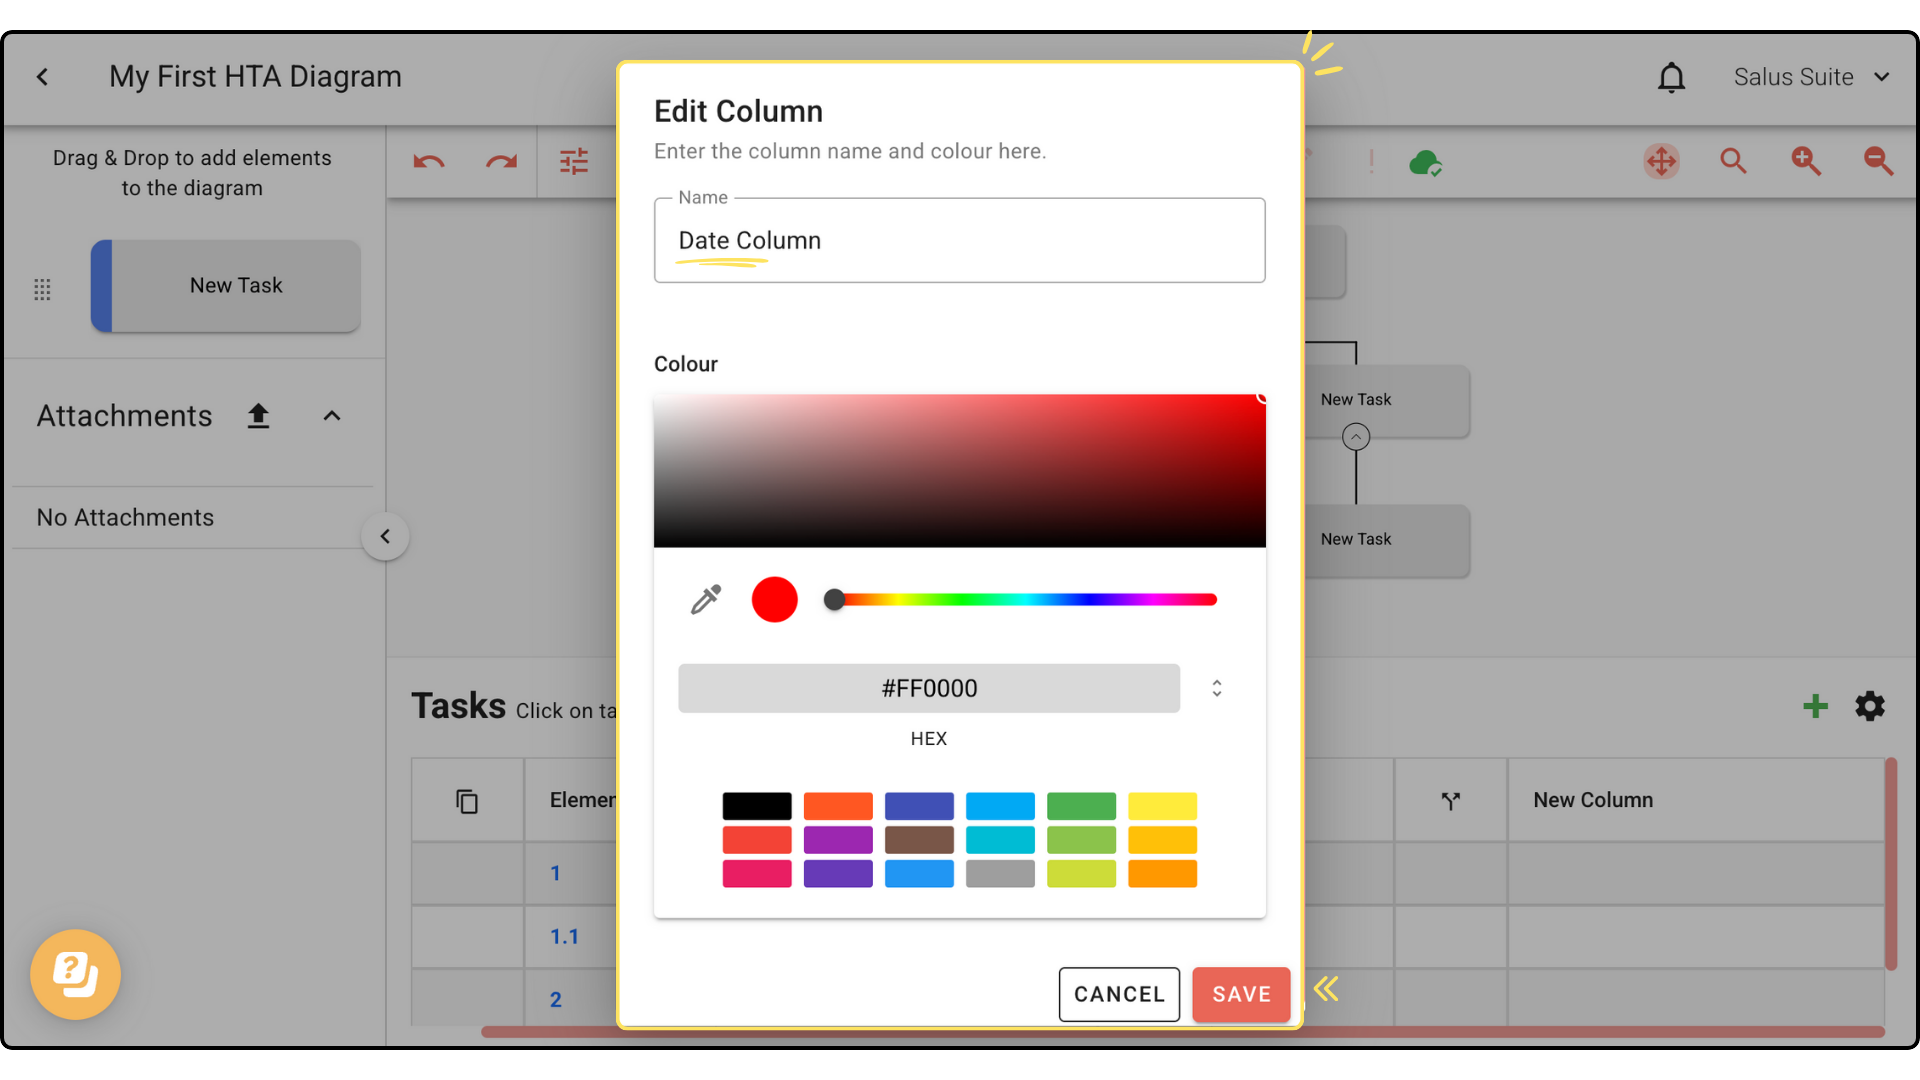
Add a Dropdown Metadata column
Dropdown Metadata columns are the best way to add standardised / categorised information to your table. In Safe Task, metadata is displayed in coloured boxes to enhance visibility.
Step 1: Click on the + Icon and then click the Dropdown option. 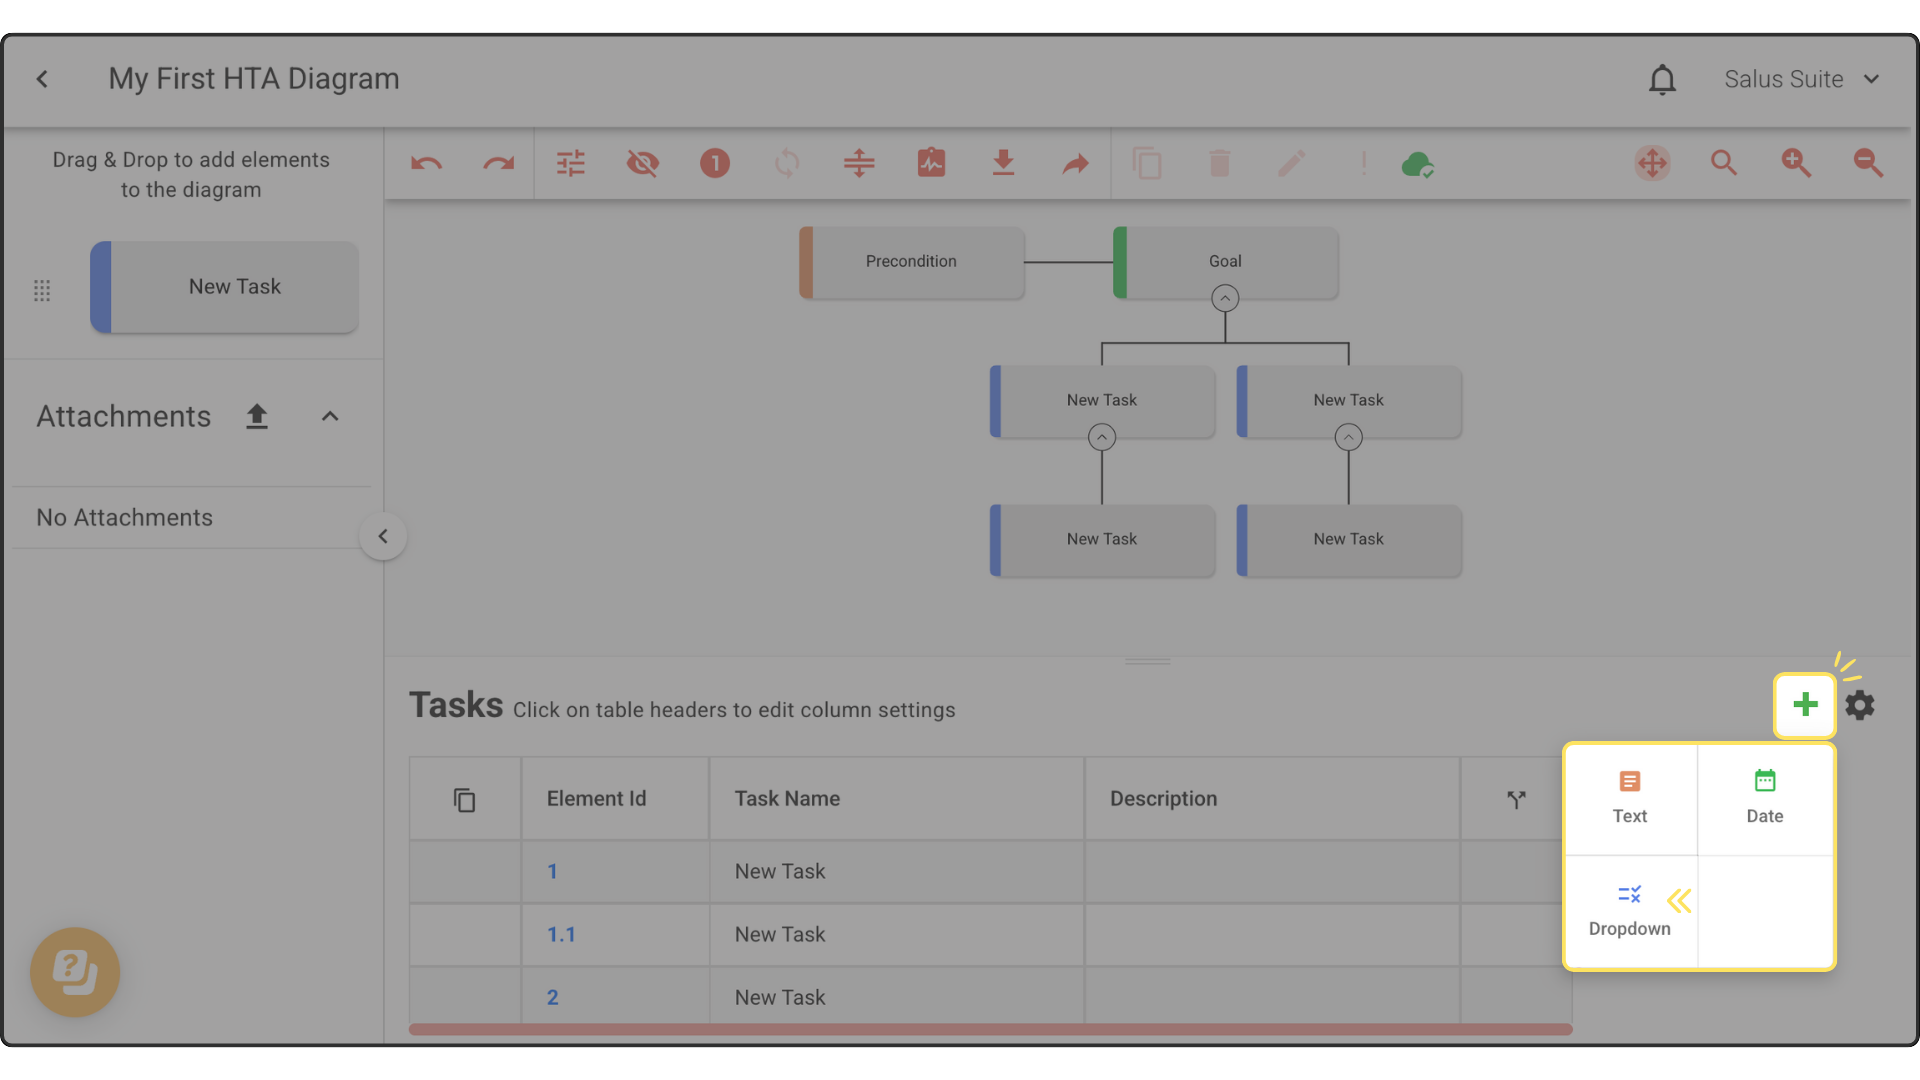
Step 2: Enter a name for your new column and choose a colour.
Step 3: Enter a name for your Dropdown option (also known as a metadata category) and select a colour.
Step 4: Click + Dropdown Option to add another option. Enter a name for the option and select a colour. If you would like multiple options, repeat the same step.
Step 5: Once done, click Save. 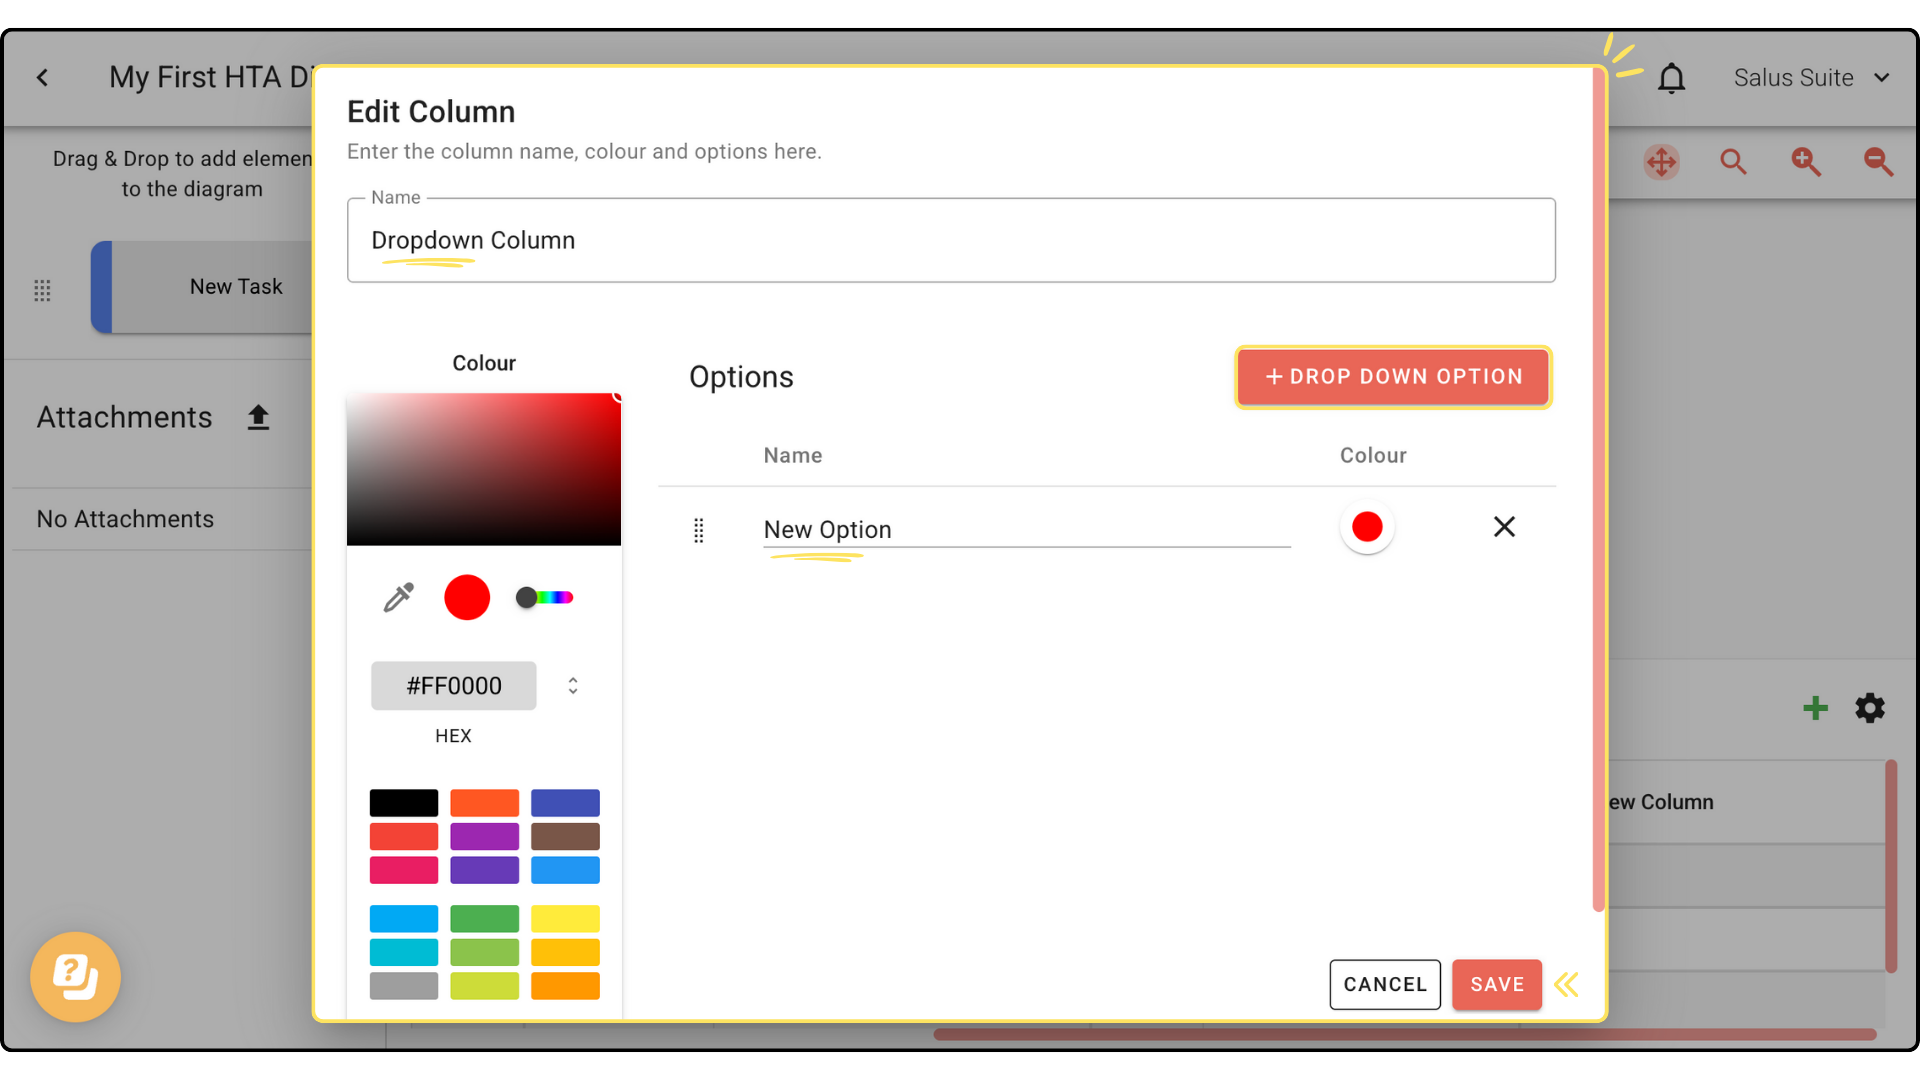
Edit a column
If you wish to edit a column once it has been created, do the following…
Step 1: Click on Settings.
Step 2: Click on the Edit icon beside the column you wish to edit. 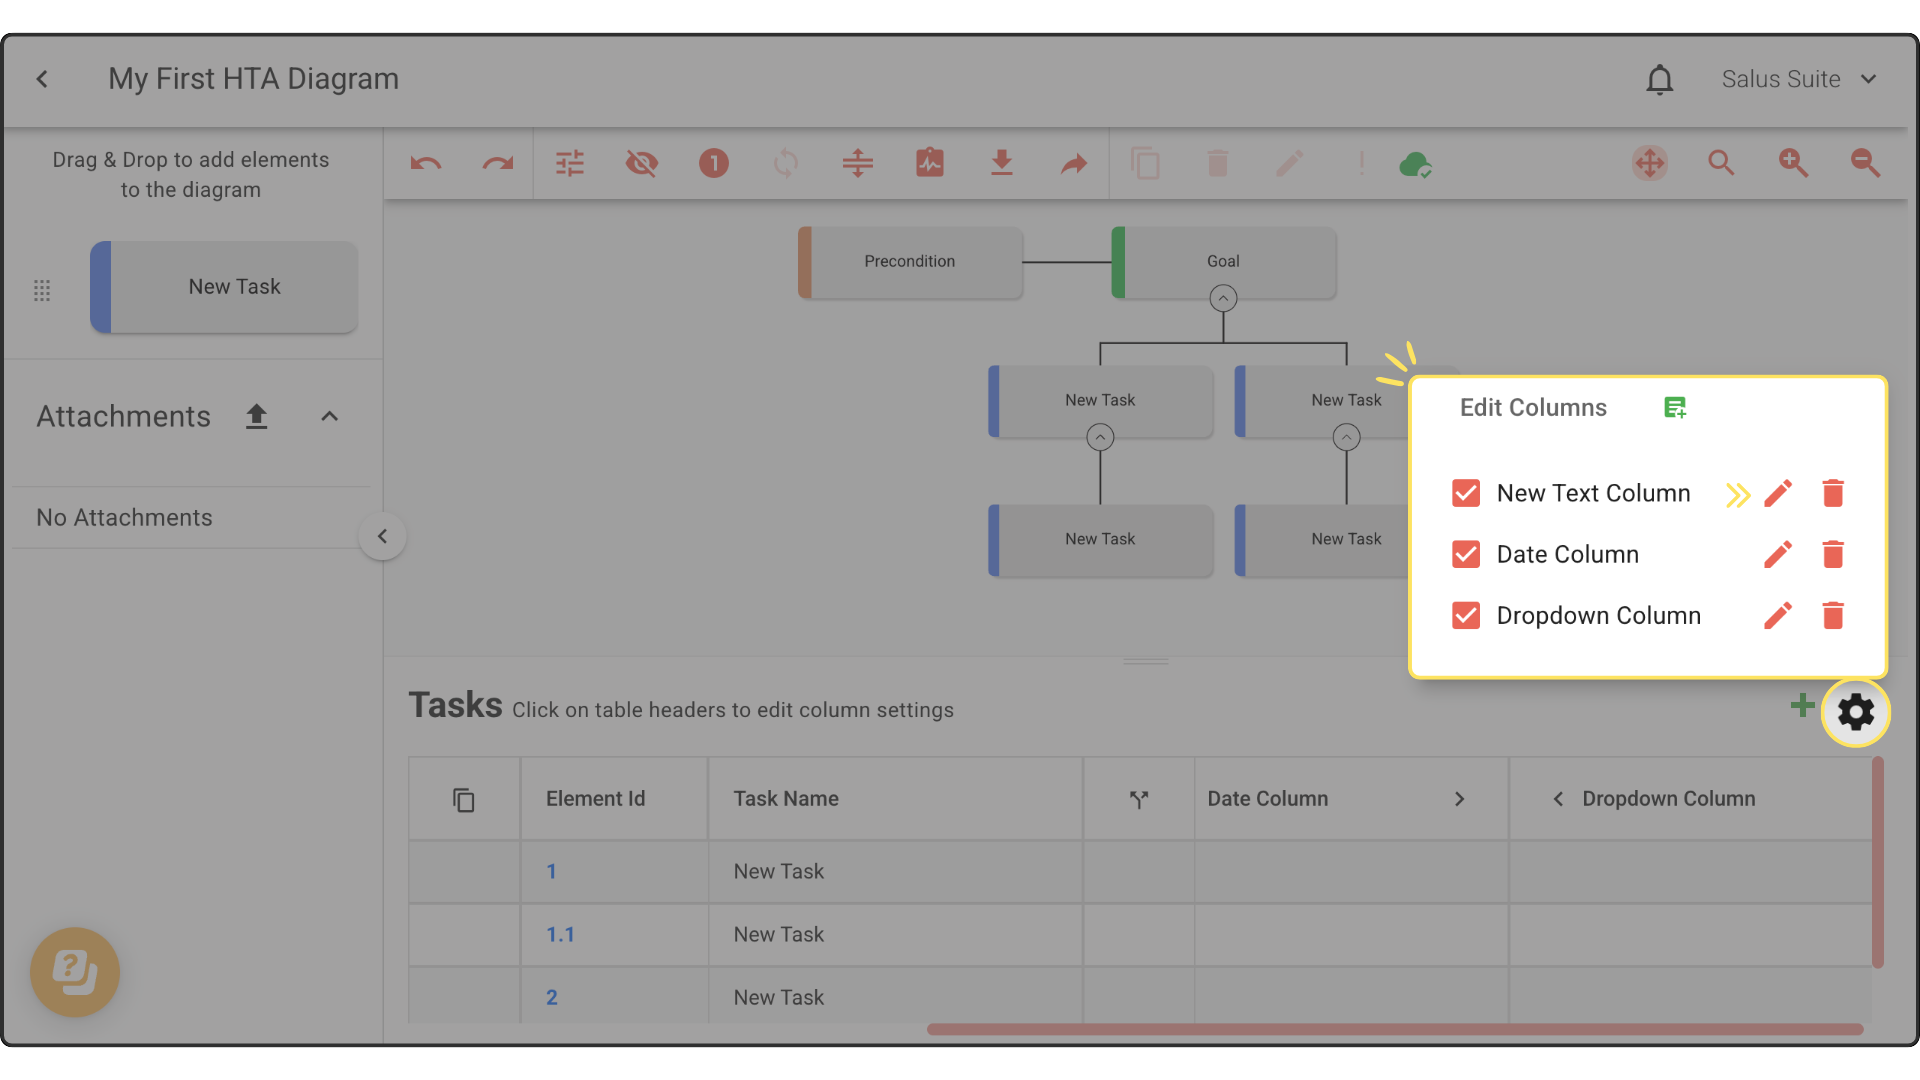
Step 3: In the pop-up, you can rename and select a colour for the column. Click Save.
Delete a column
If you wish to delete a column after it has been created do the following…
Step 1: Click on Settings.
Step 2: Click on the Bin icon beside the column you wish to delete. This will permanently delete the column and cannot be undone. 
Copy and paste row values
This feature provides a quick and simple way of duplicating data across multiple rows, saving you from repetitive tasks.
Step 1: To copy a row’s value, click on the Copy icon. 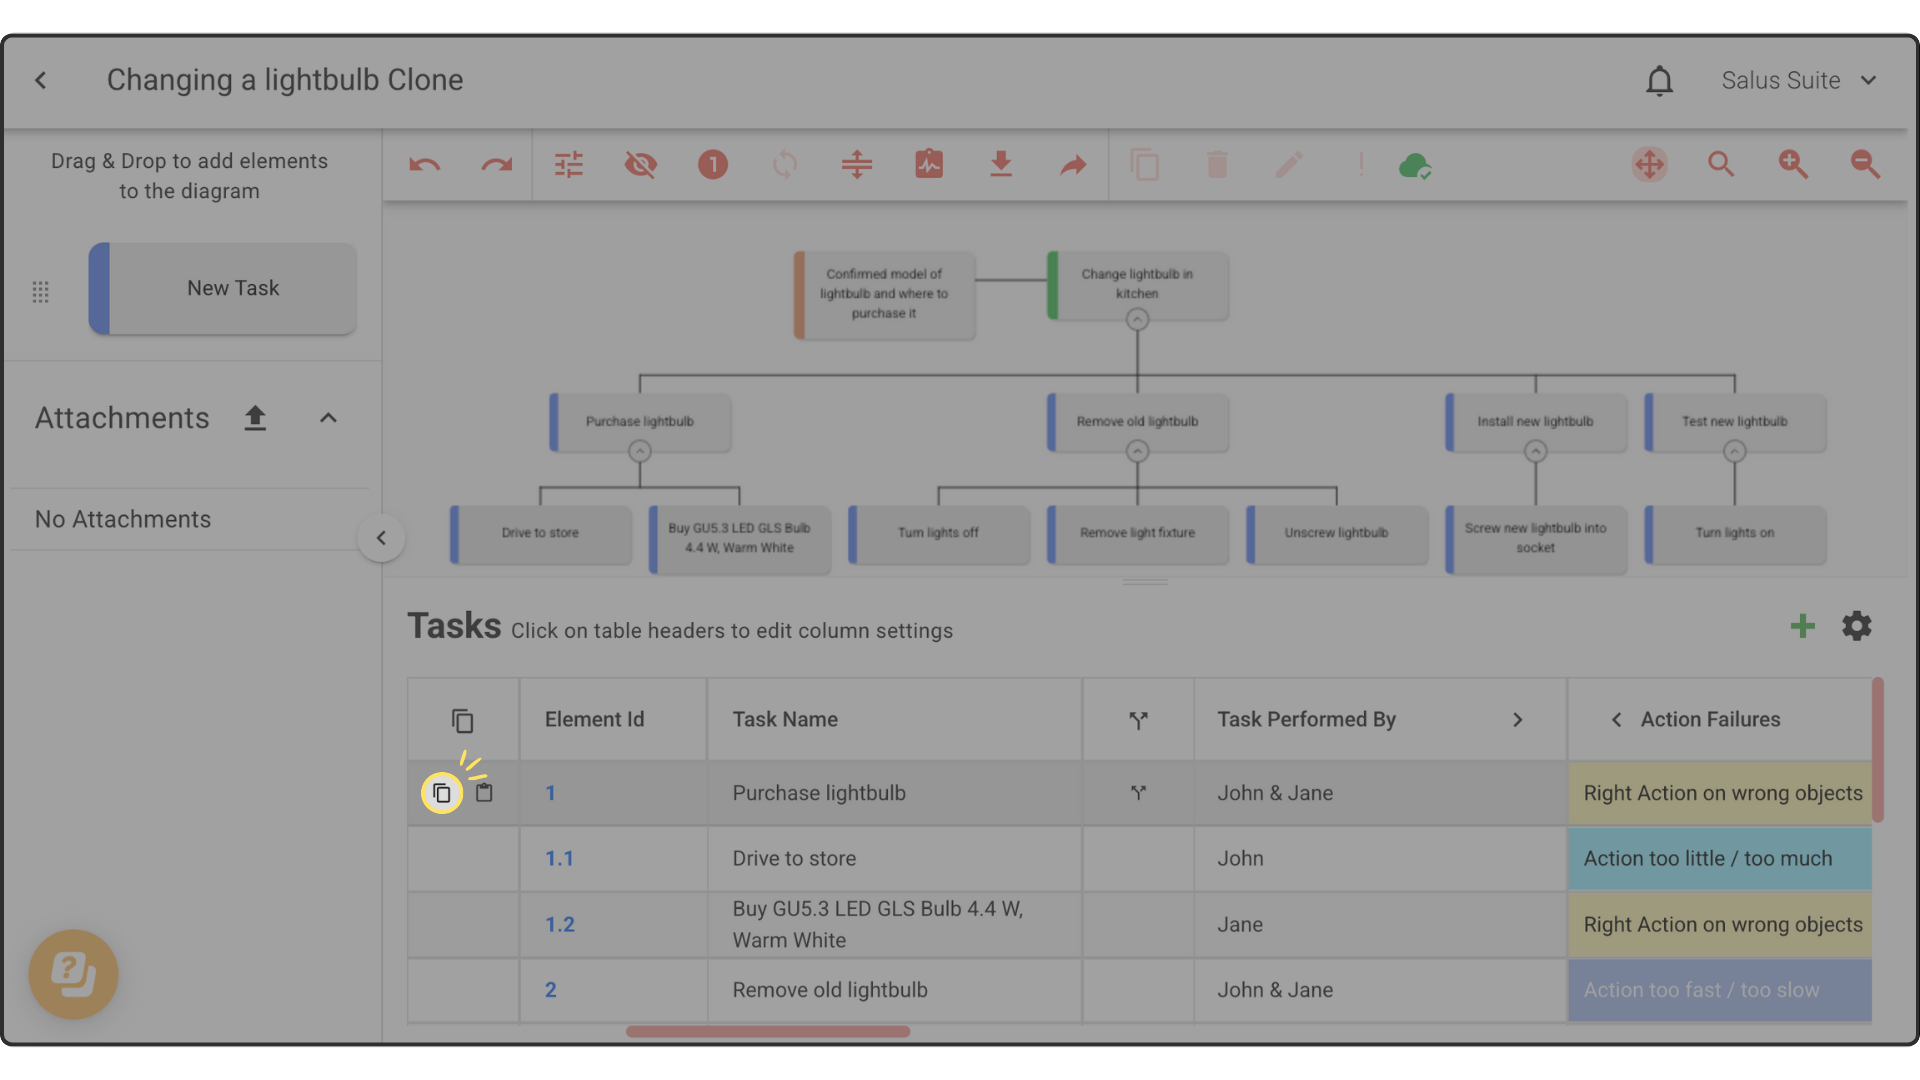
Step 2: Go to the row you wish to paste the values to. Click on Paste. 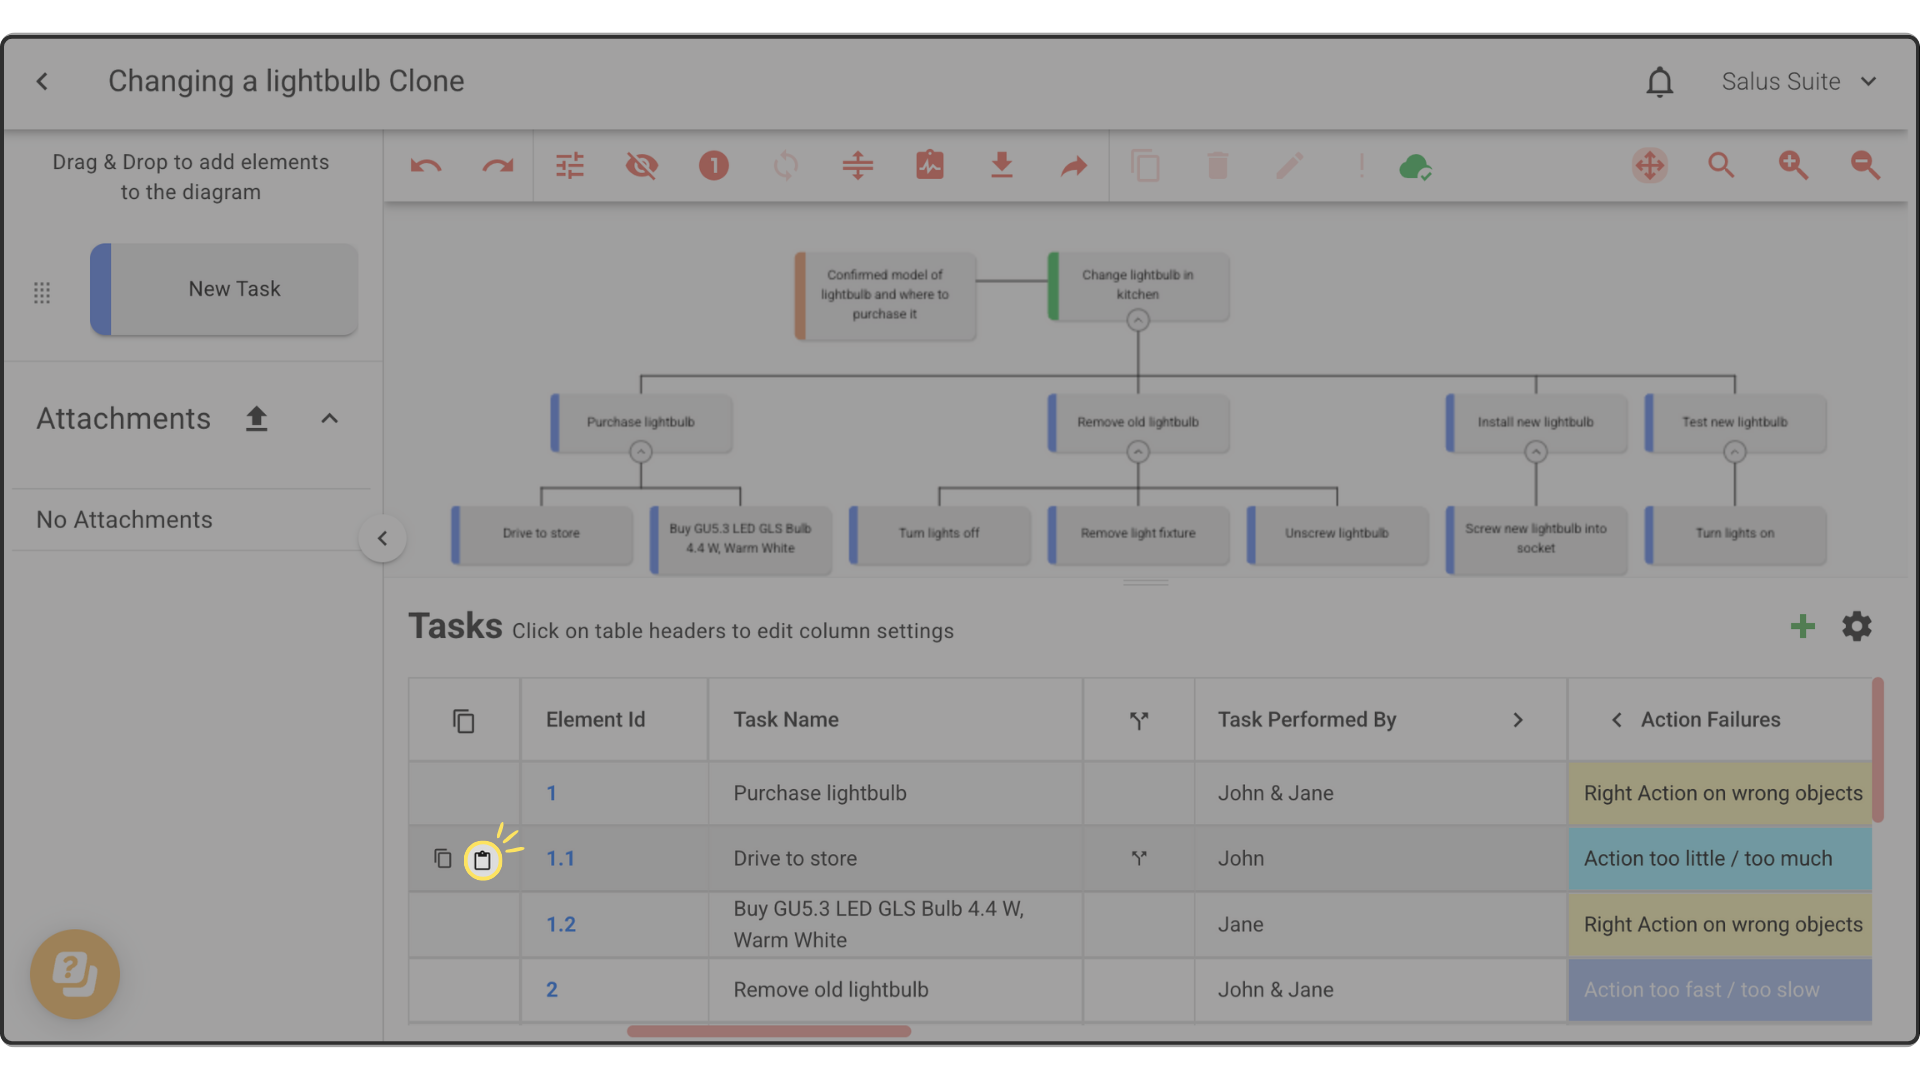 The column values (except Task name) will be pasted here.
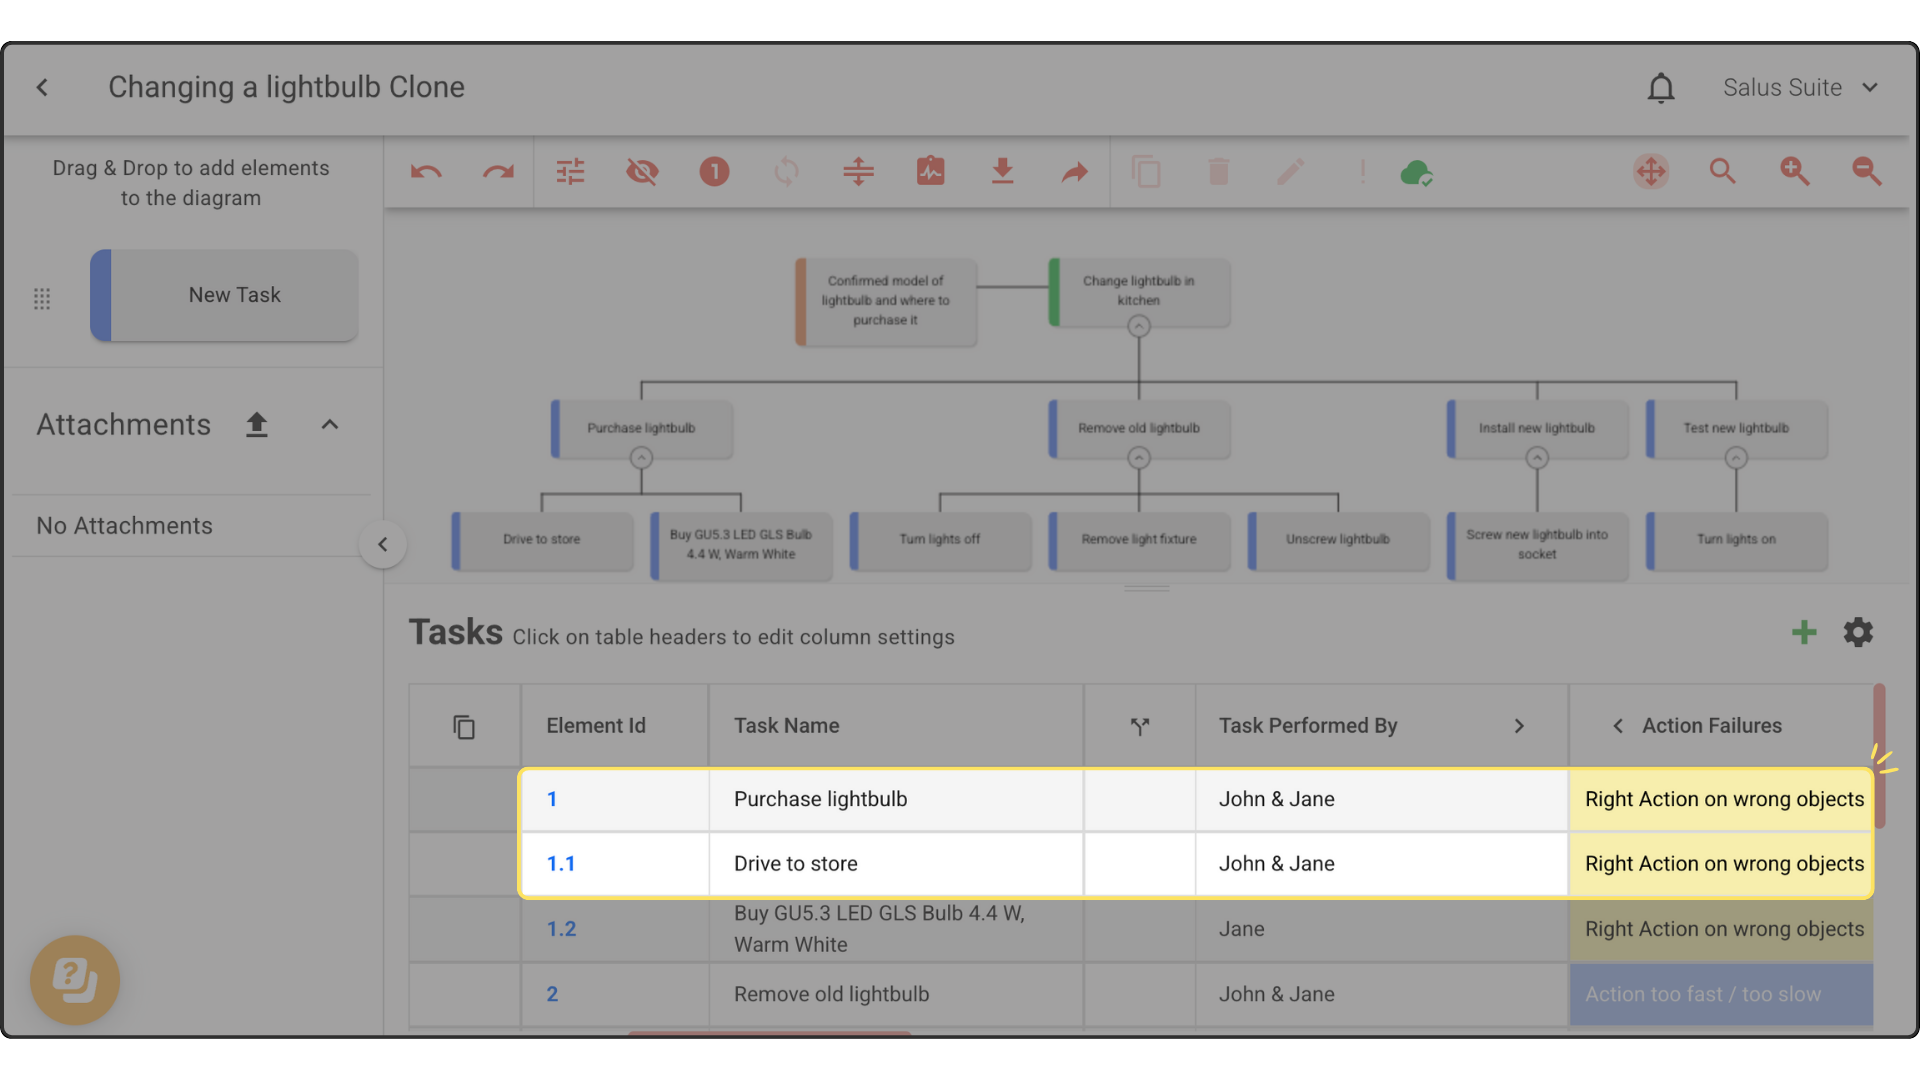
Split rows
Splitting a row allows you to apply multiple values to a task. For example, analysing multiple failure modes.
Step 1: To add another row to a Task, click on the Split Rows icon in the table.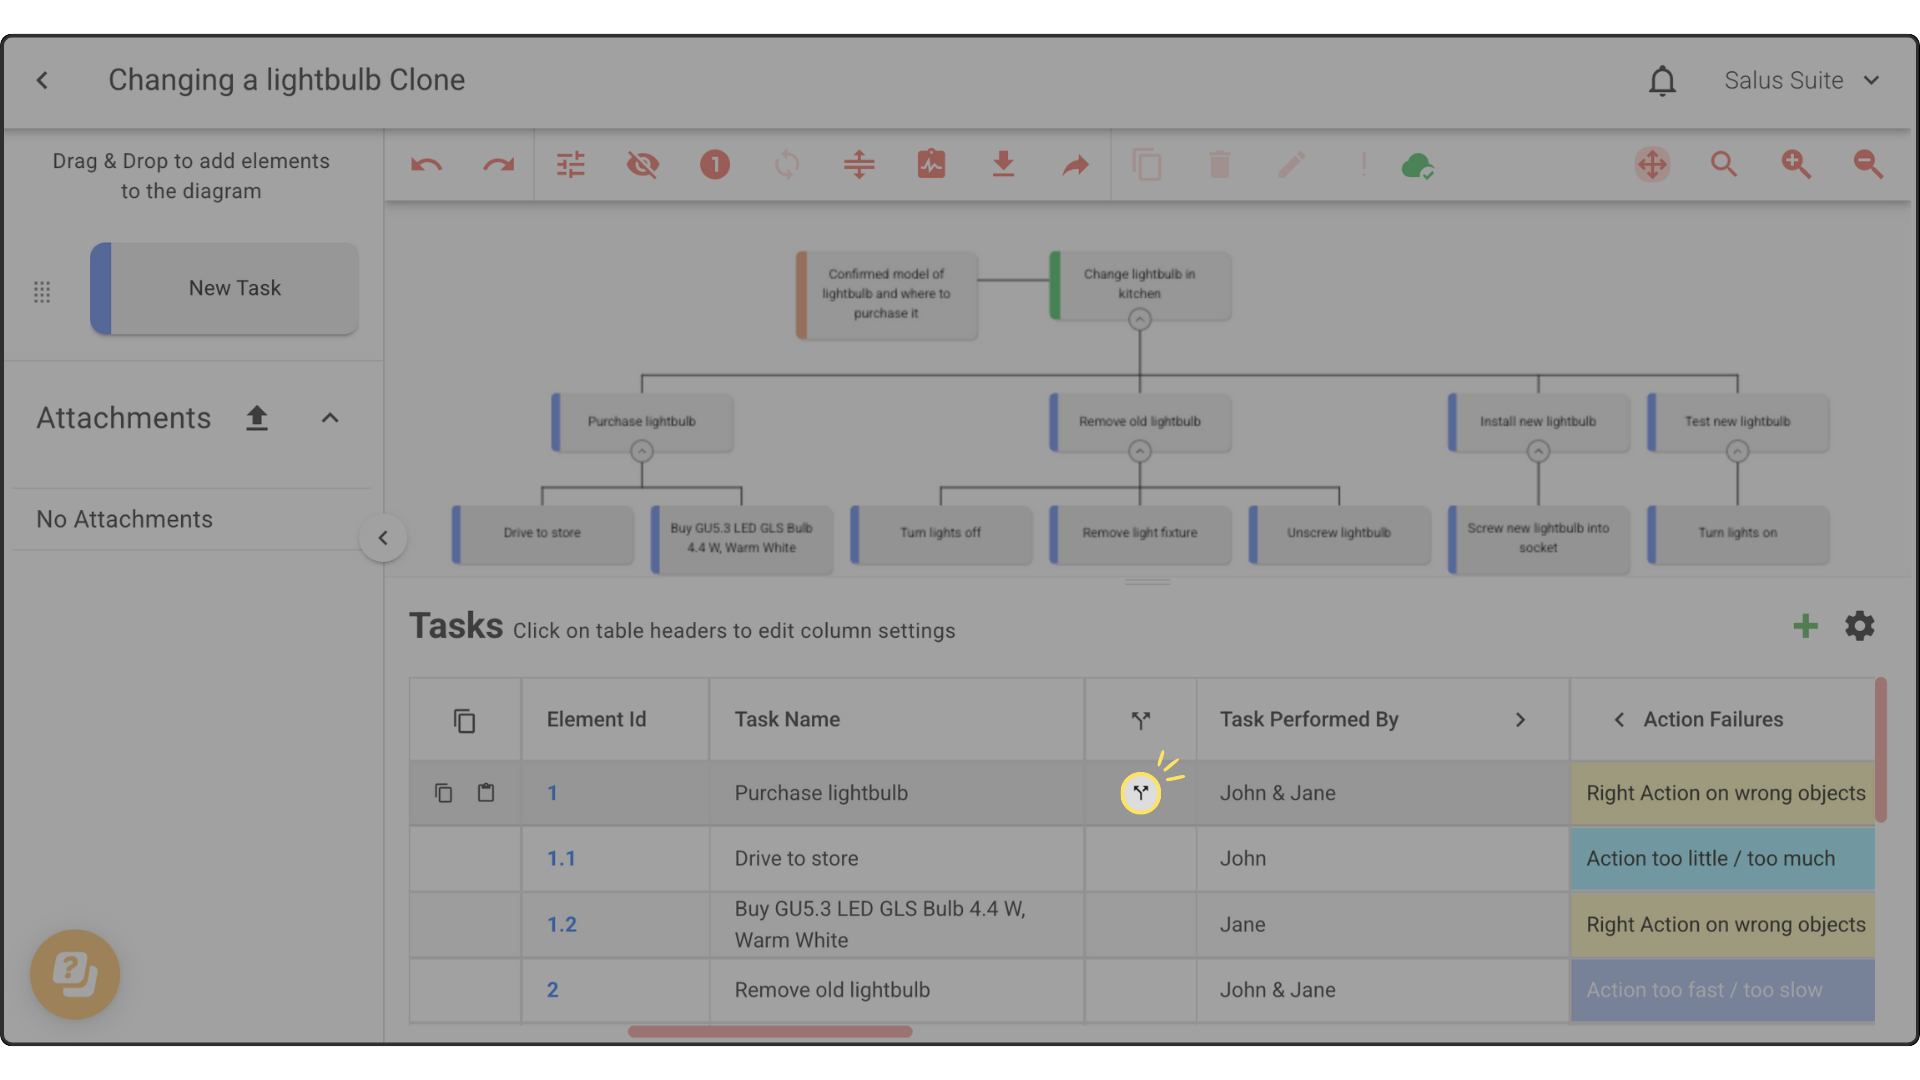
A new row will appear within the task to the right of the splitter: 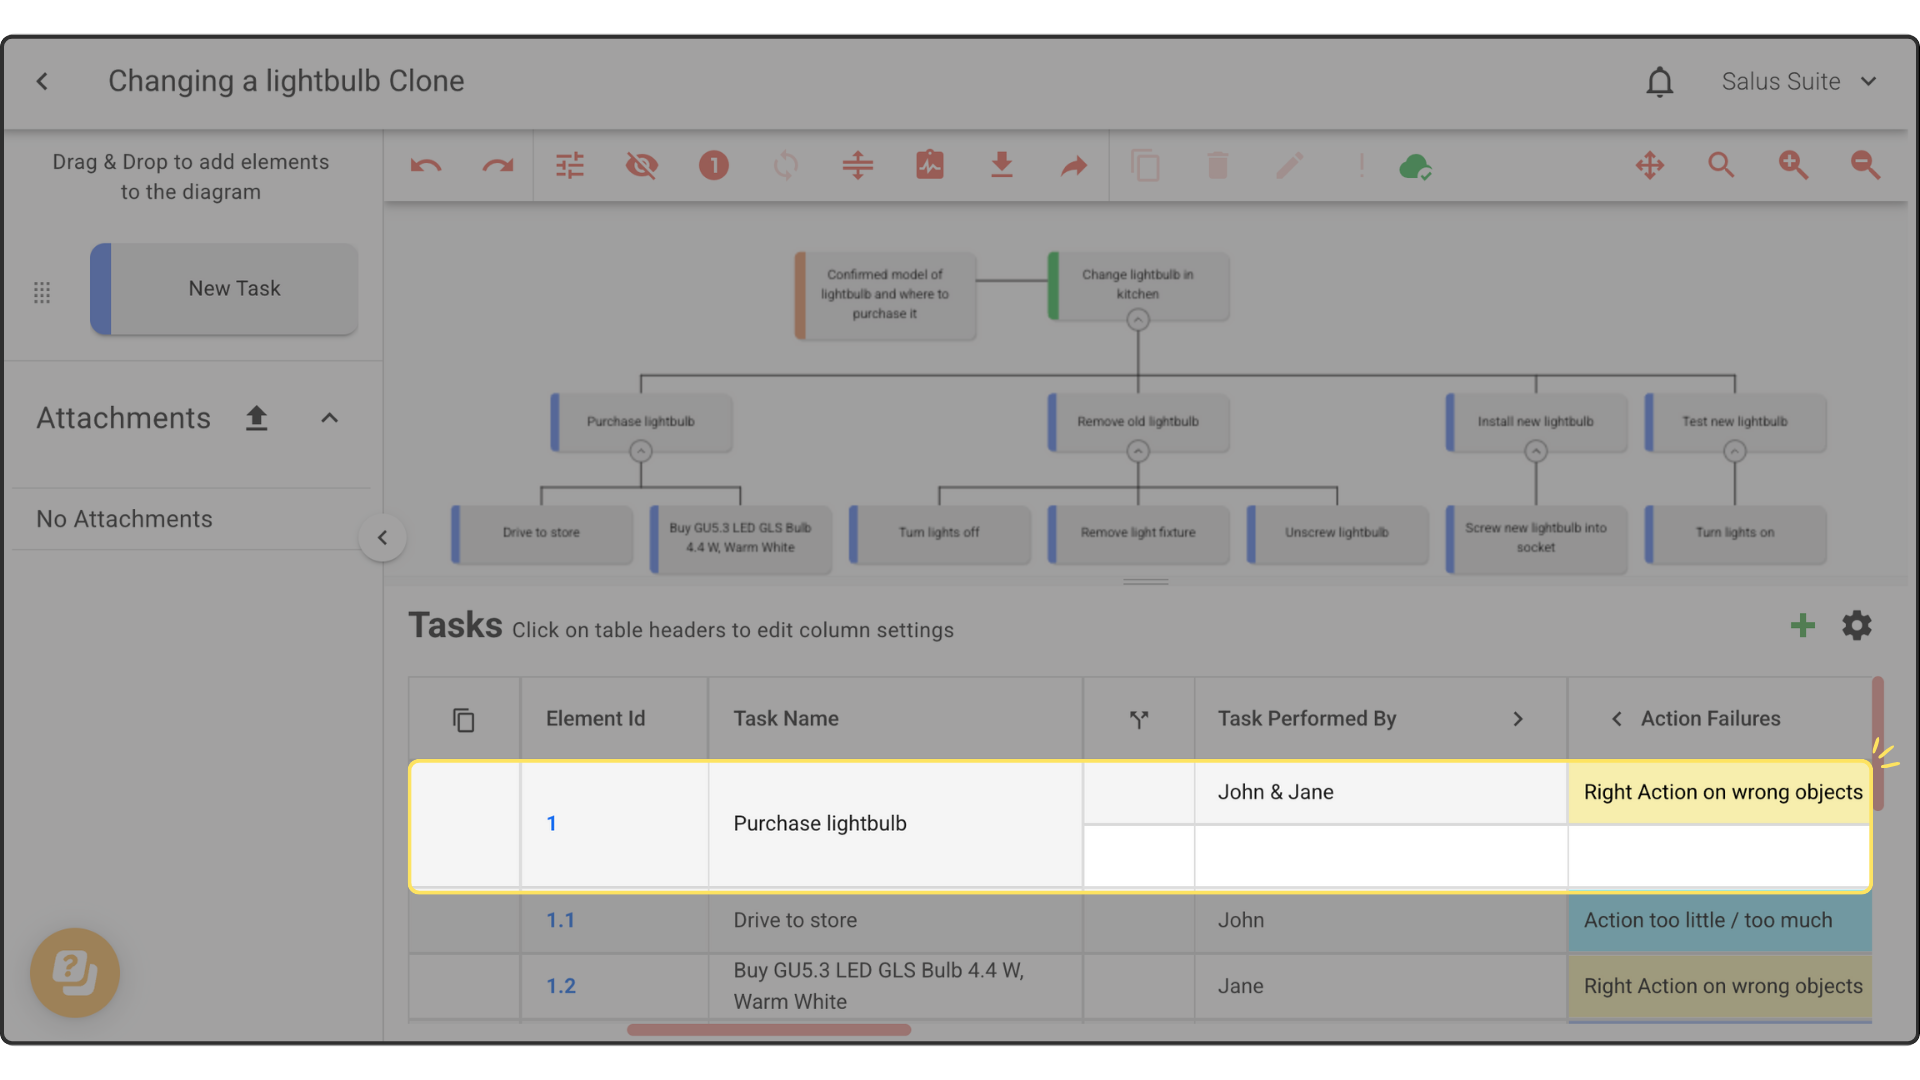
Step 2: You can split out a row multiple times; just keep clicking the splitter icon within the row you wish to split.
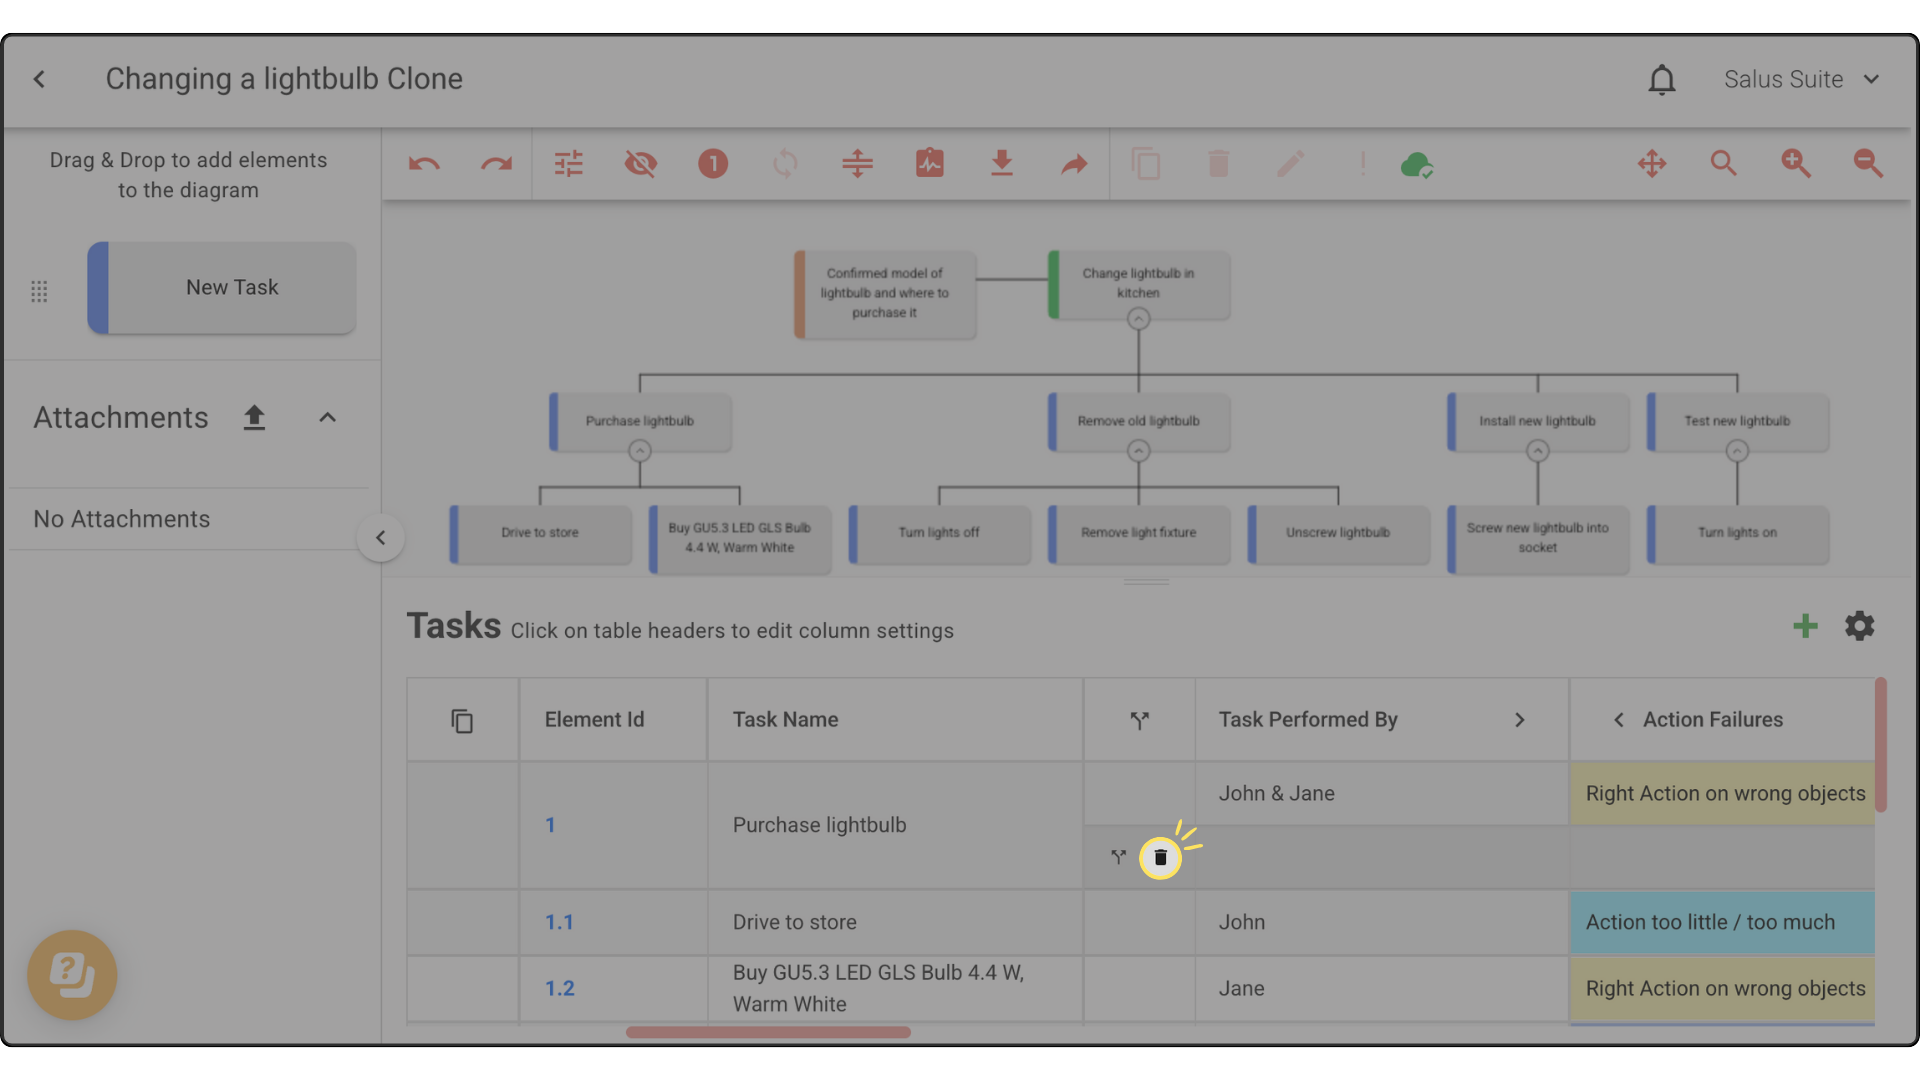
Step 3: To delete a row once created, click on the Bin icon.
Copy and Paste Metadata Values
This feature allows you to duplicate metadata values across tasks.
Step 1: In the Split Rows column, click the Copy icon on the row you want to copy metadata from. Example: Copying metadata from First Task. 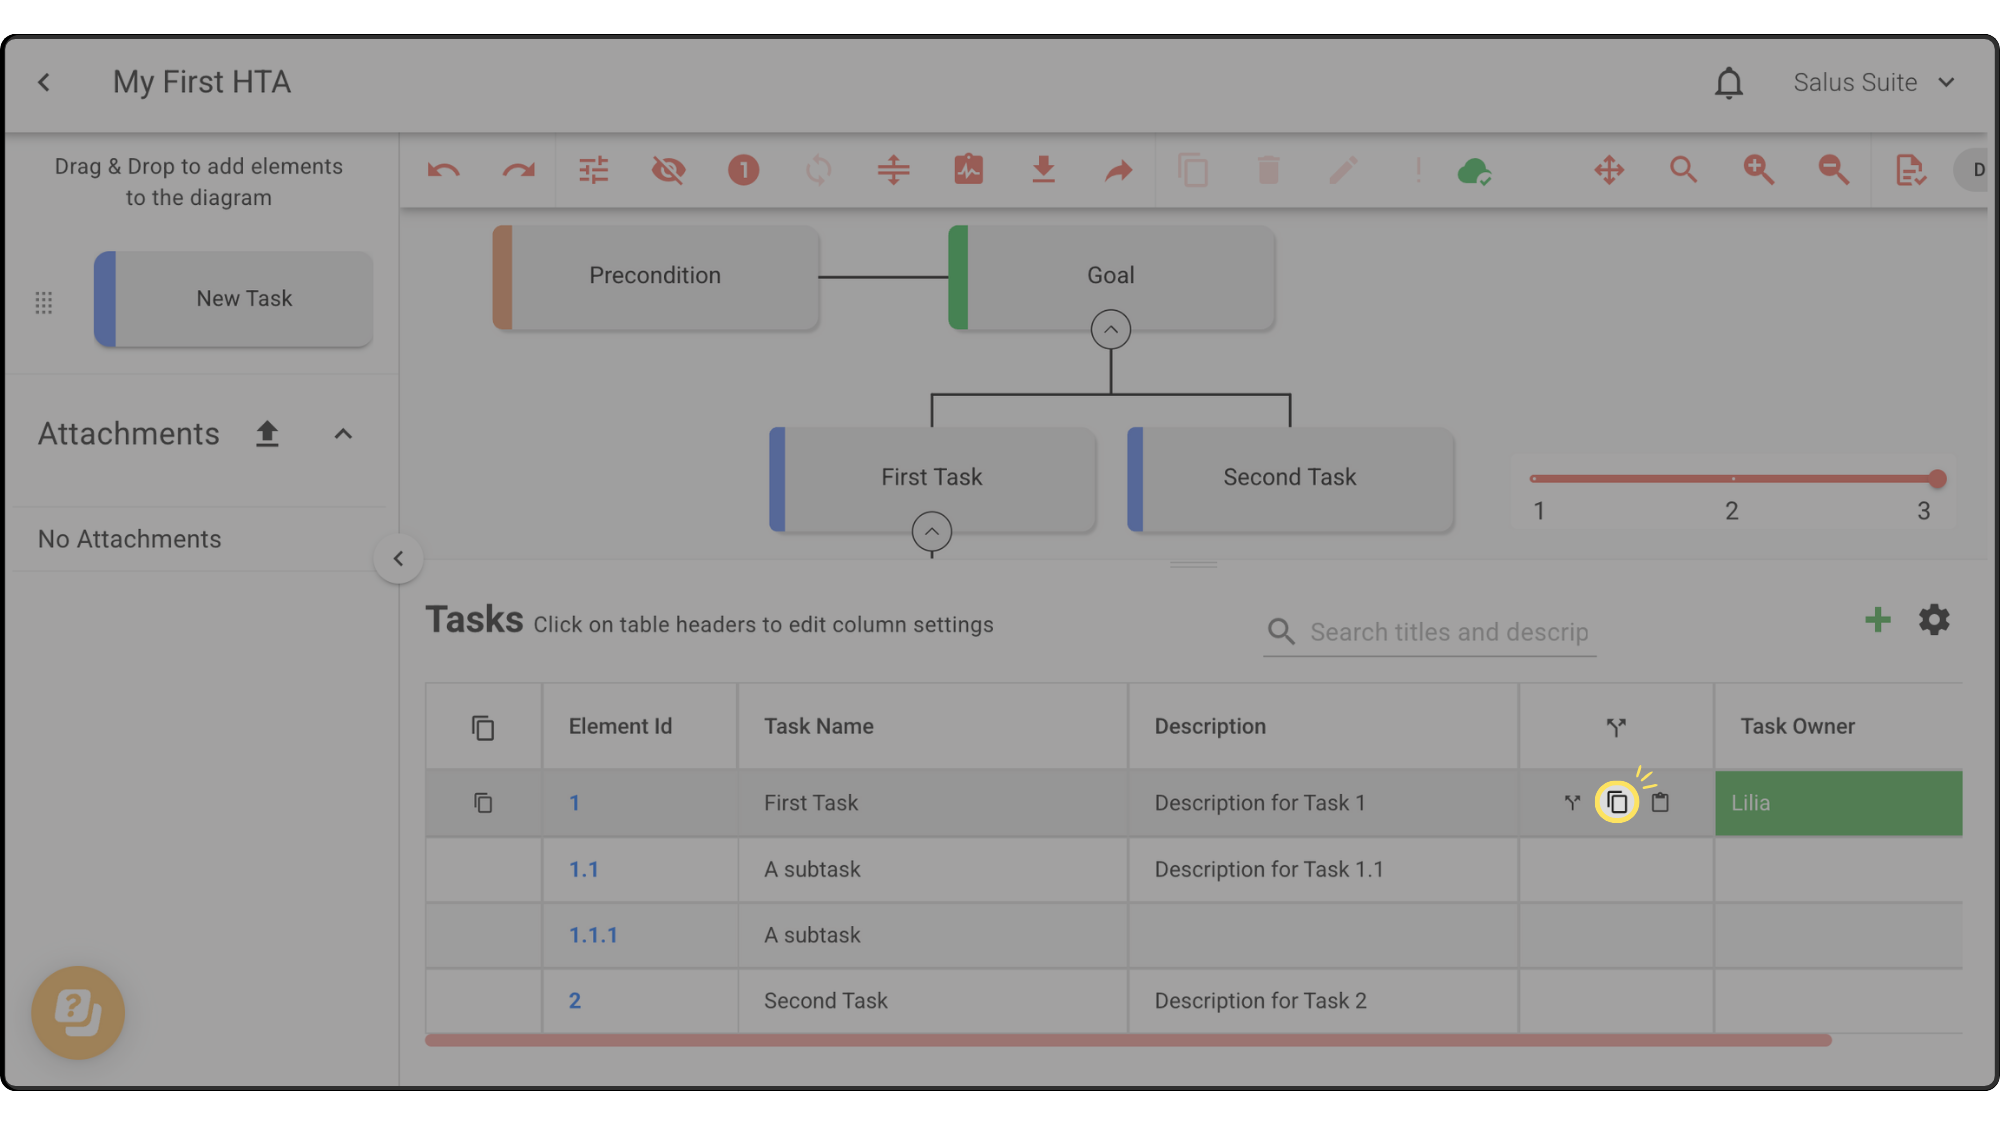
Step 2: Hover over the row where you want to paste the values. Click Paste. Example: Pasting into Second Task. 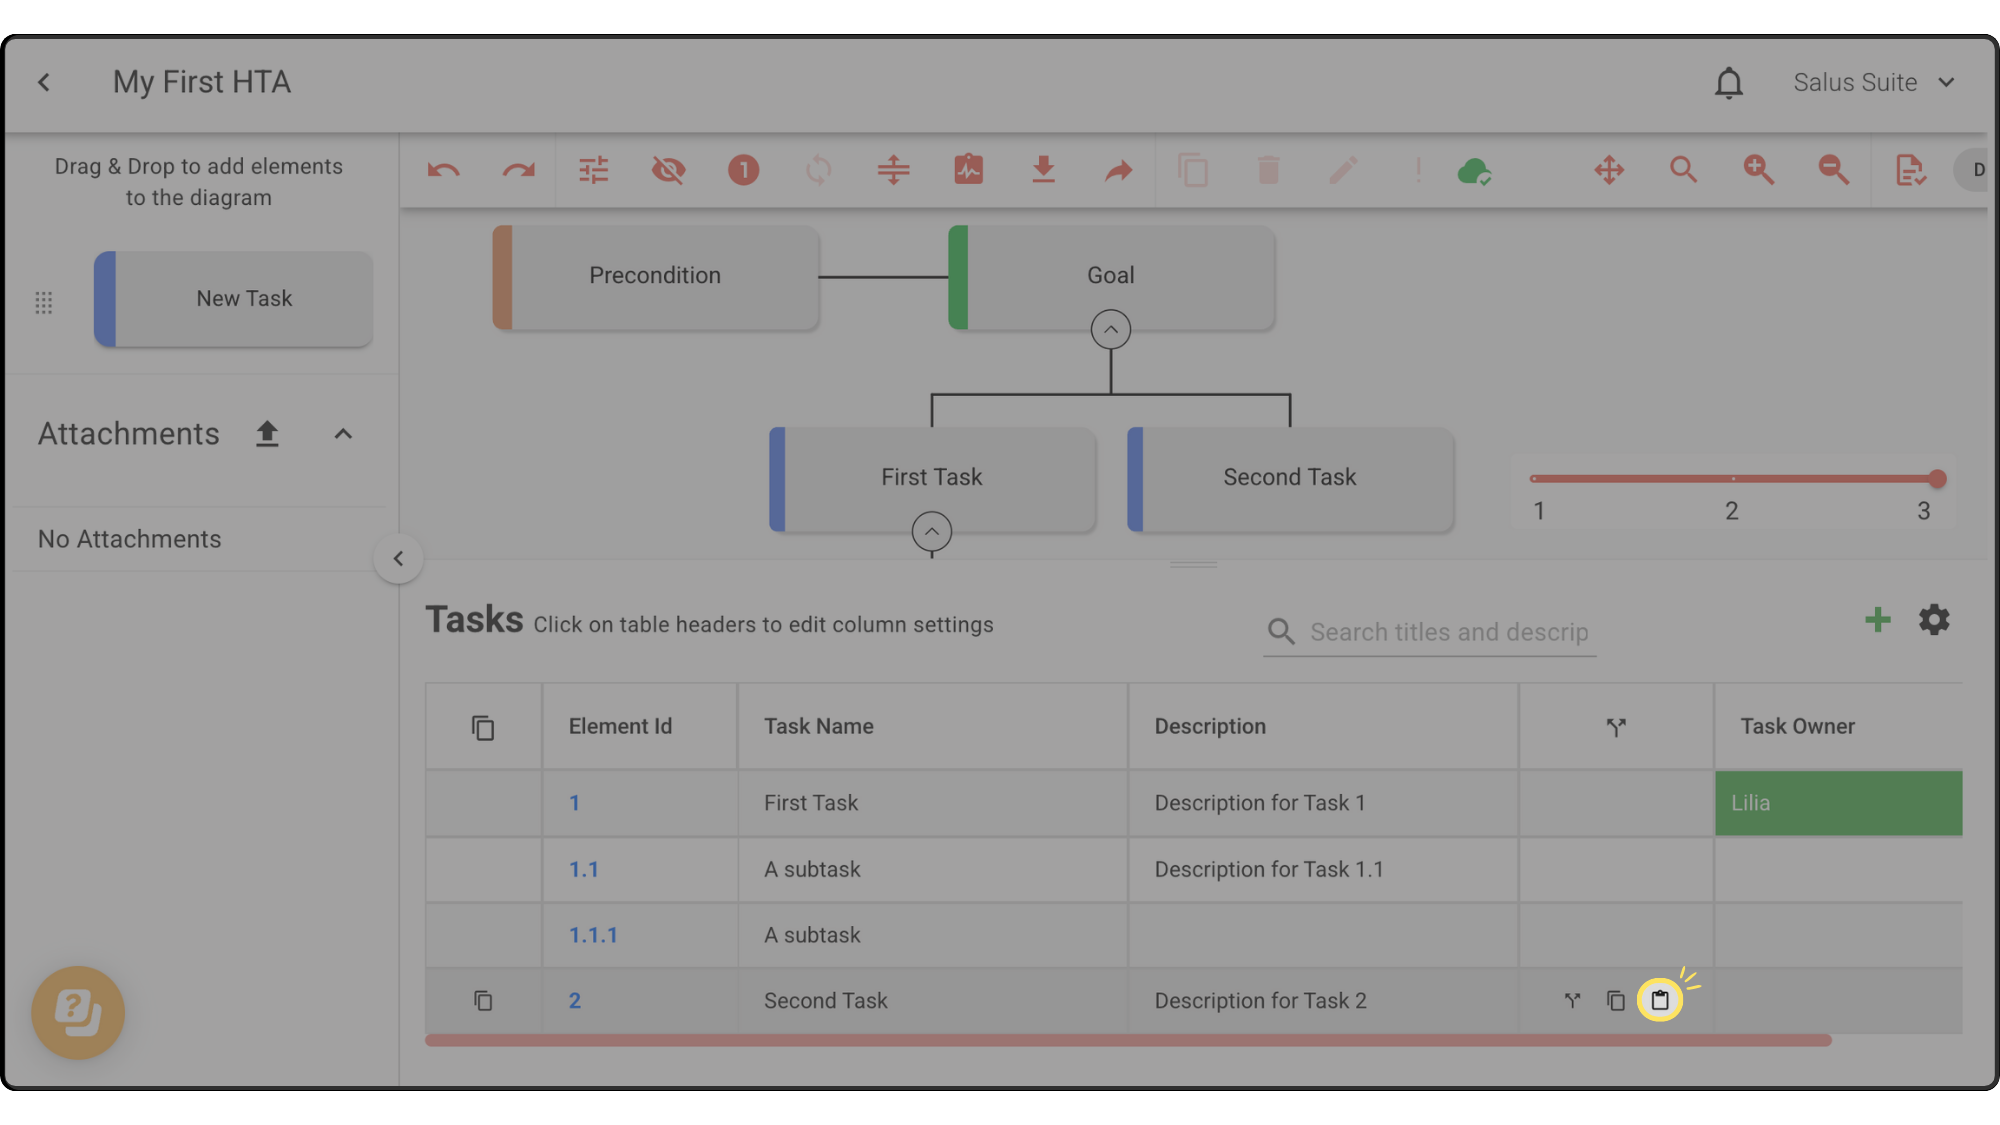 The metadata values are now copied. Example: First Task and Second Task now share the same Task Owner.
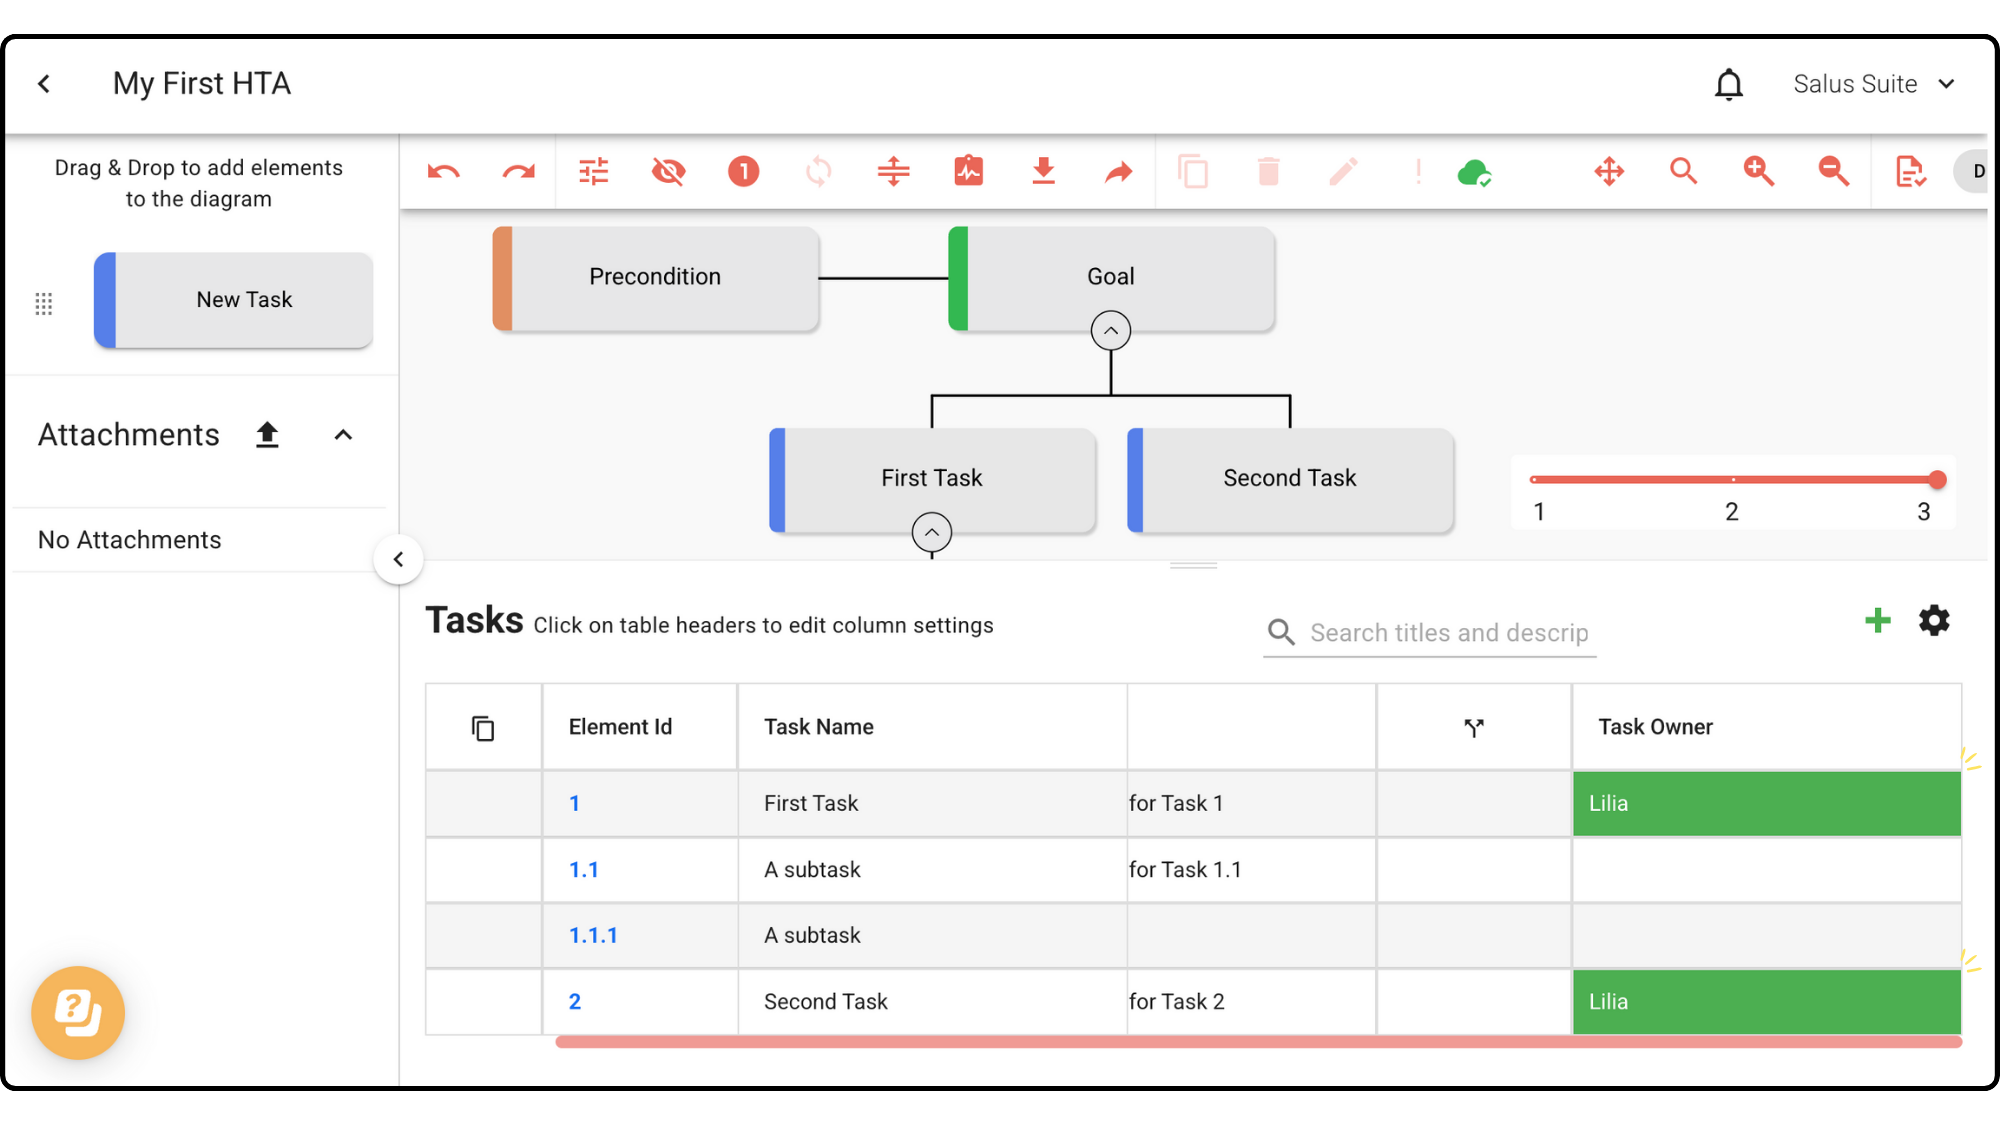
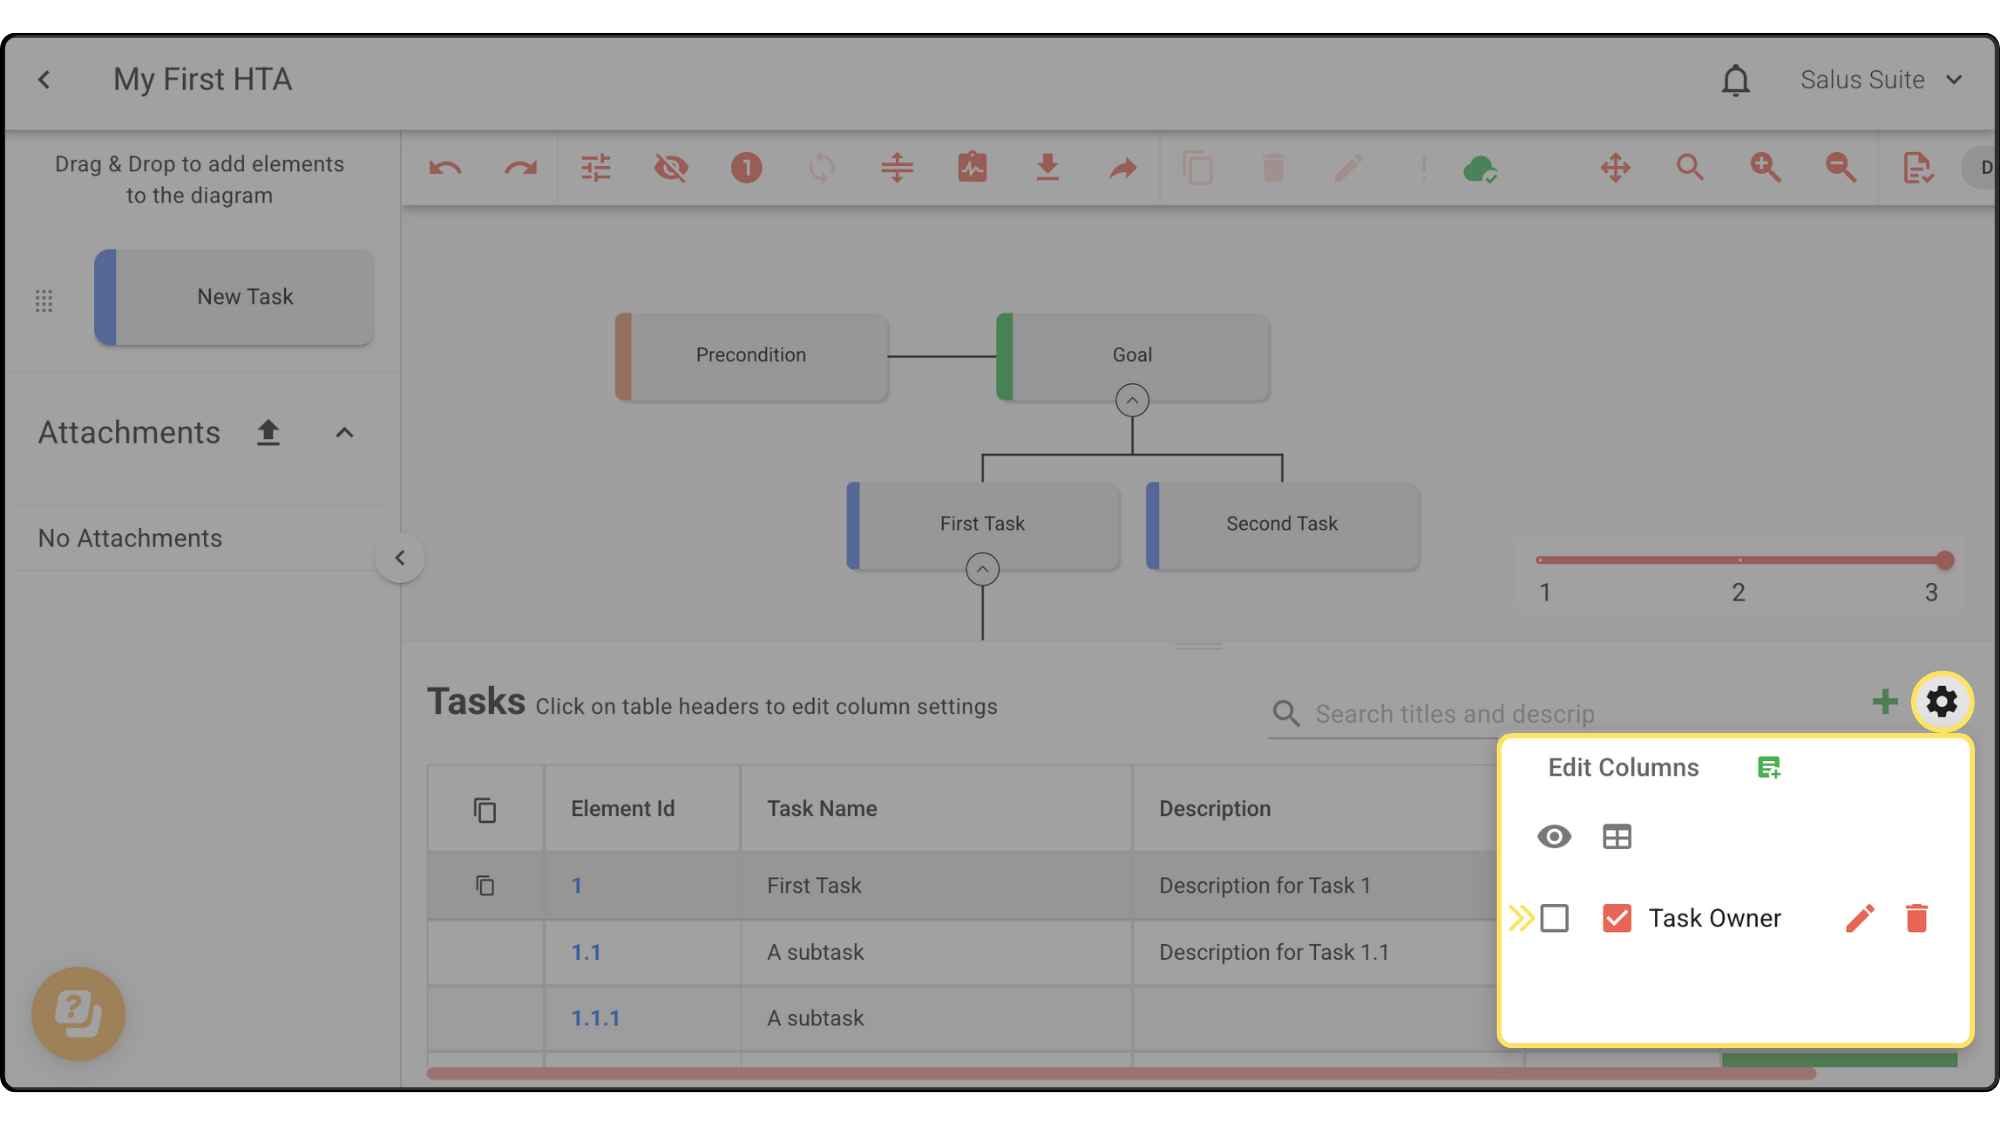
How to Display Metadata on the Diagram
Metadata created within Safe Task can be displayed both on the table and the diagram. Initially, metadata is only assigned to the table, but this can be altered in the settings.
Step 1: Click Settings in the task table.
Step 2: Tick the first checkbox of the corresponding metadata you wish to display.
 Note: As mentioned, by default, metadata is turned off when you create new diagrams.
This is how metadata will be displayed: 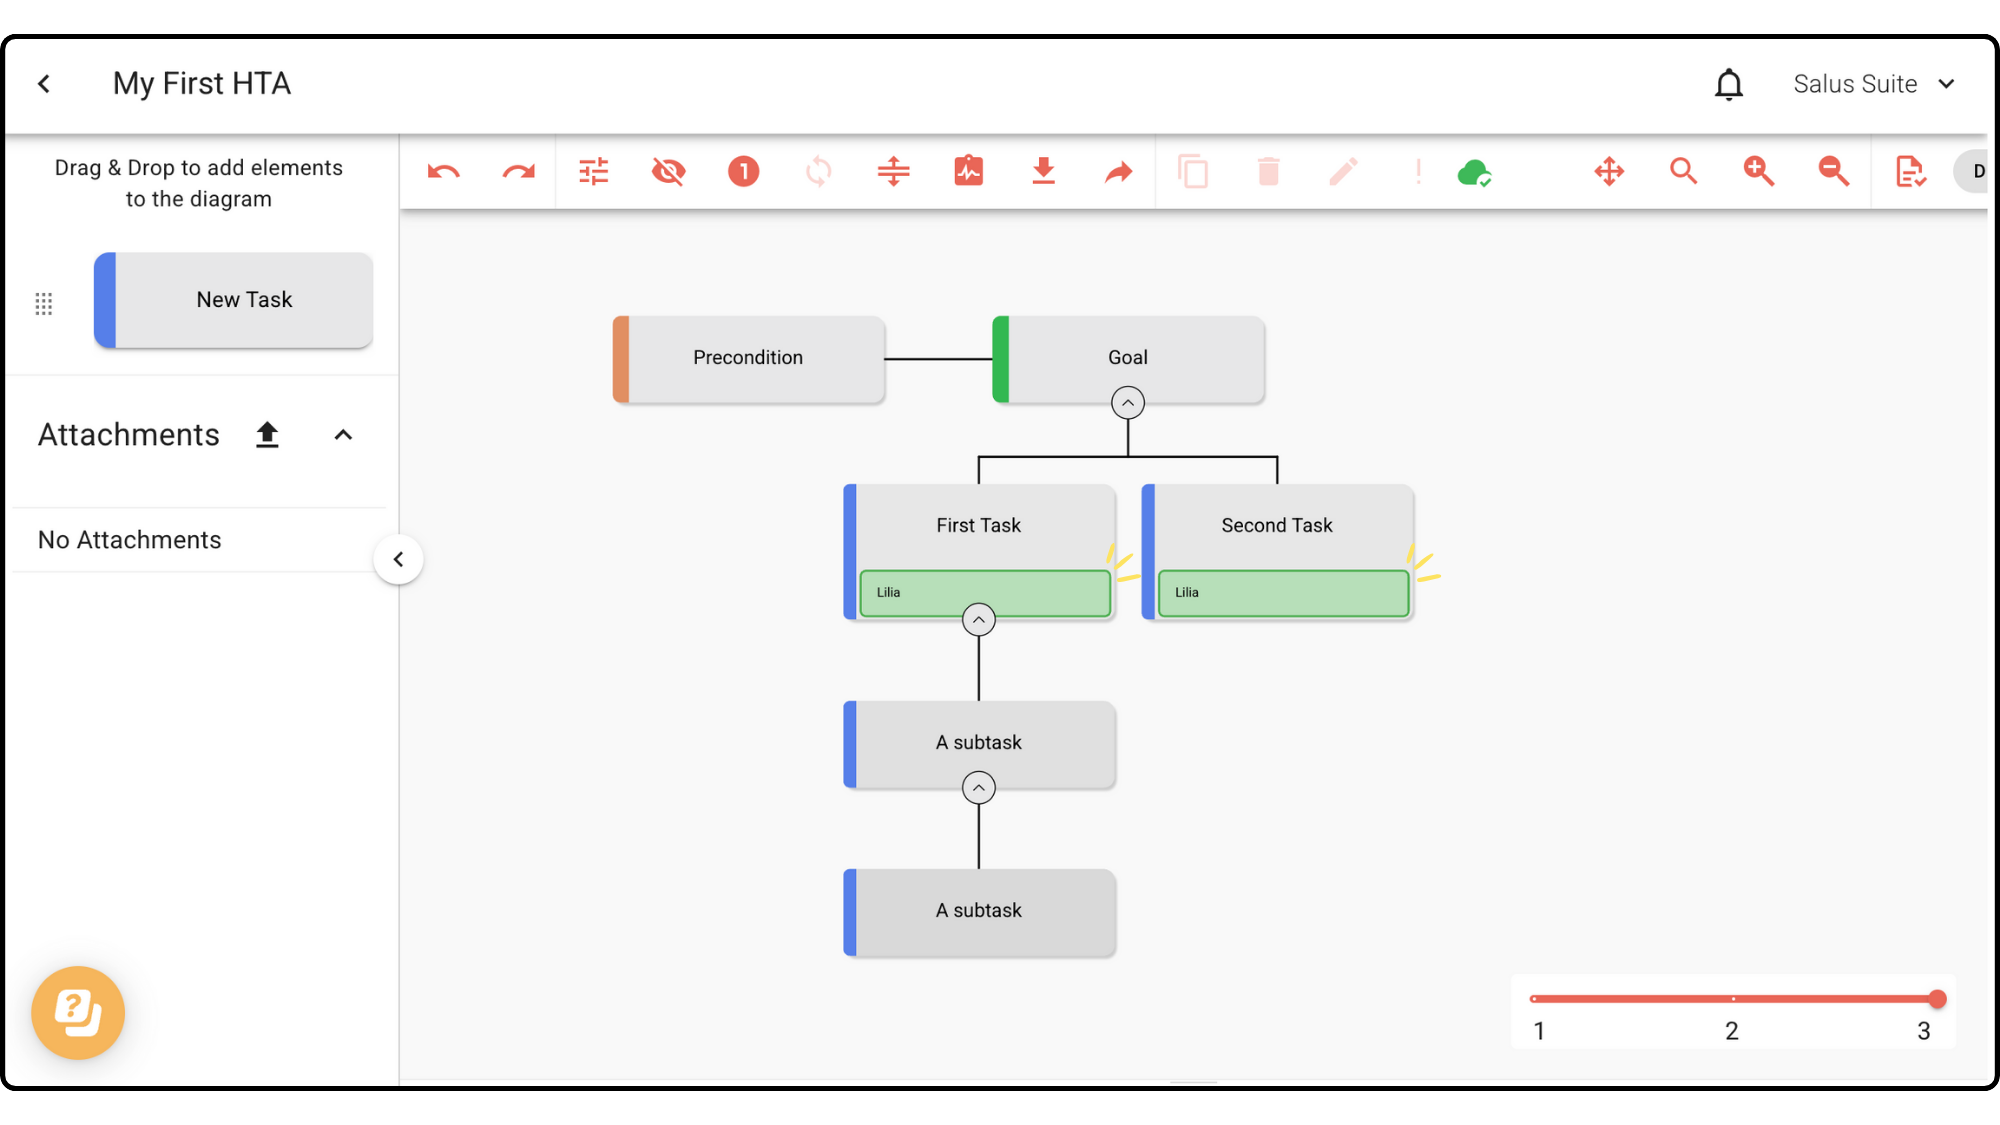
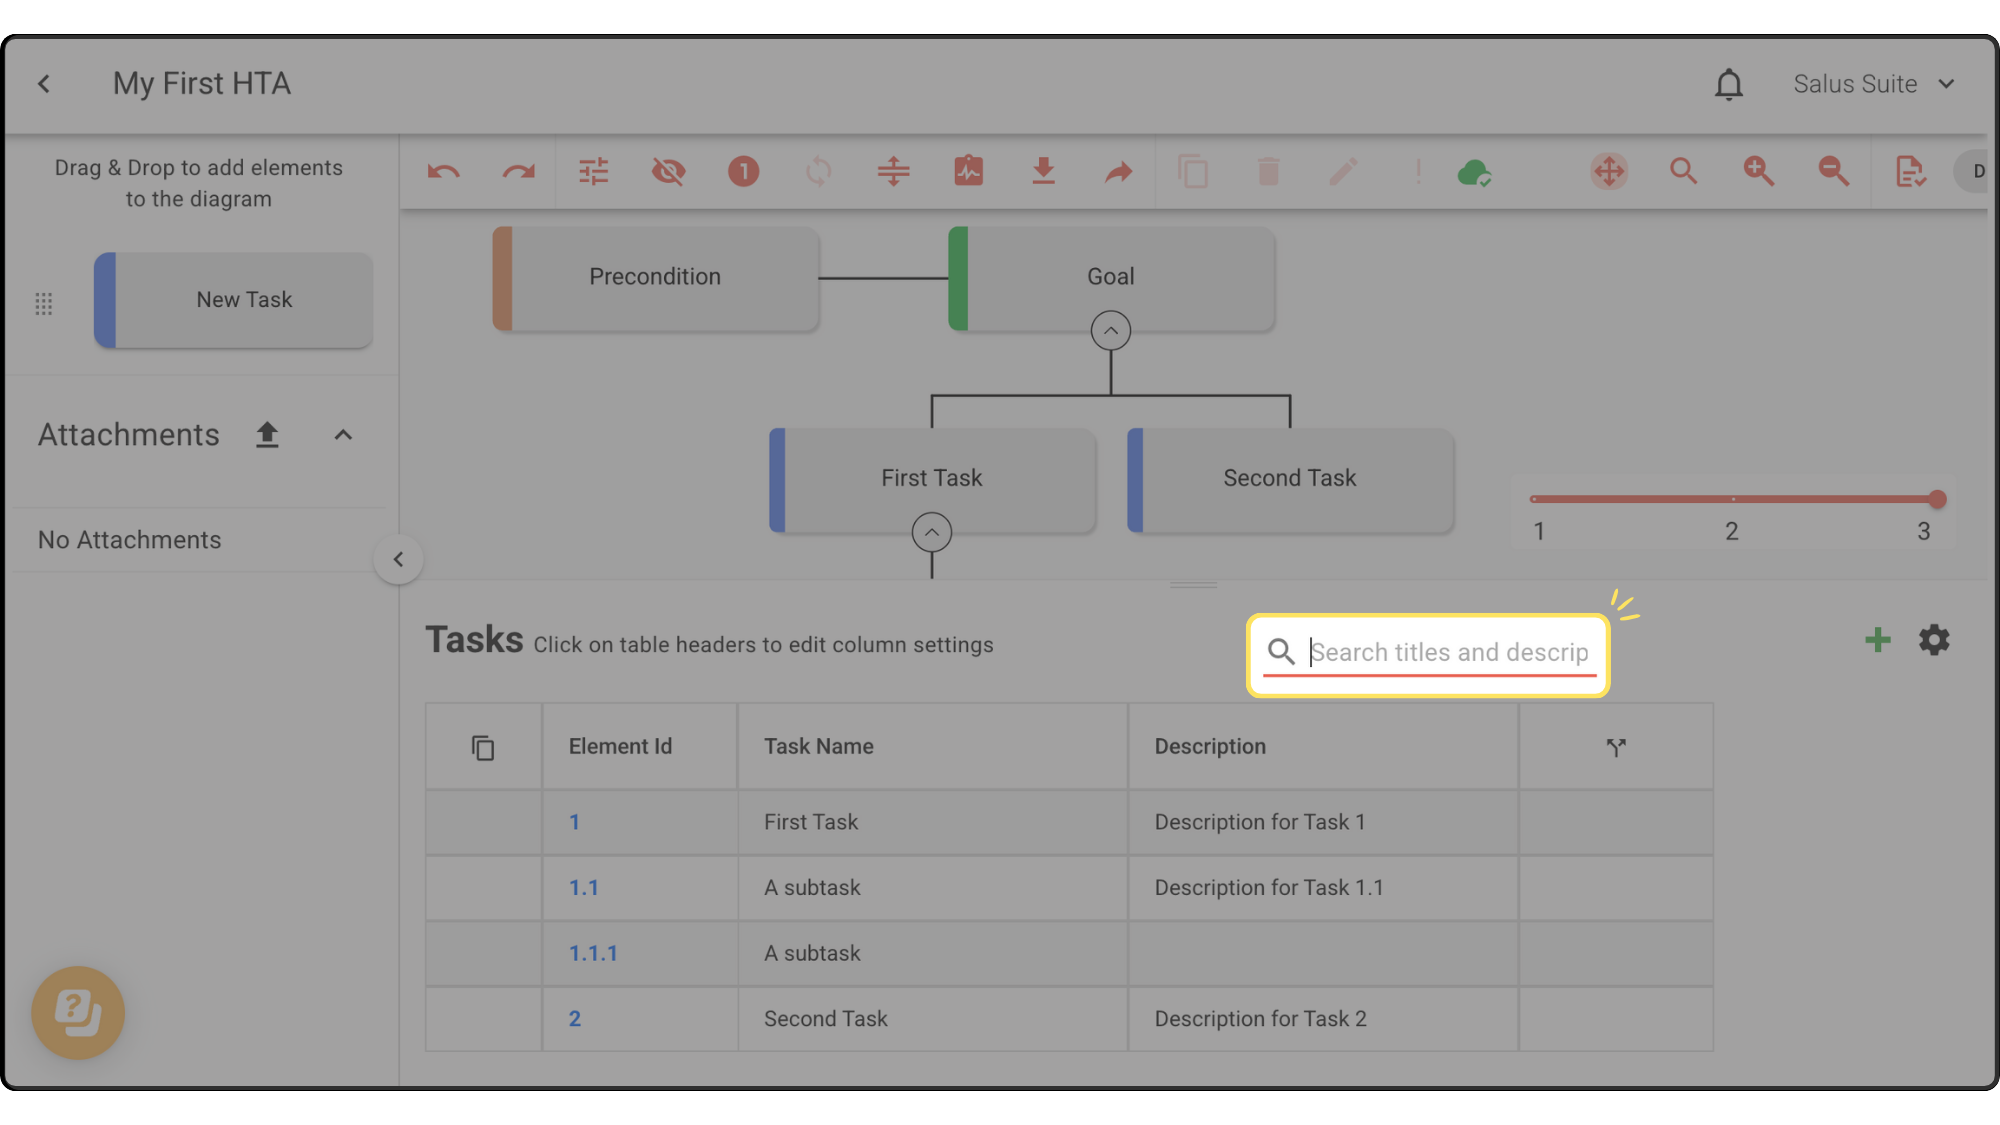
Search Bar
The Search Bar in the Tasks Table helps you quickly find tasks or task descriptions without scrolling through the entire table.
keyboard Shortcuts
In Safe Task, we have created a selection of keyboard shortcuts to help users navigate around the table with ease.
Arrow keys: navigate around the table
F2: start edit (free-text cells)
Enter (during edit): confirm edit
Escape (during edit): cancel edit
Ctrl + F: start search
Escape (during search): cancel search


