Safe Task Templates
Templates allow other Safe Task users in the same organisation to use the template as a starting point when creating their own diagram. In this guide, we’ll show you how to create a new template, edit, and delete a template from the Safe Task Settings Menu. We’ll also walk you through how to create a template from a diagram and import a Safe Task template from the projects menu.
Create a new template through the Safe Task Settings
Step 1: Go to Settings > Safe Task > Templates.
Step 2: Click + Template. 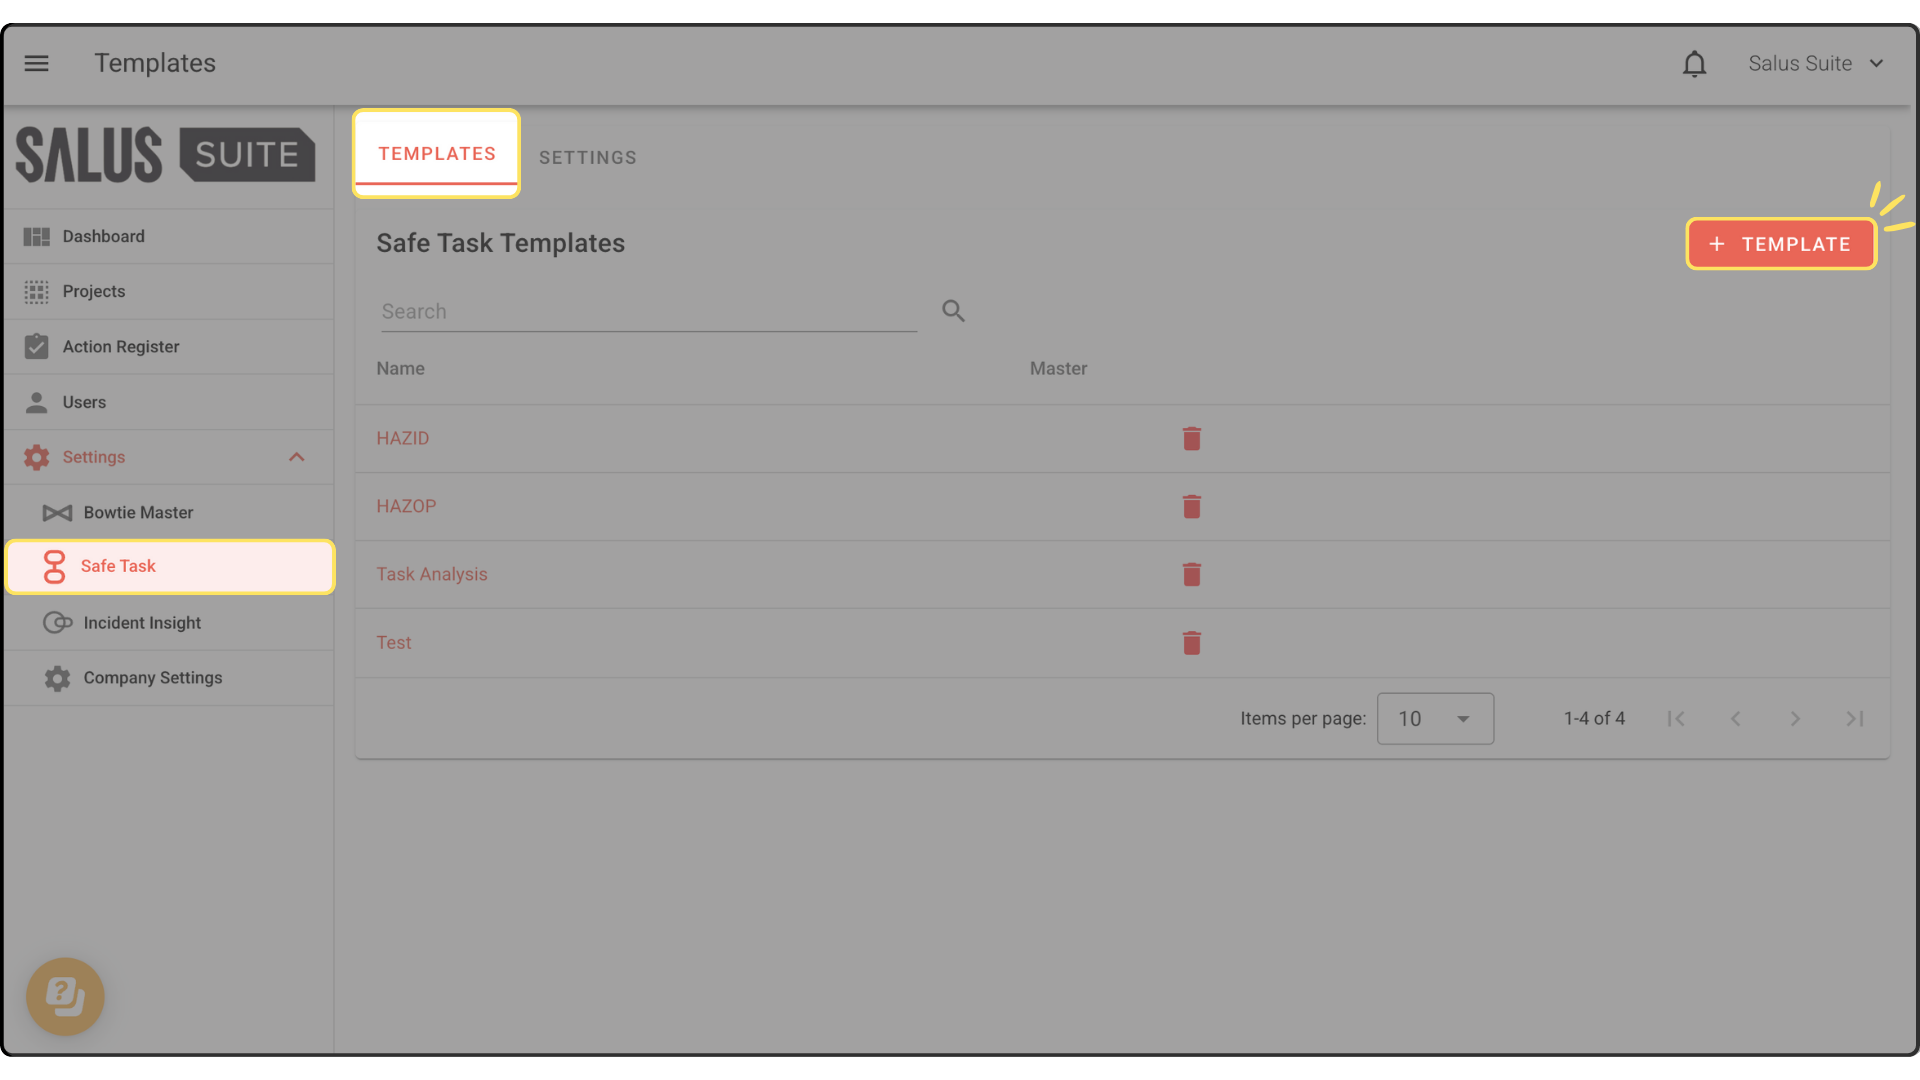
Step 3: Enter a Name for the template. Tick the Master checkbox to make it the default template for all Safe Task diagrams. Click Save. 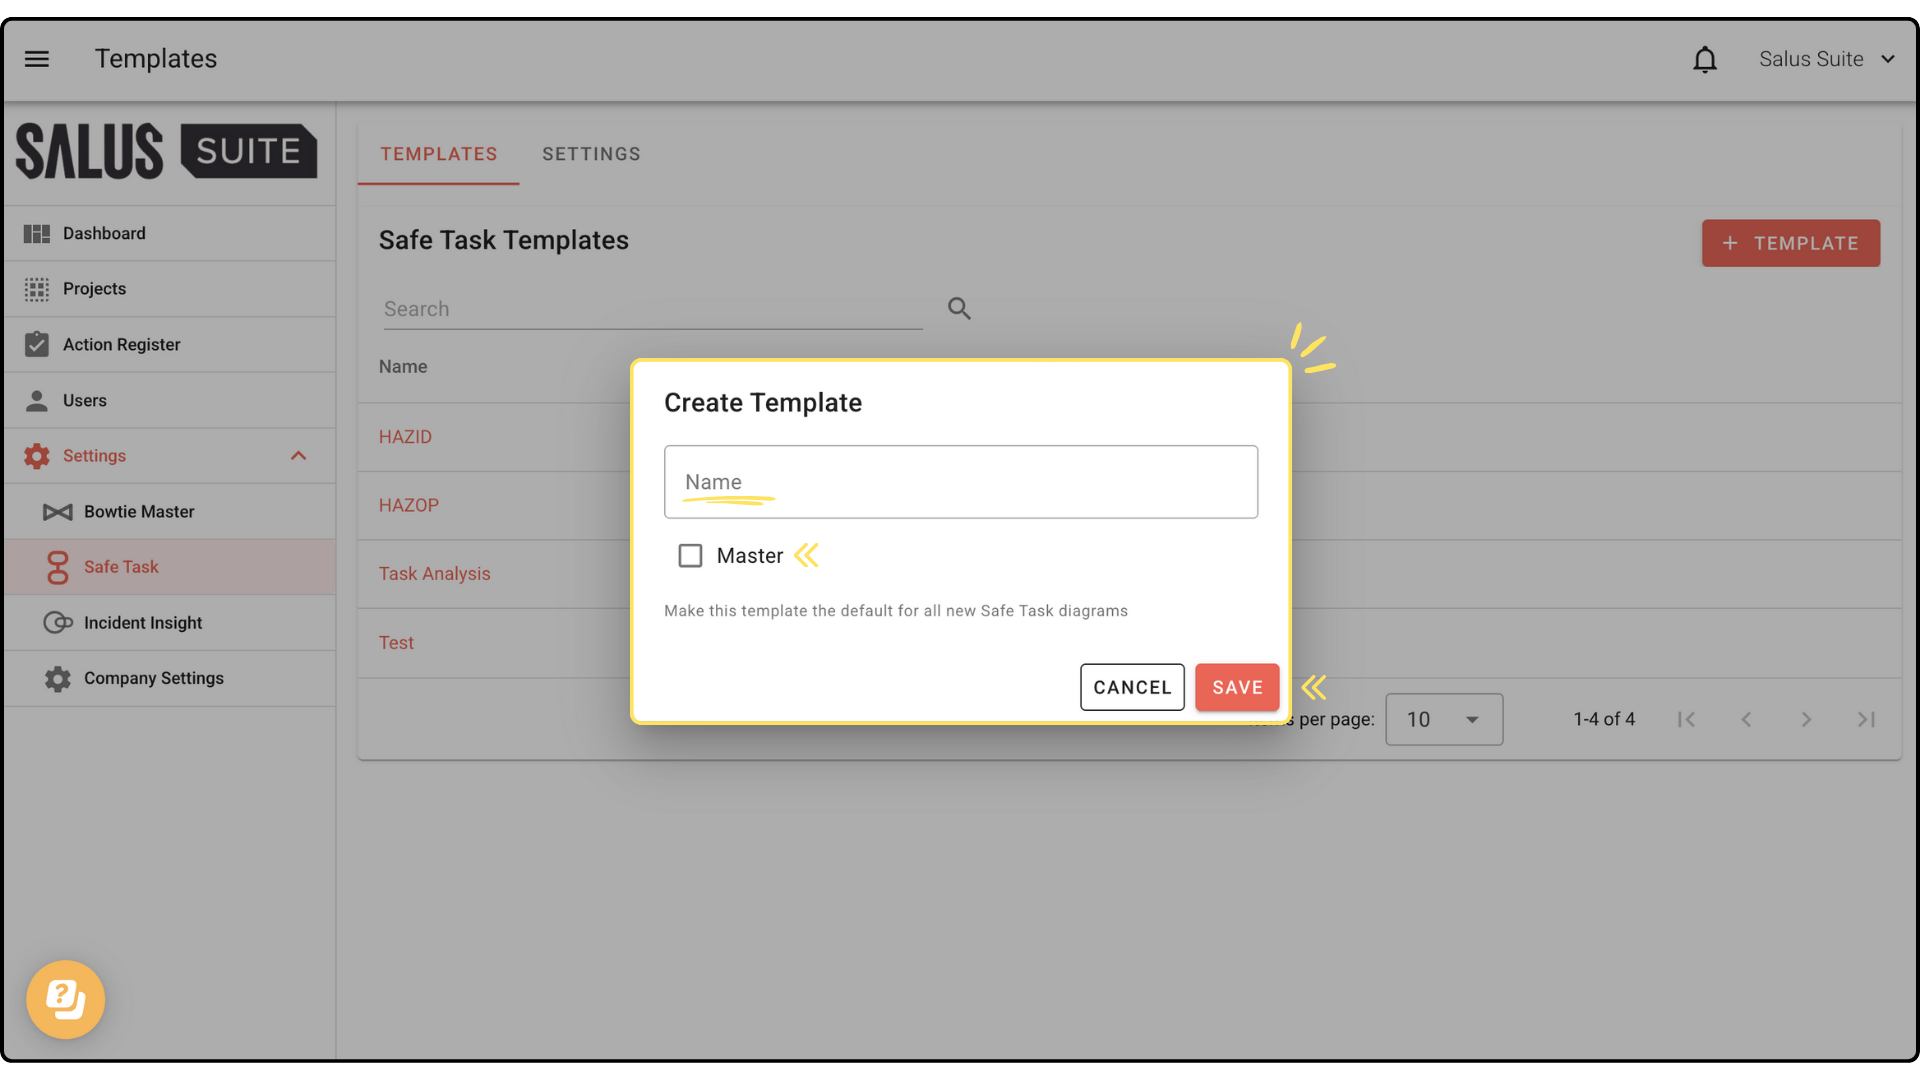
Step 4: Click on the template you just made. In the Edit Template window, you can add default table columns. Click + Header to add a column. 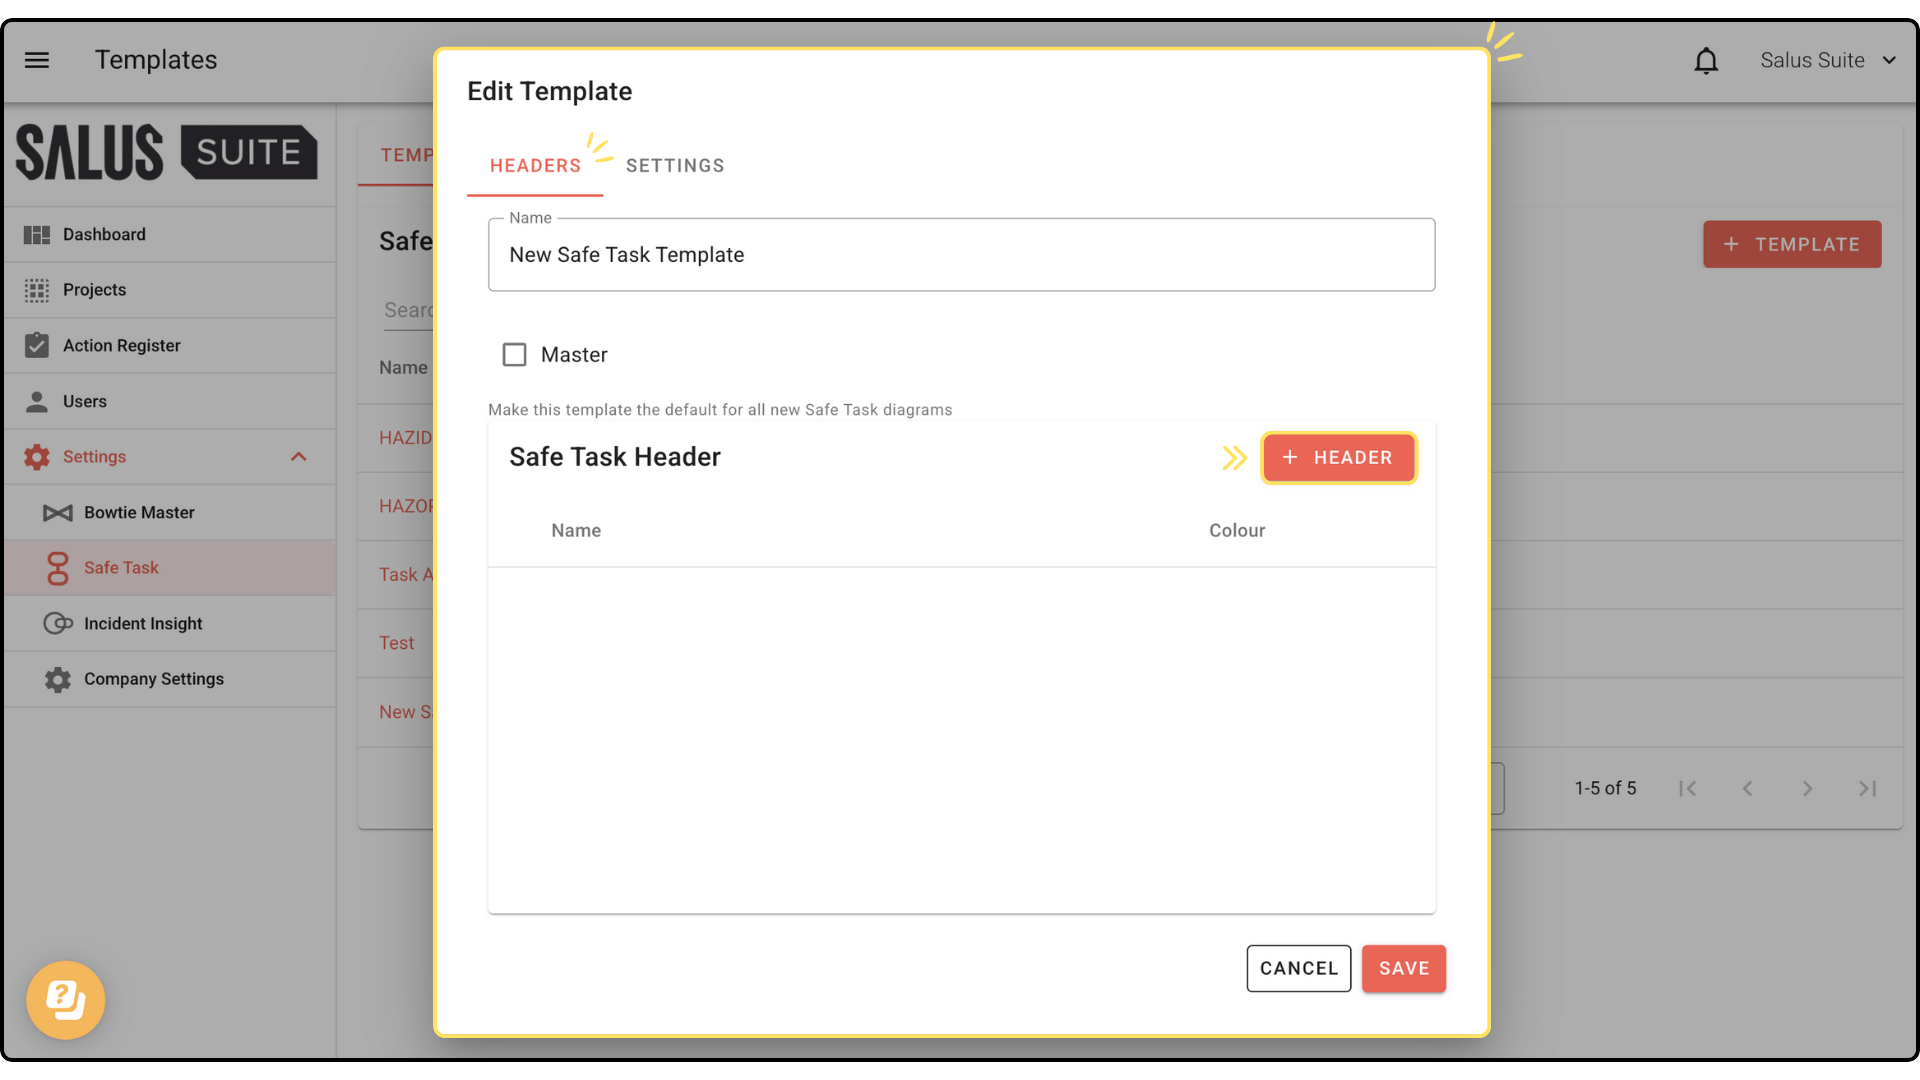
Step 5: Enter a Header name and select a colour. To make it a drop-down column, click + Drop down option to add options. Click Save. 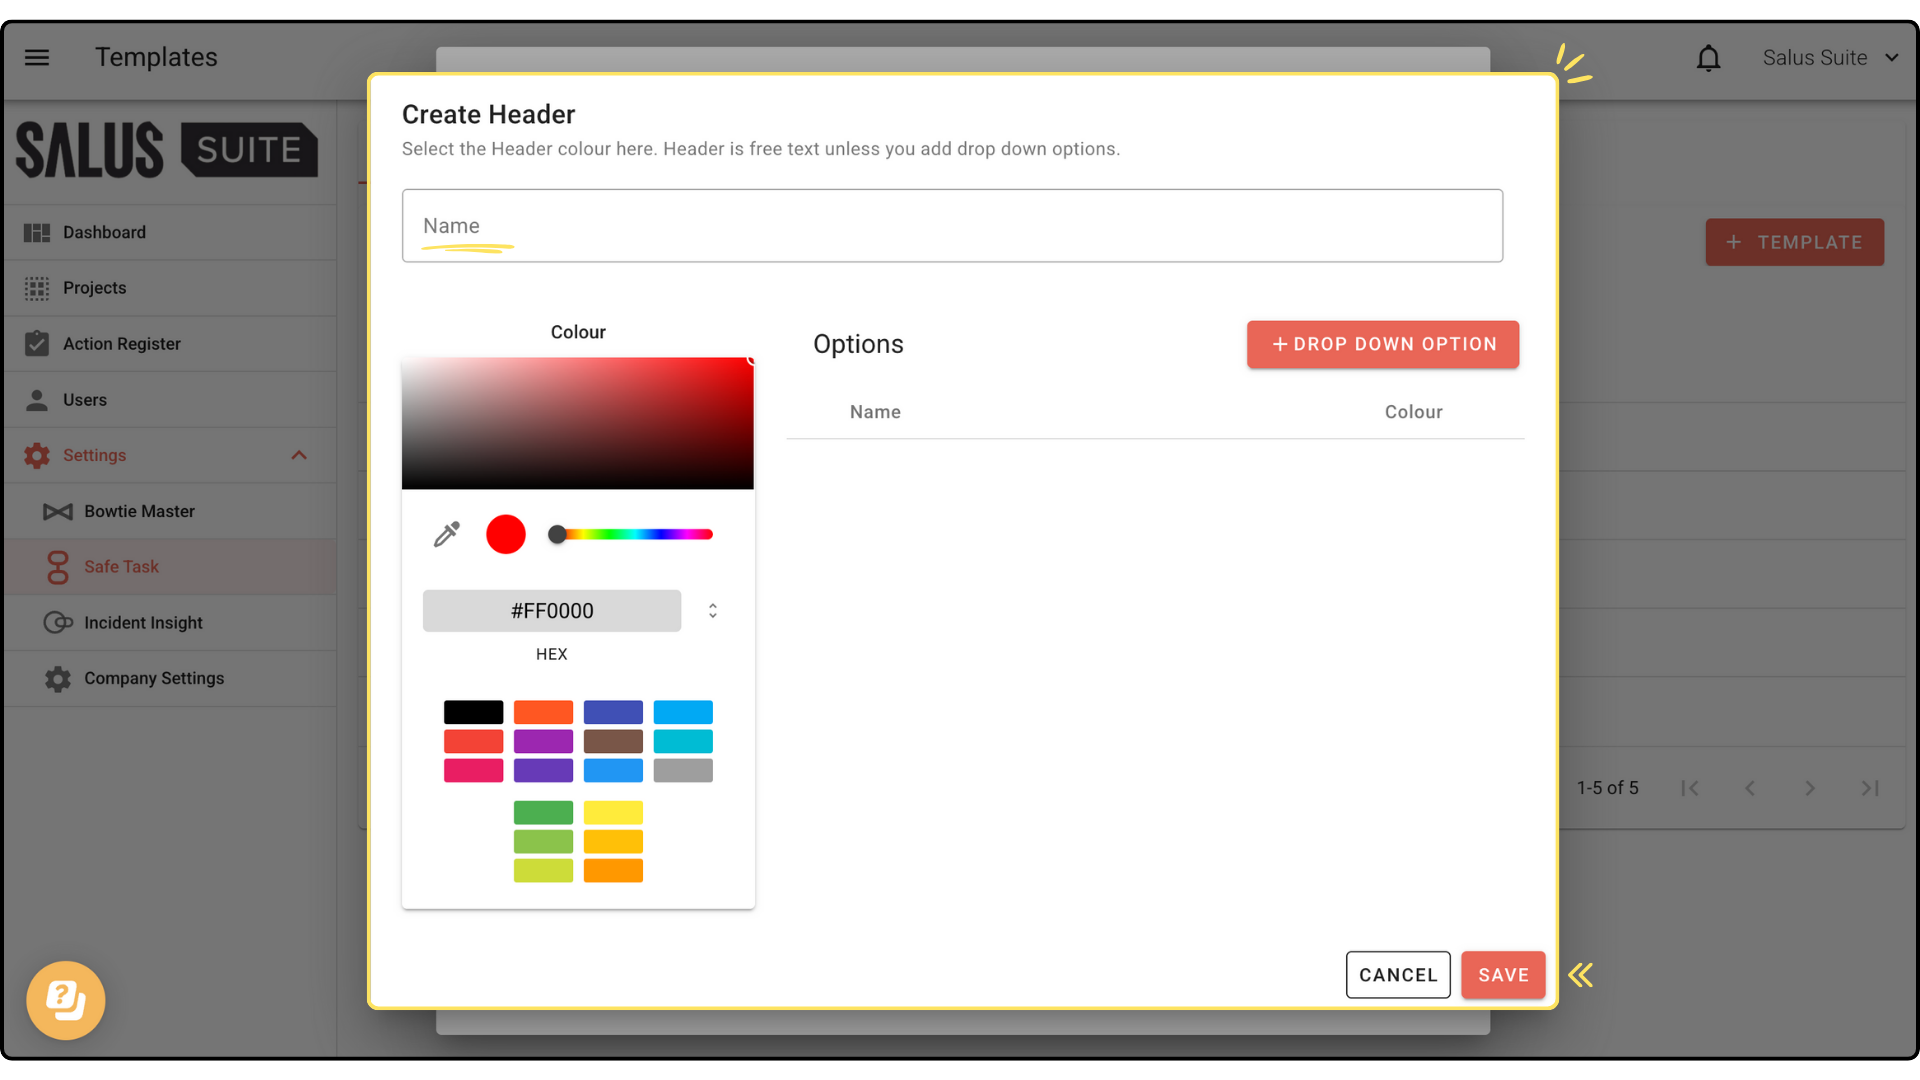 Note: You can add multiple headers.
Your new header will appear here: 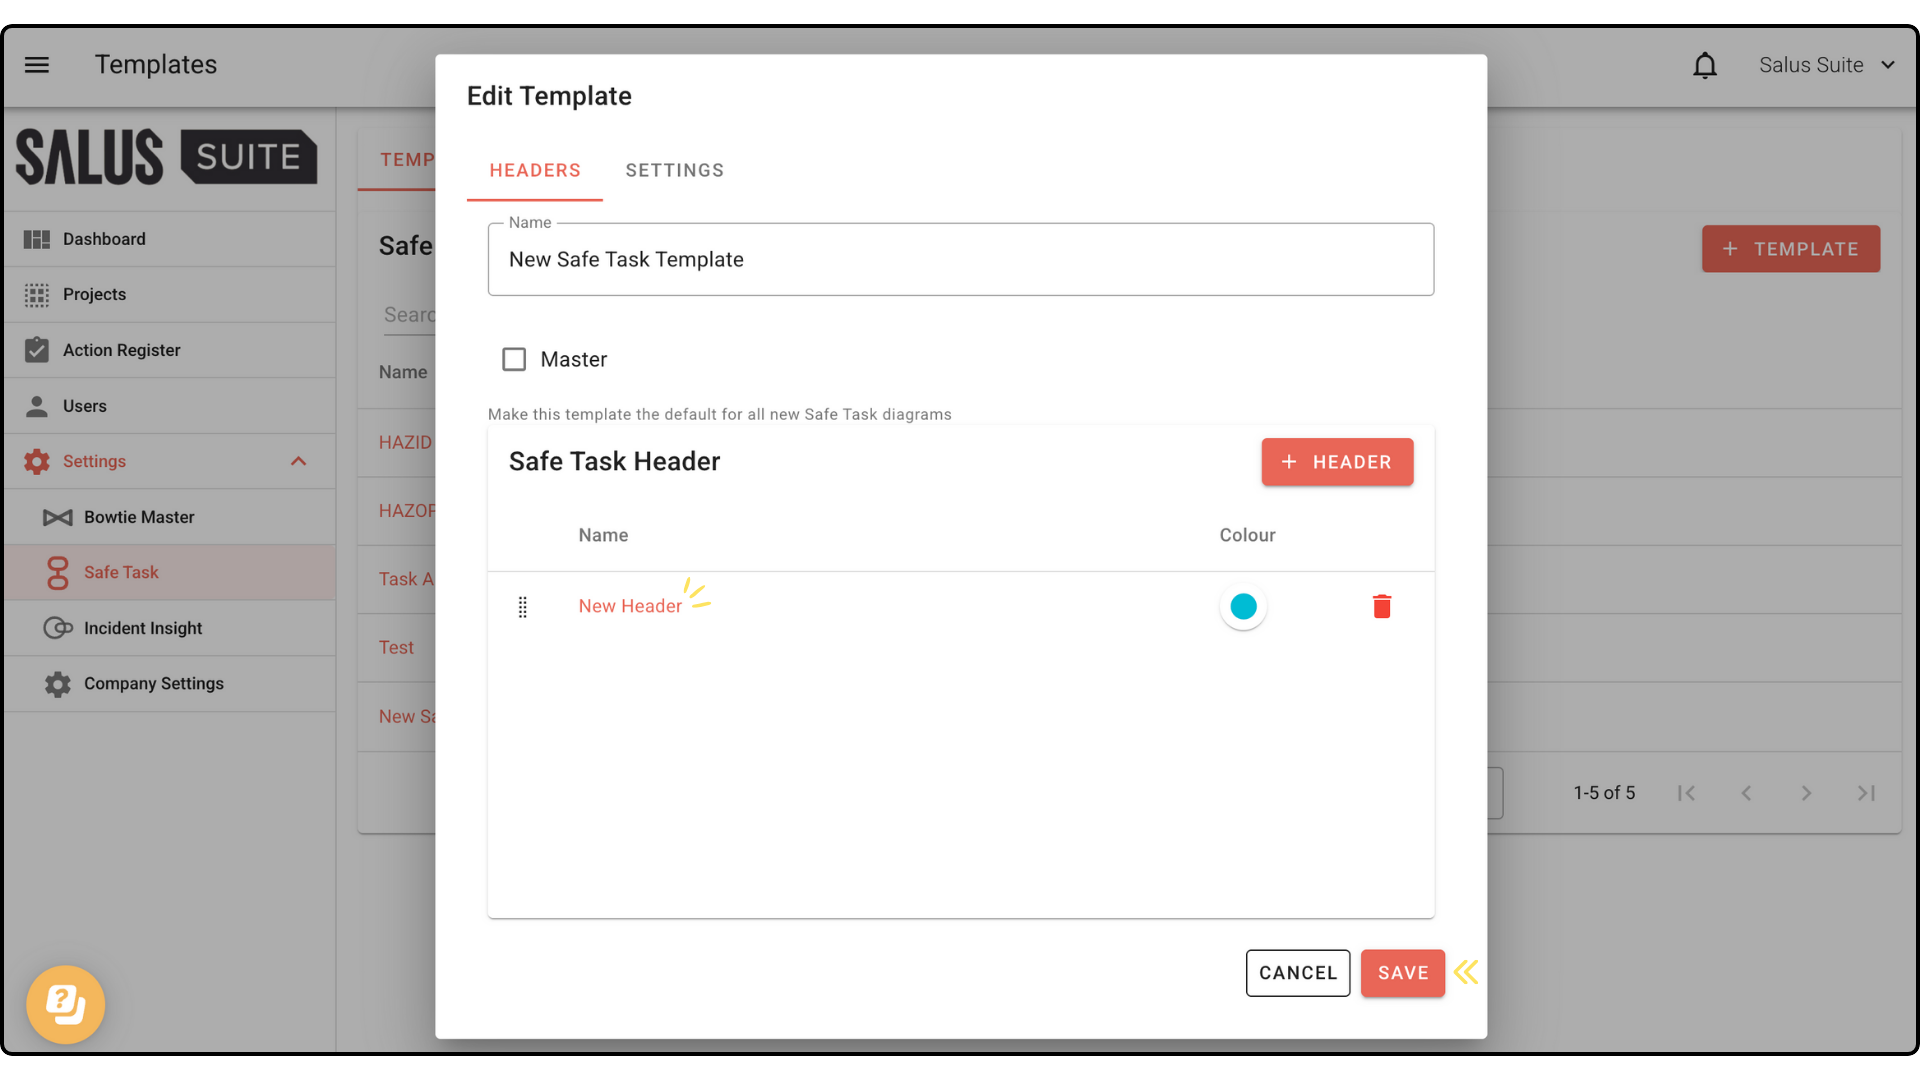
Step 6: To add a setting (aka metadata) to the template, navigate to the Settings in the Edit Template Window. Click + Setting. 
Step 7: Enter a name for your setting. Then select its type (Text, Date, or List). Click Save. 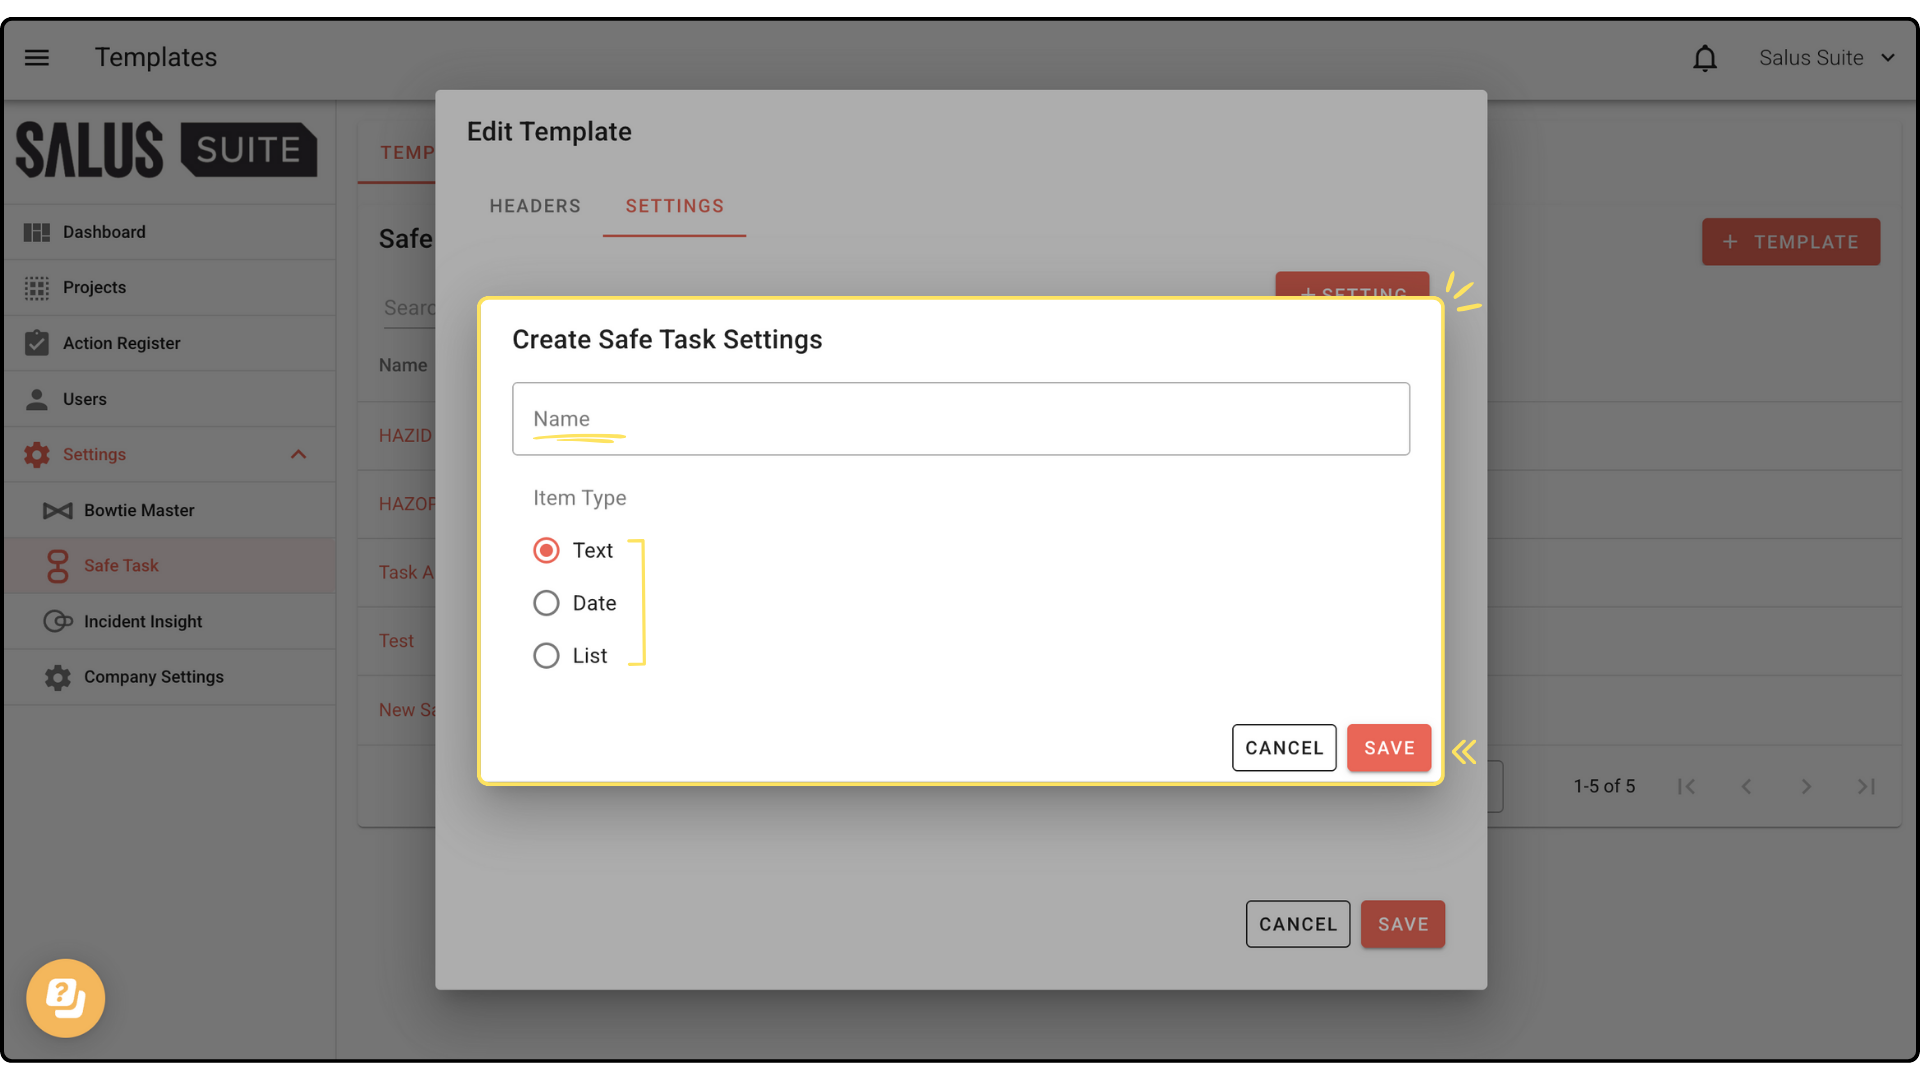
Step 8: Your new setting will appear. Click Save. 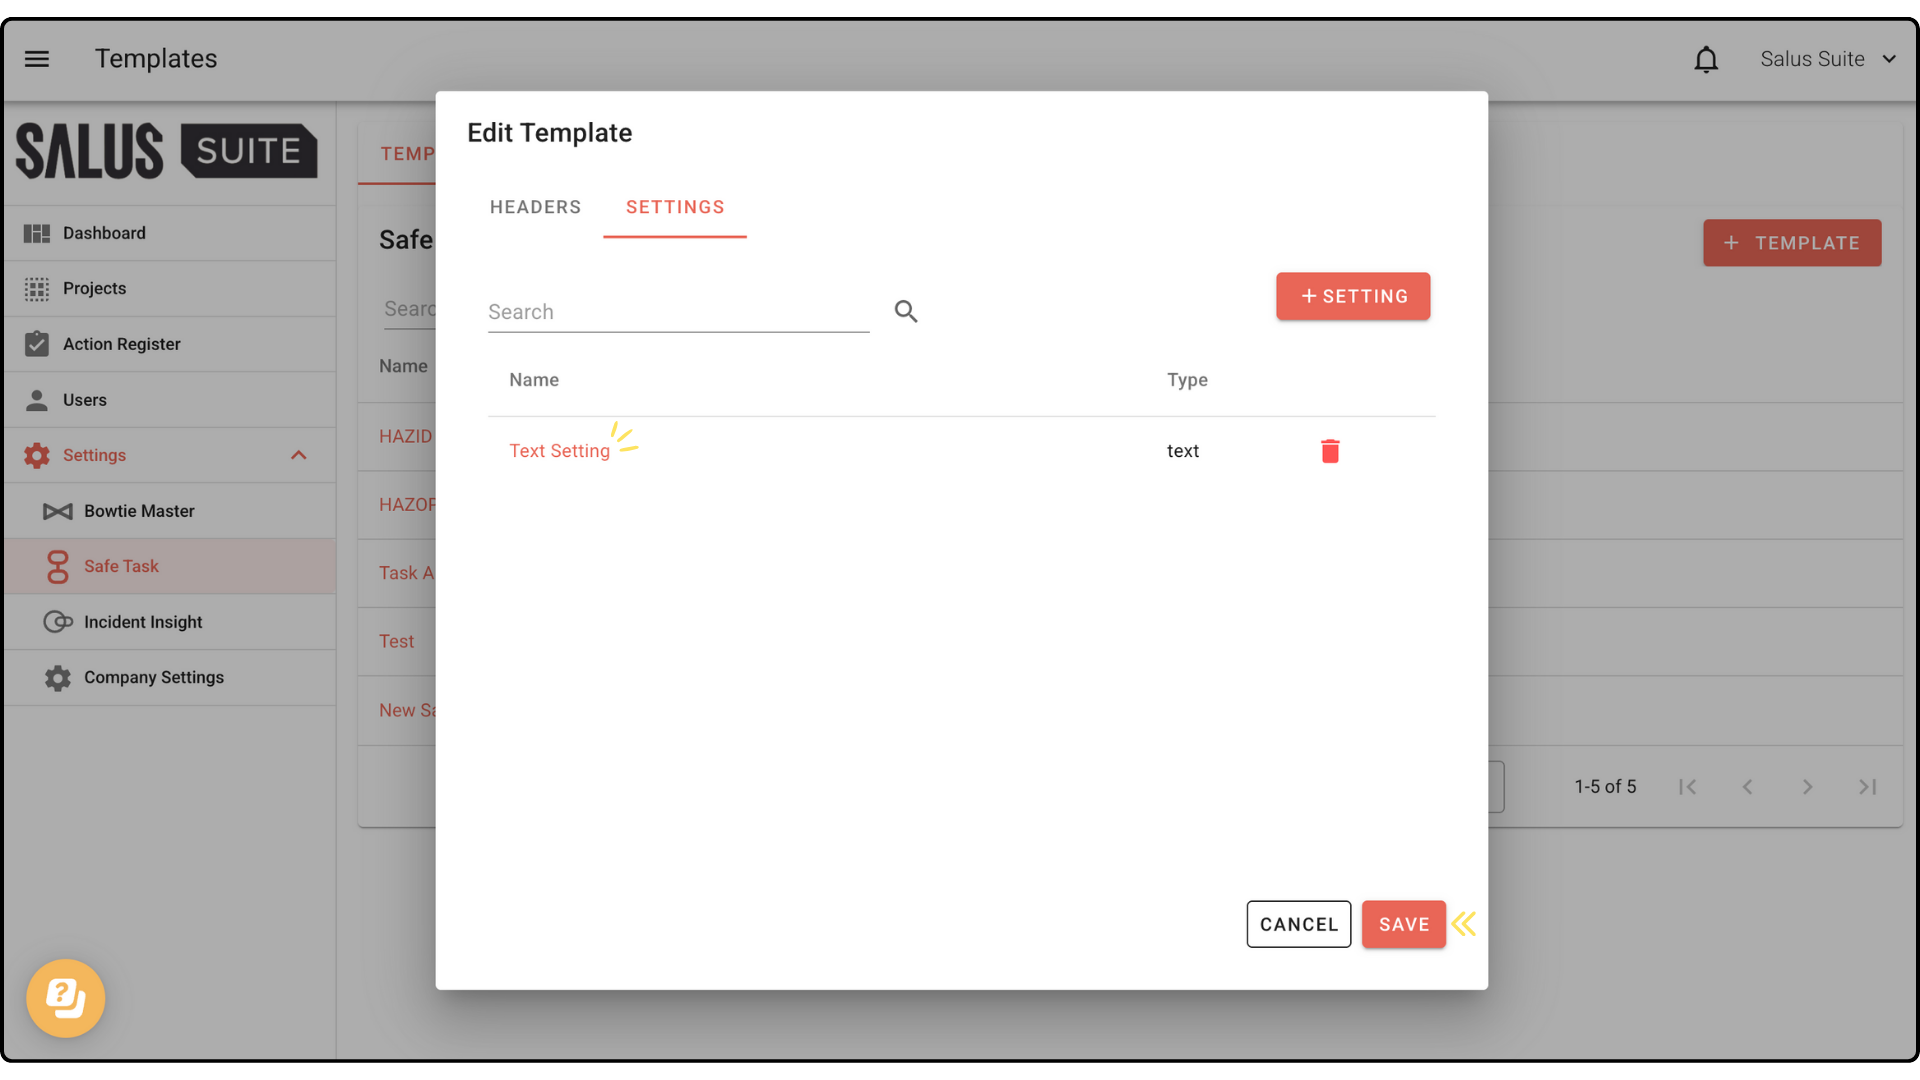
Note: You can access these settings through the Tune tool. 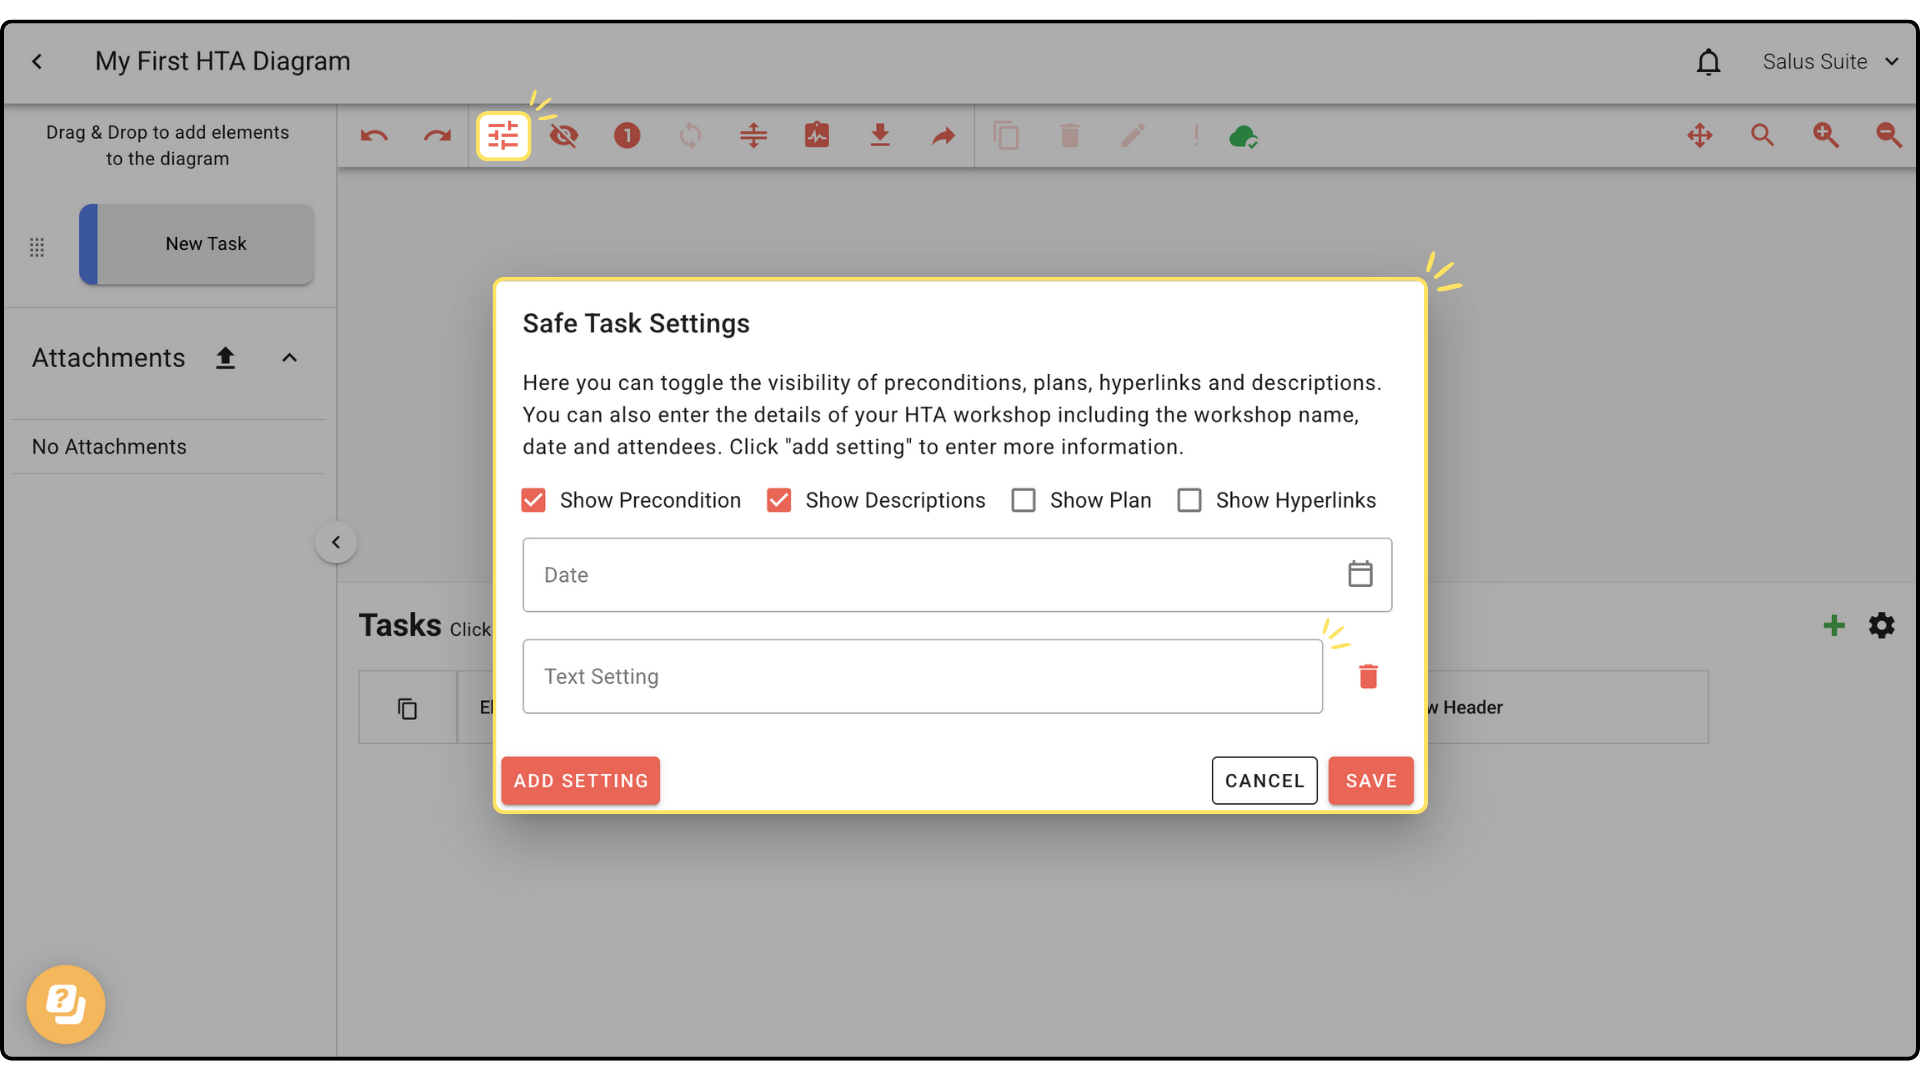
Delete a template
A template can only be deleted by Organisation Admins.
Step 1: To delete a template, go to Settings > Safe Task > Templates.
Step 2: Click the Bin icon beside the template you wish to delete. 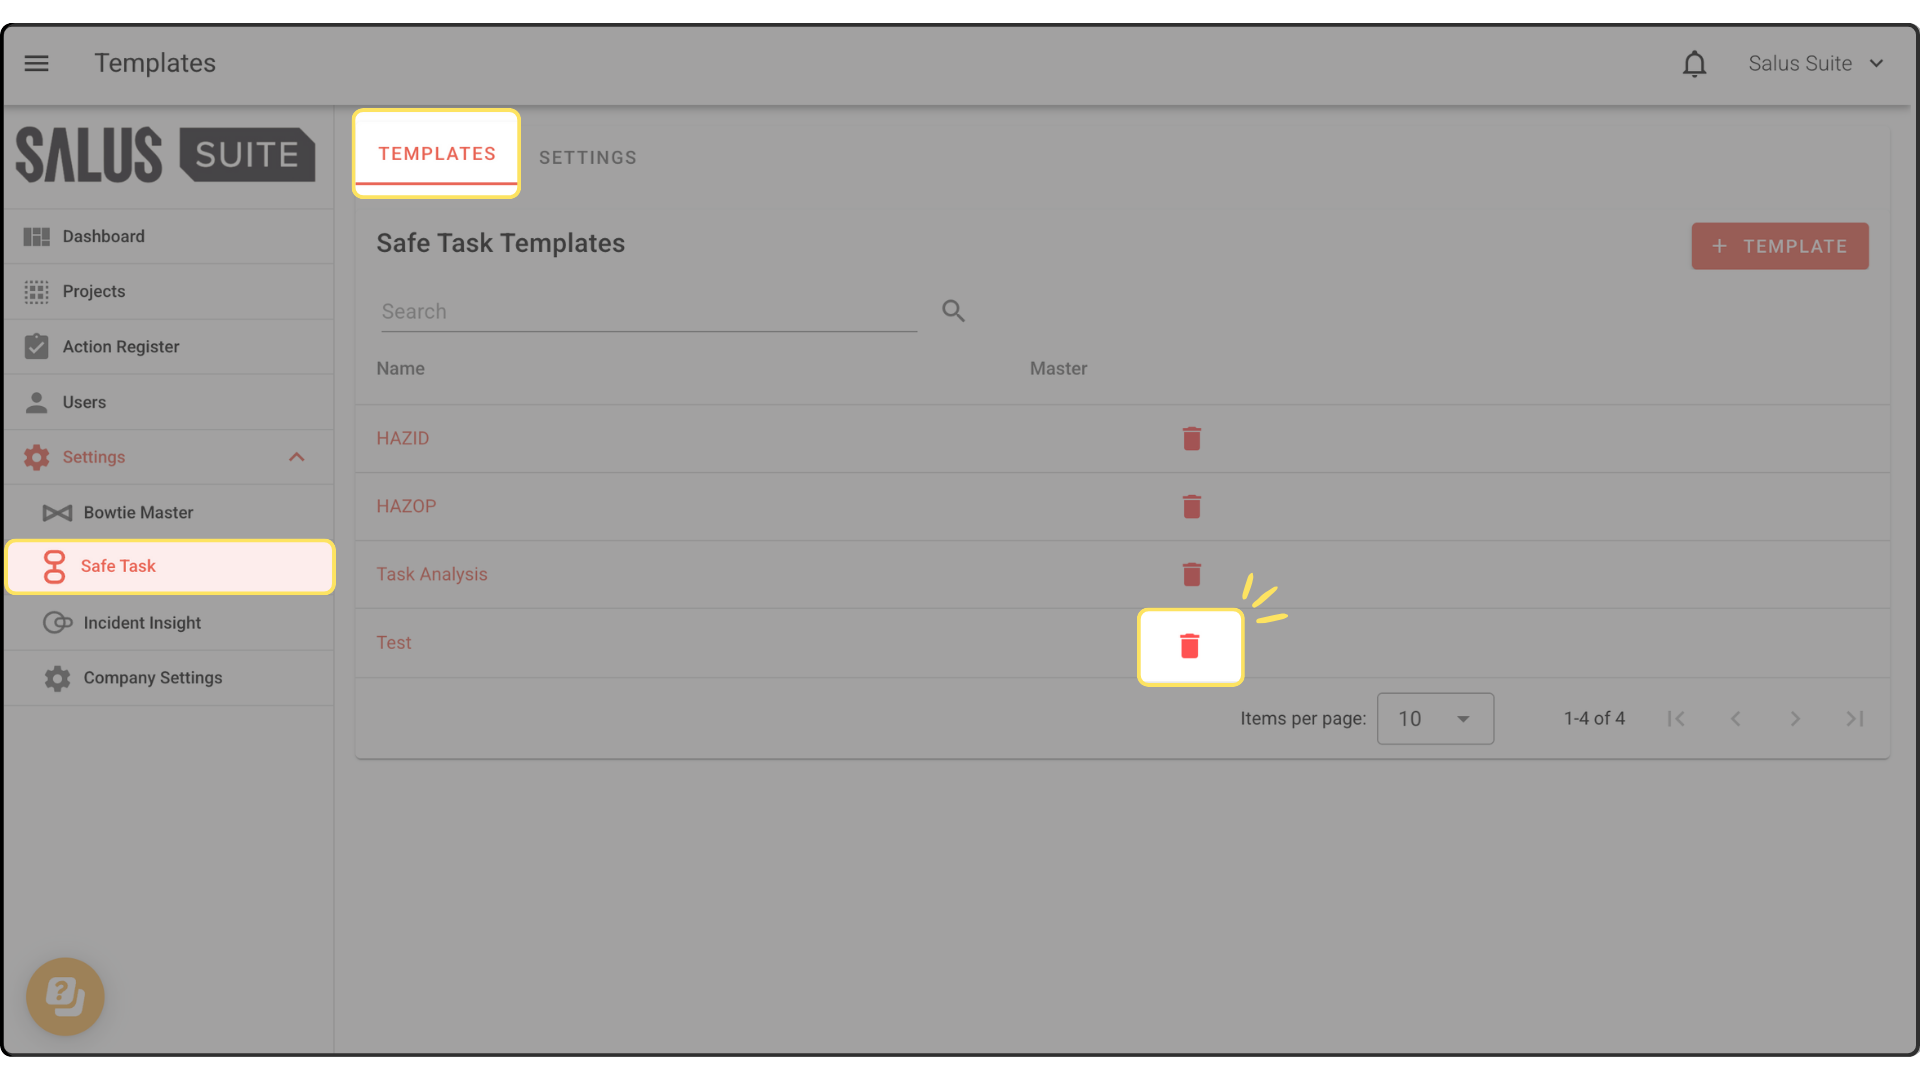
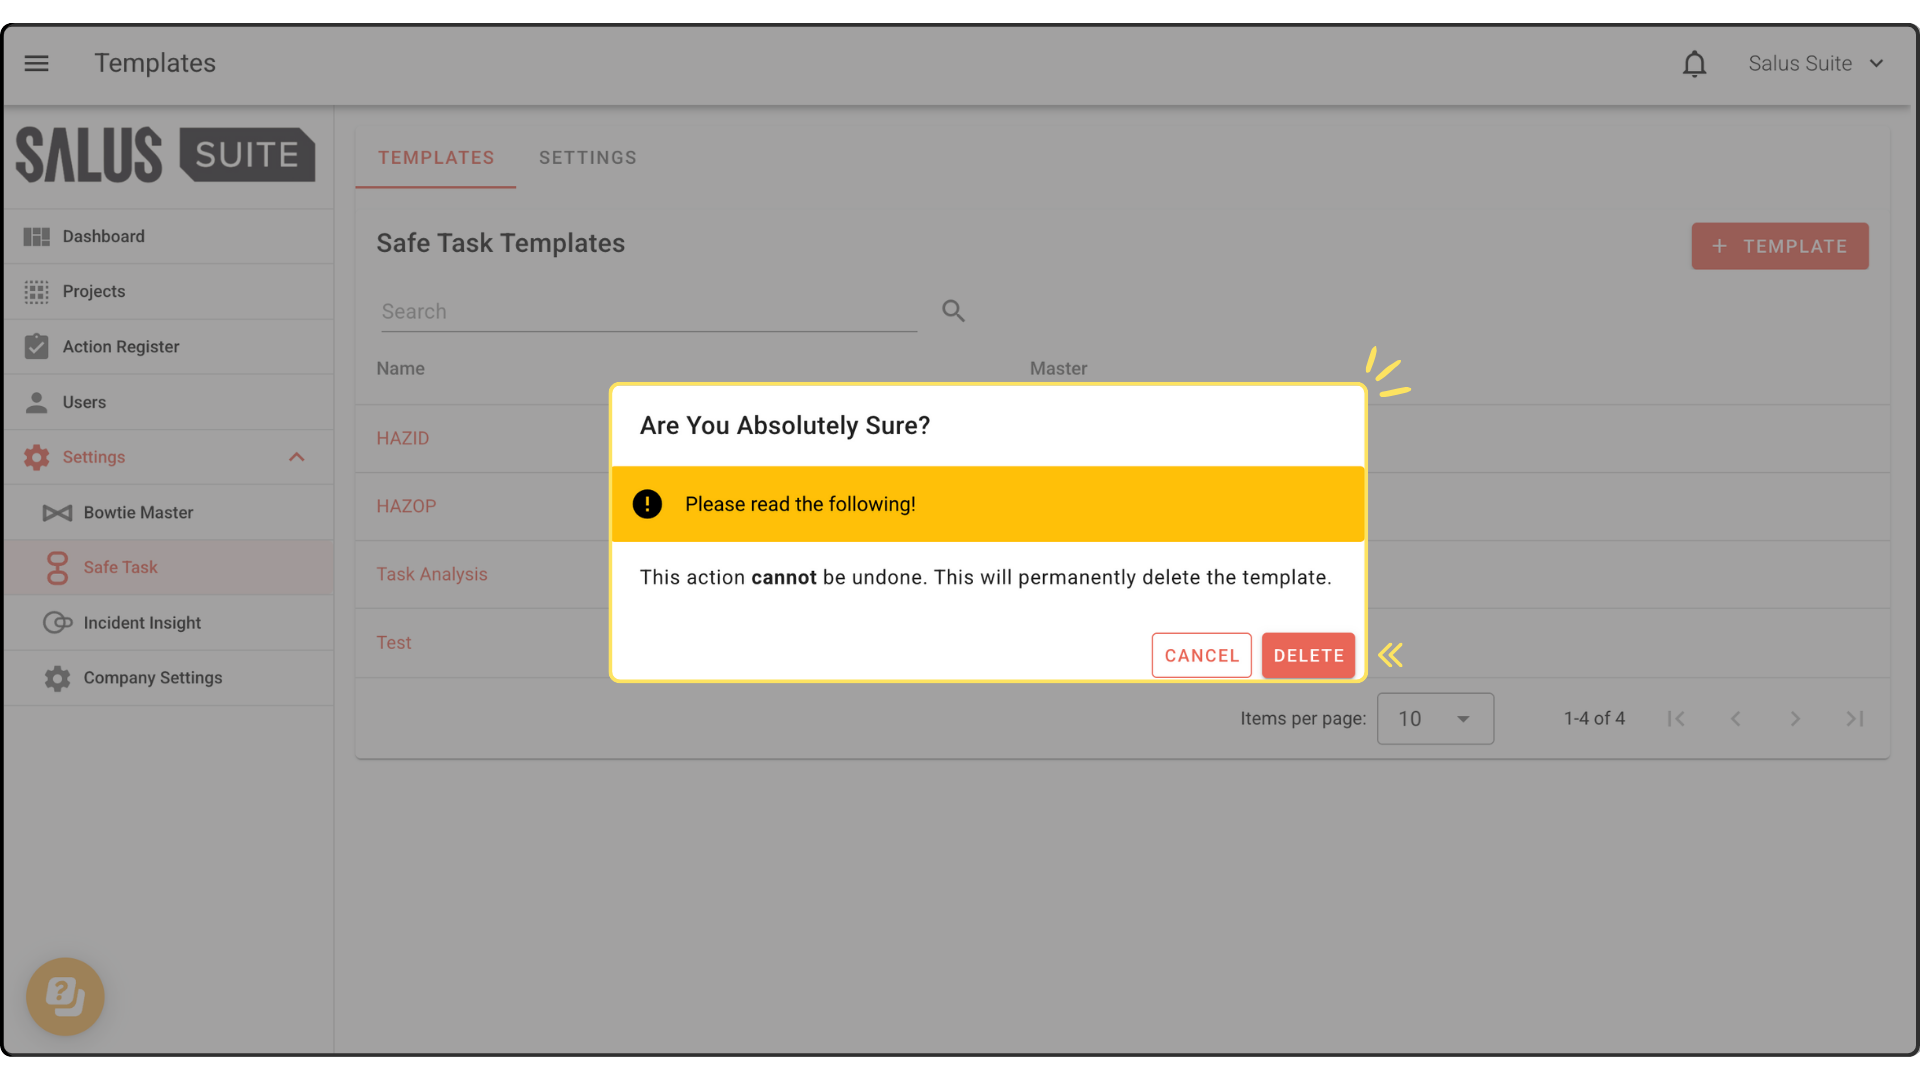
Step 3: In the warning message, click Delete. Once deleted, it cannot be undone.
Edit a template
Step 1: Click on the template you want to edit. In the Edit Template window, you can add default table columns and settings.
Step 2: Click Save once changes have been made. 
Changes will apply to new safe task diagrams.
Save a new template through the diagram
Step 1: In your diagram Table, click on the Settings. Click on Save as Template (Green Icon). 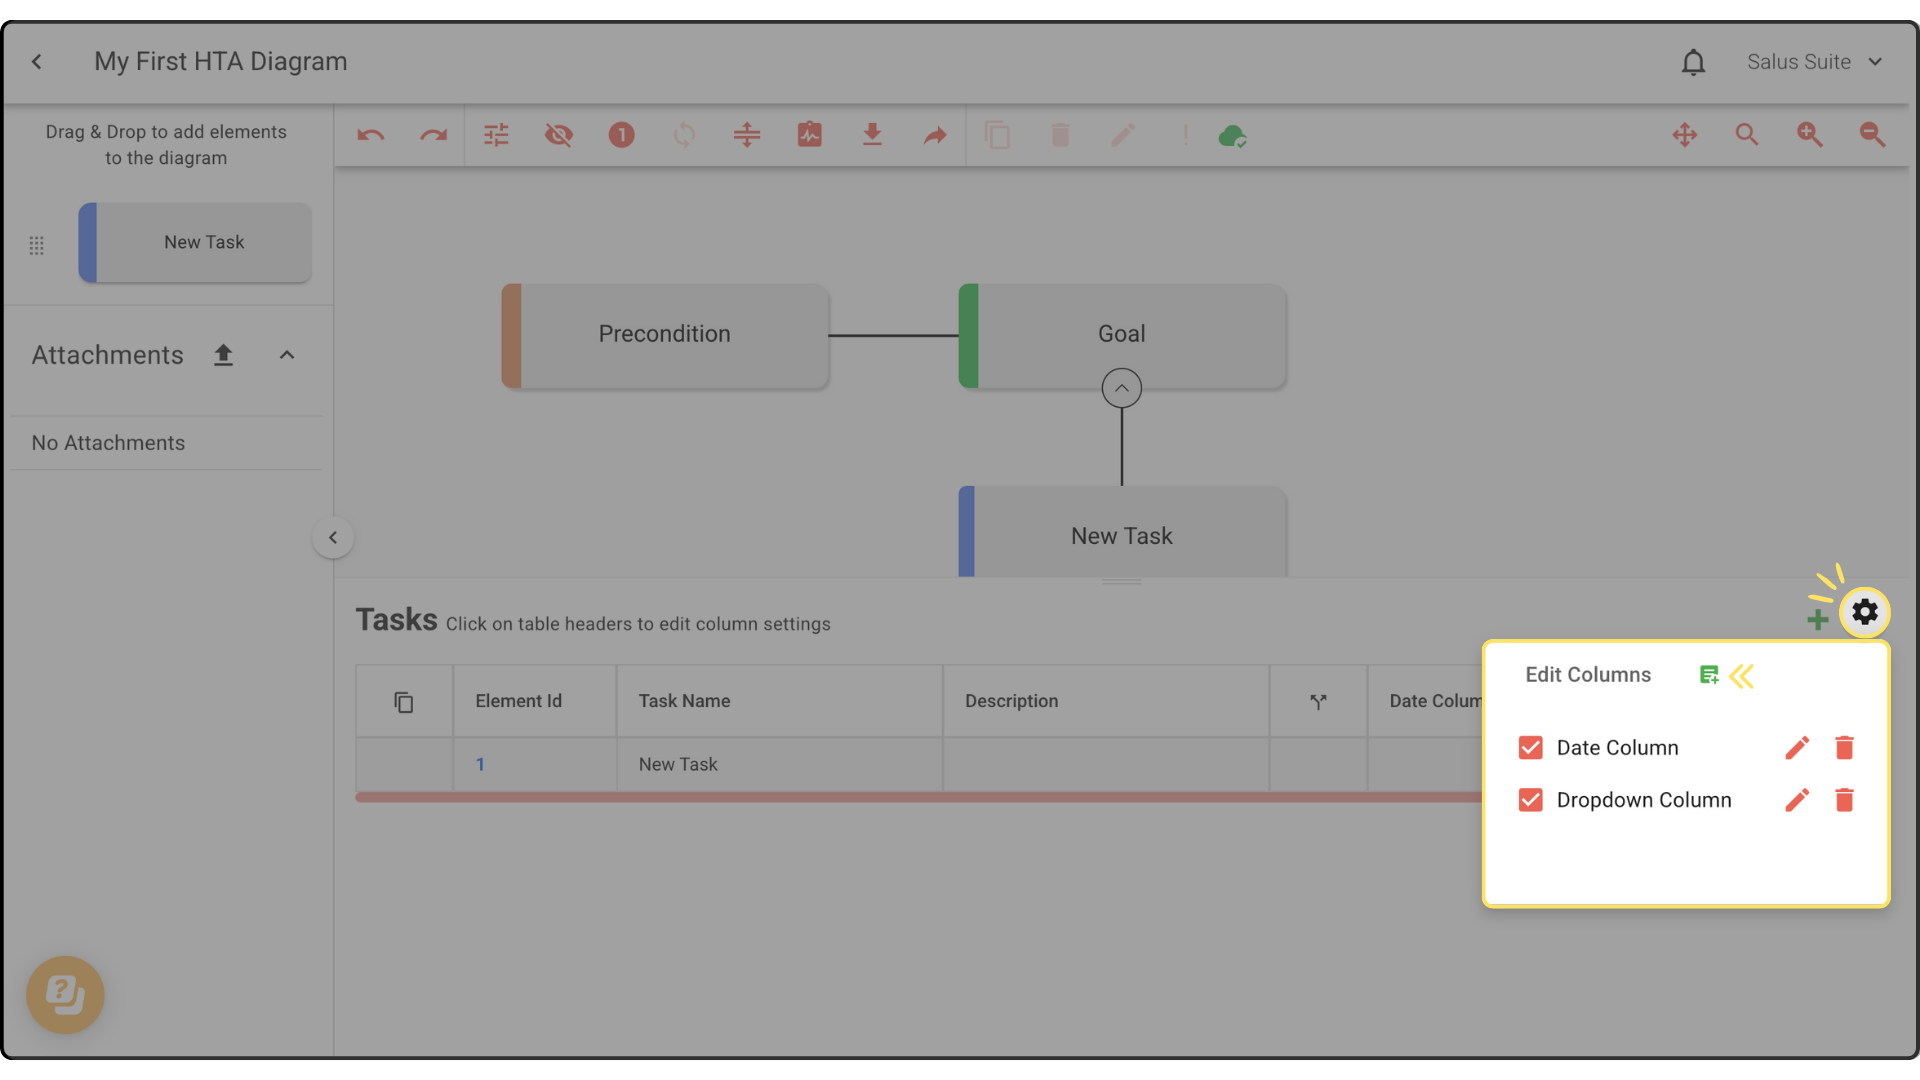
Step 2: Enter a Template Name and click Master to make it a default template for all new Safe Task diagrams. Click Create. 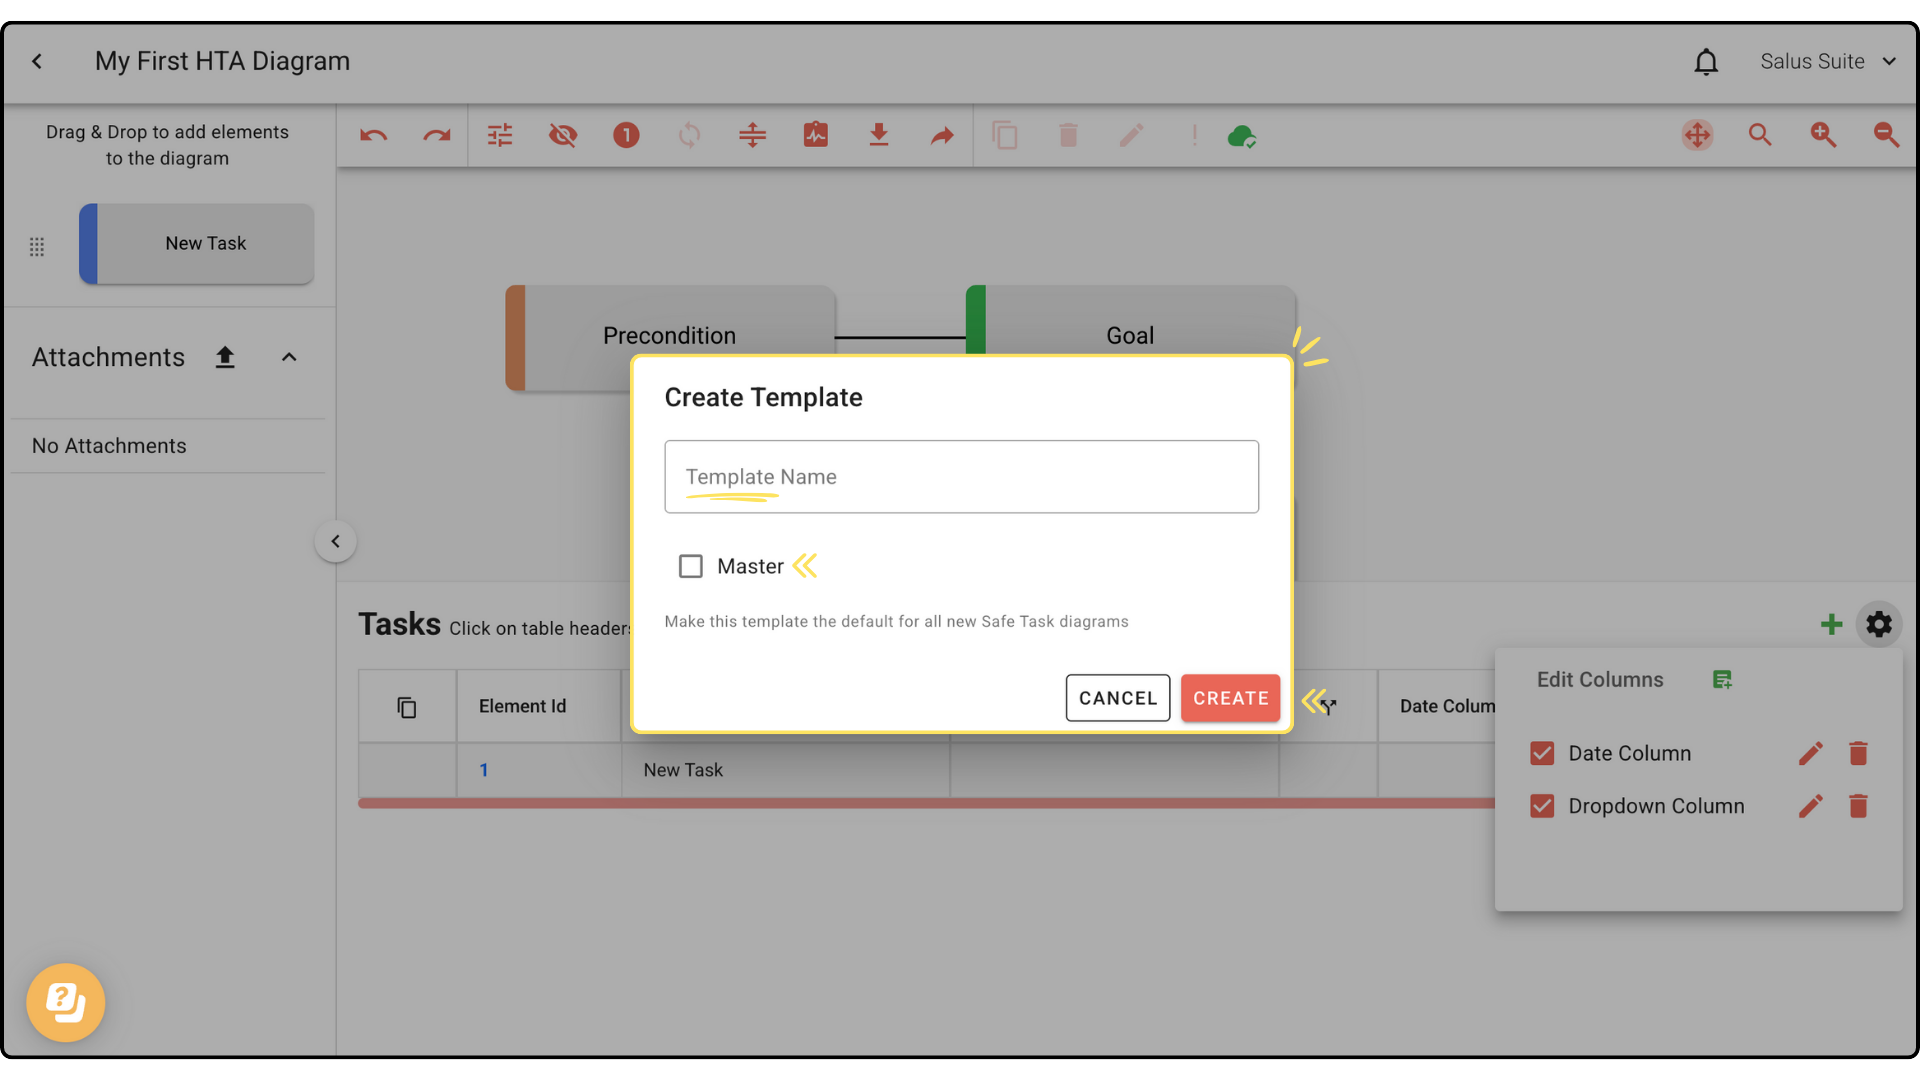
Step 3: The template created can be accessed when creating a new diagram. Head to the Project Menu. Click on + New Diagram and enter a new diagram name. In the Template drop-down menu, select the template you wish to use, then click CREATE. 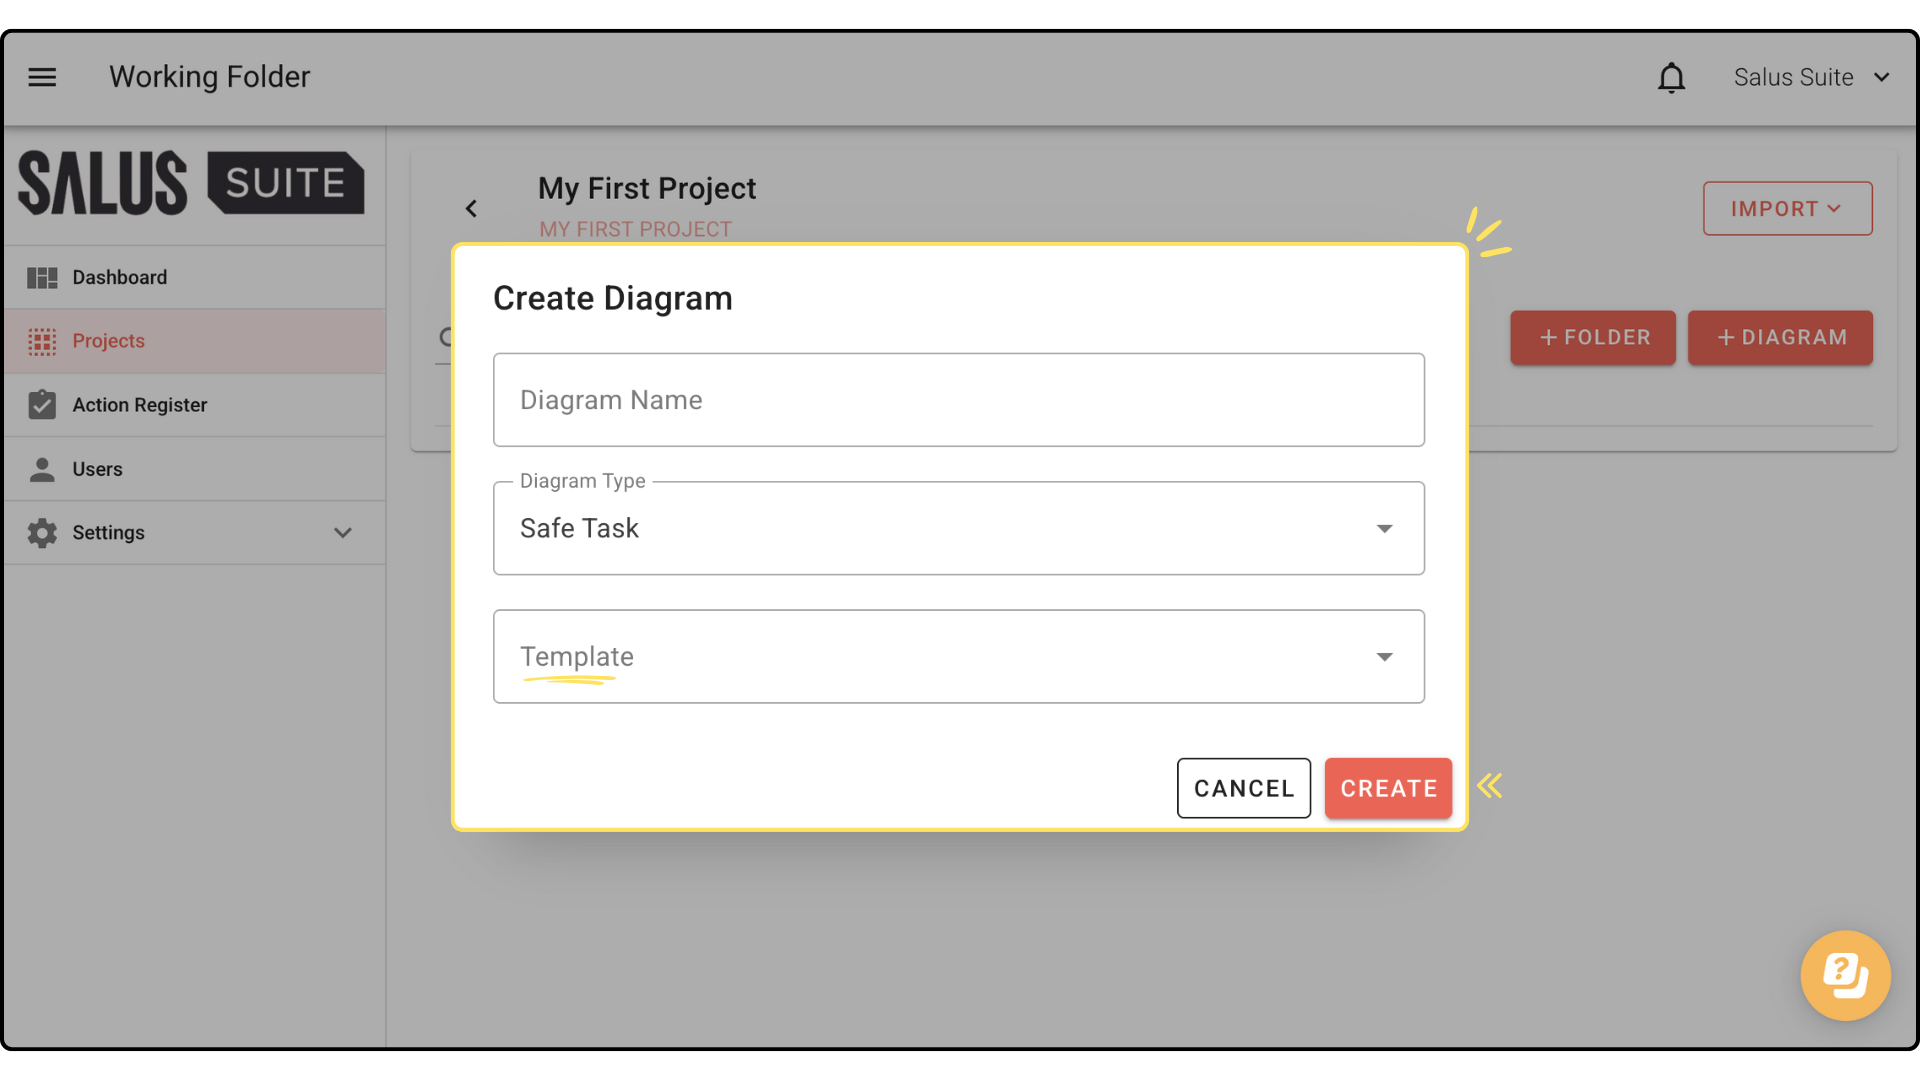
Template Import
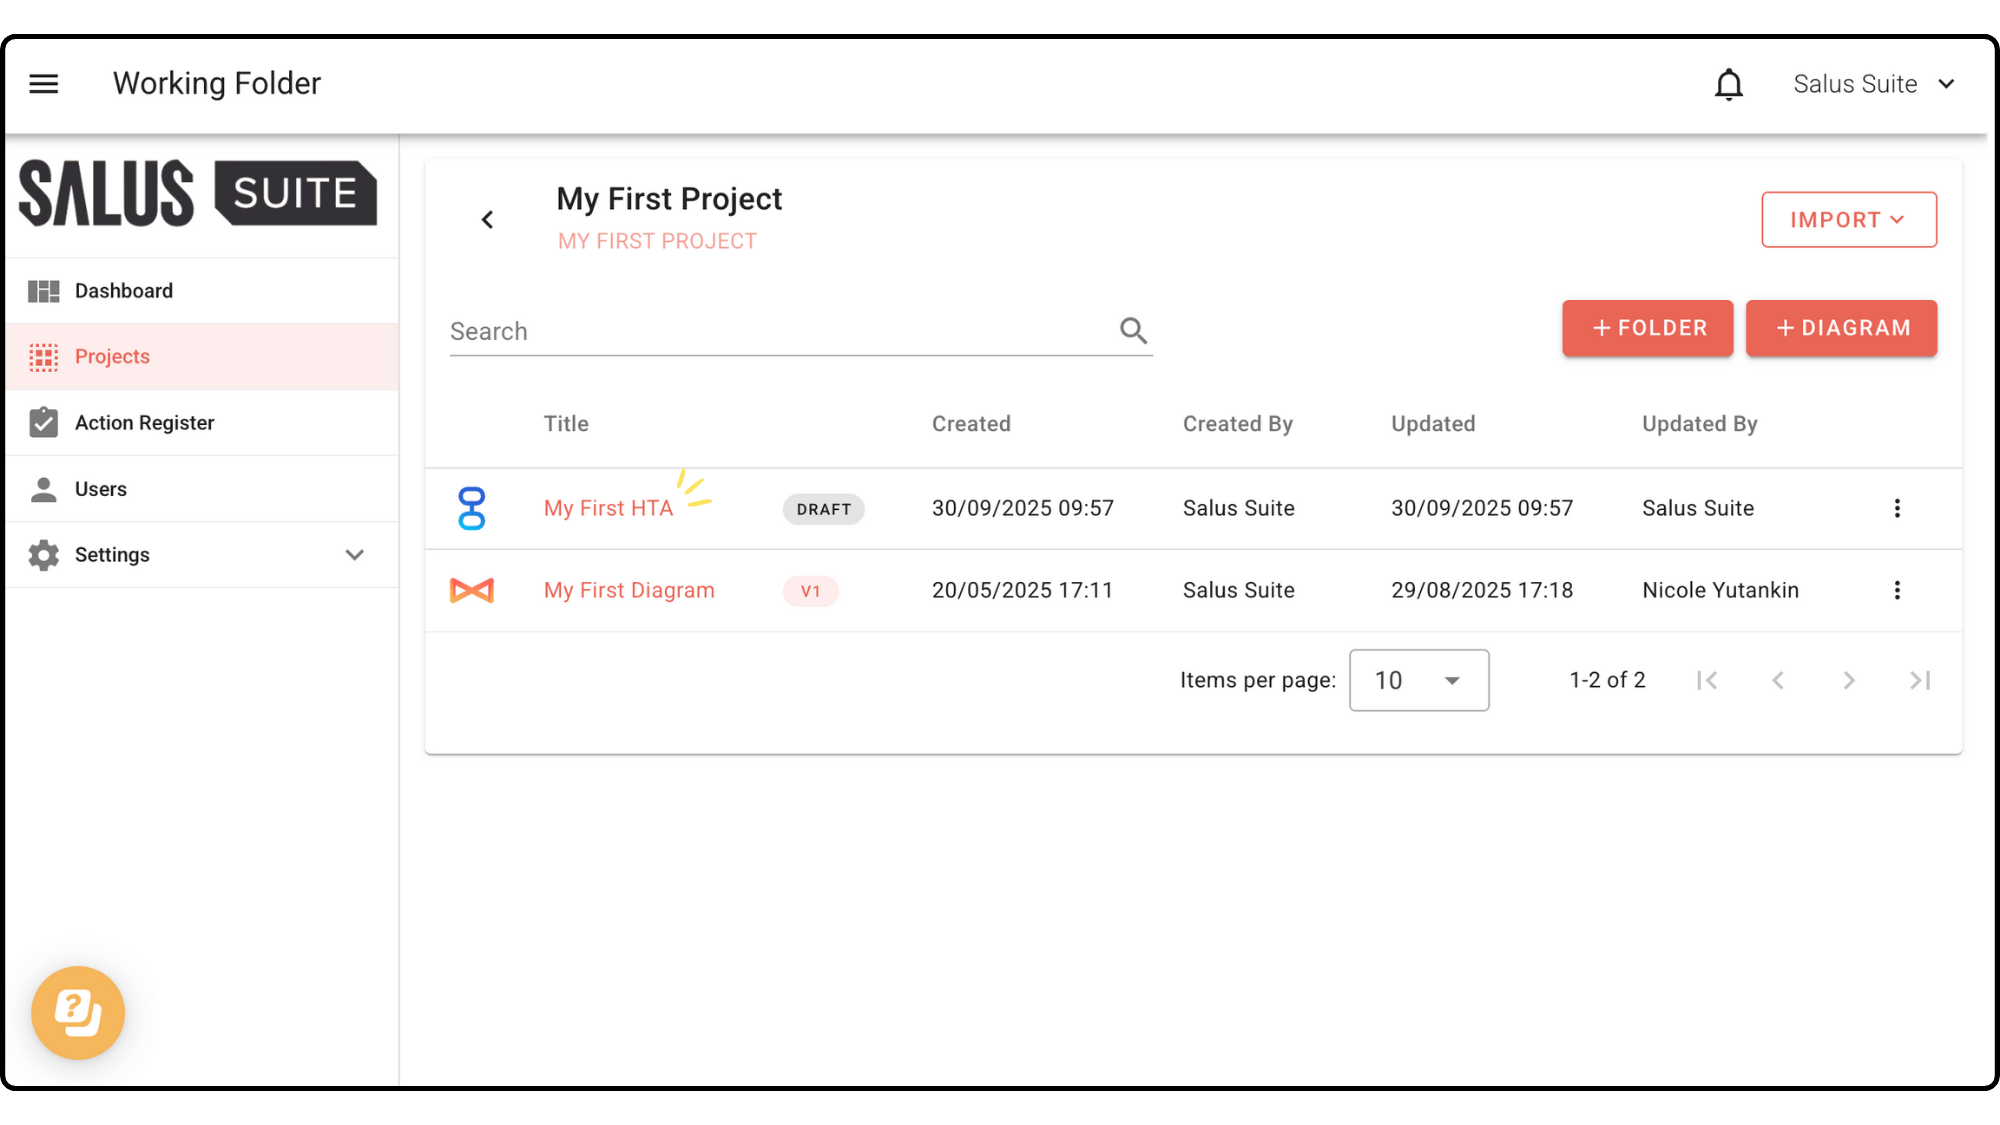
Step 1: Create a project or open an existing one.
Step 2: In the project, click IMPORT. Then, select Diagram from the dropdown. 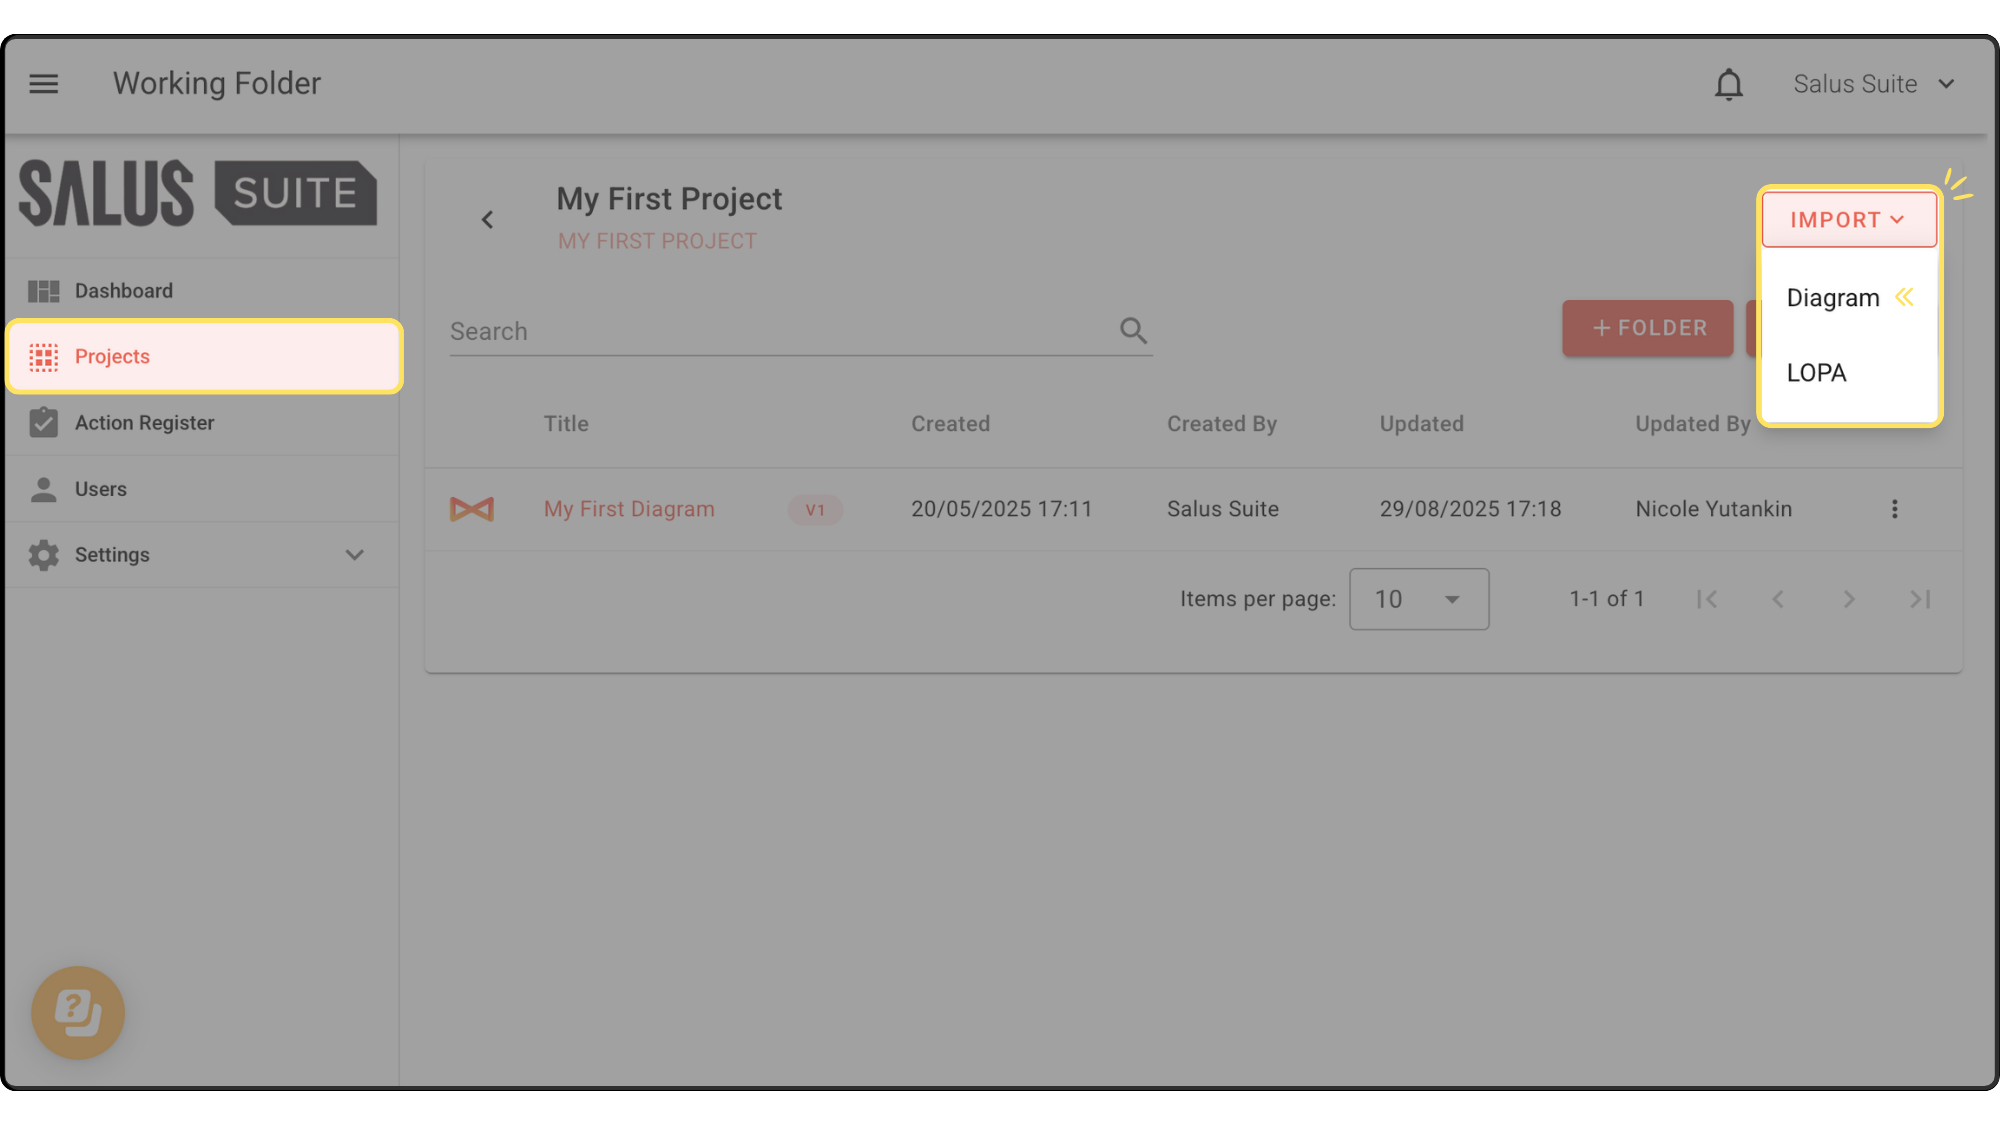
Step 3: If you have no template yet, click Download Template, then select Safe Task. 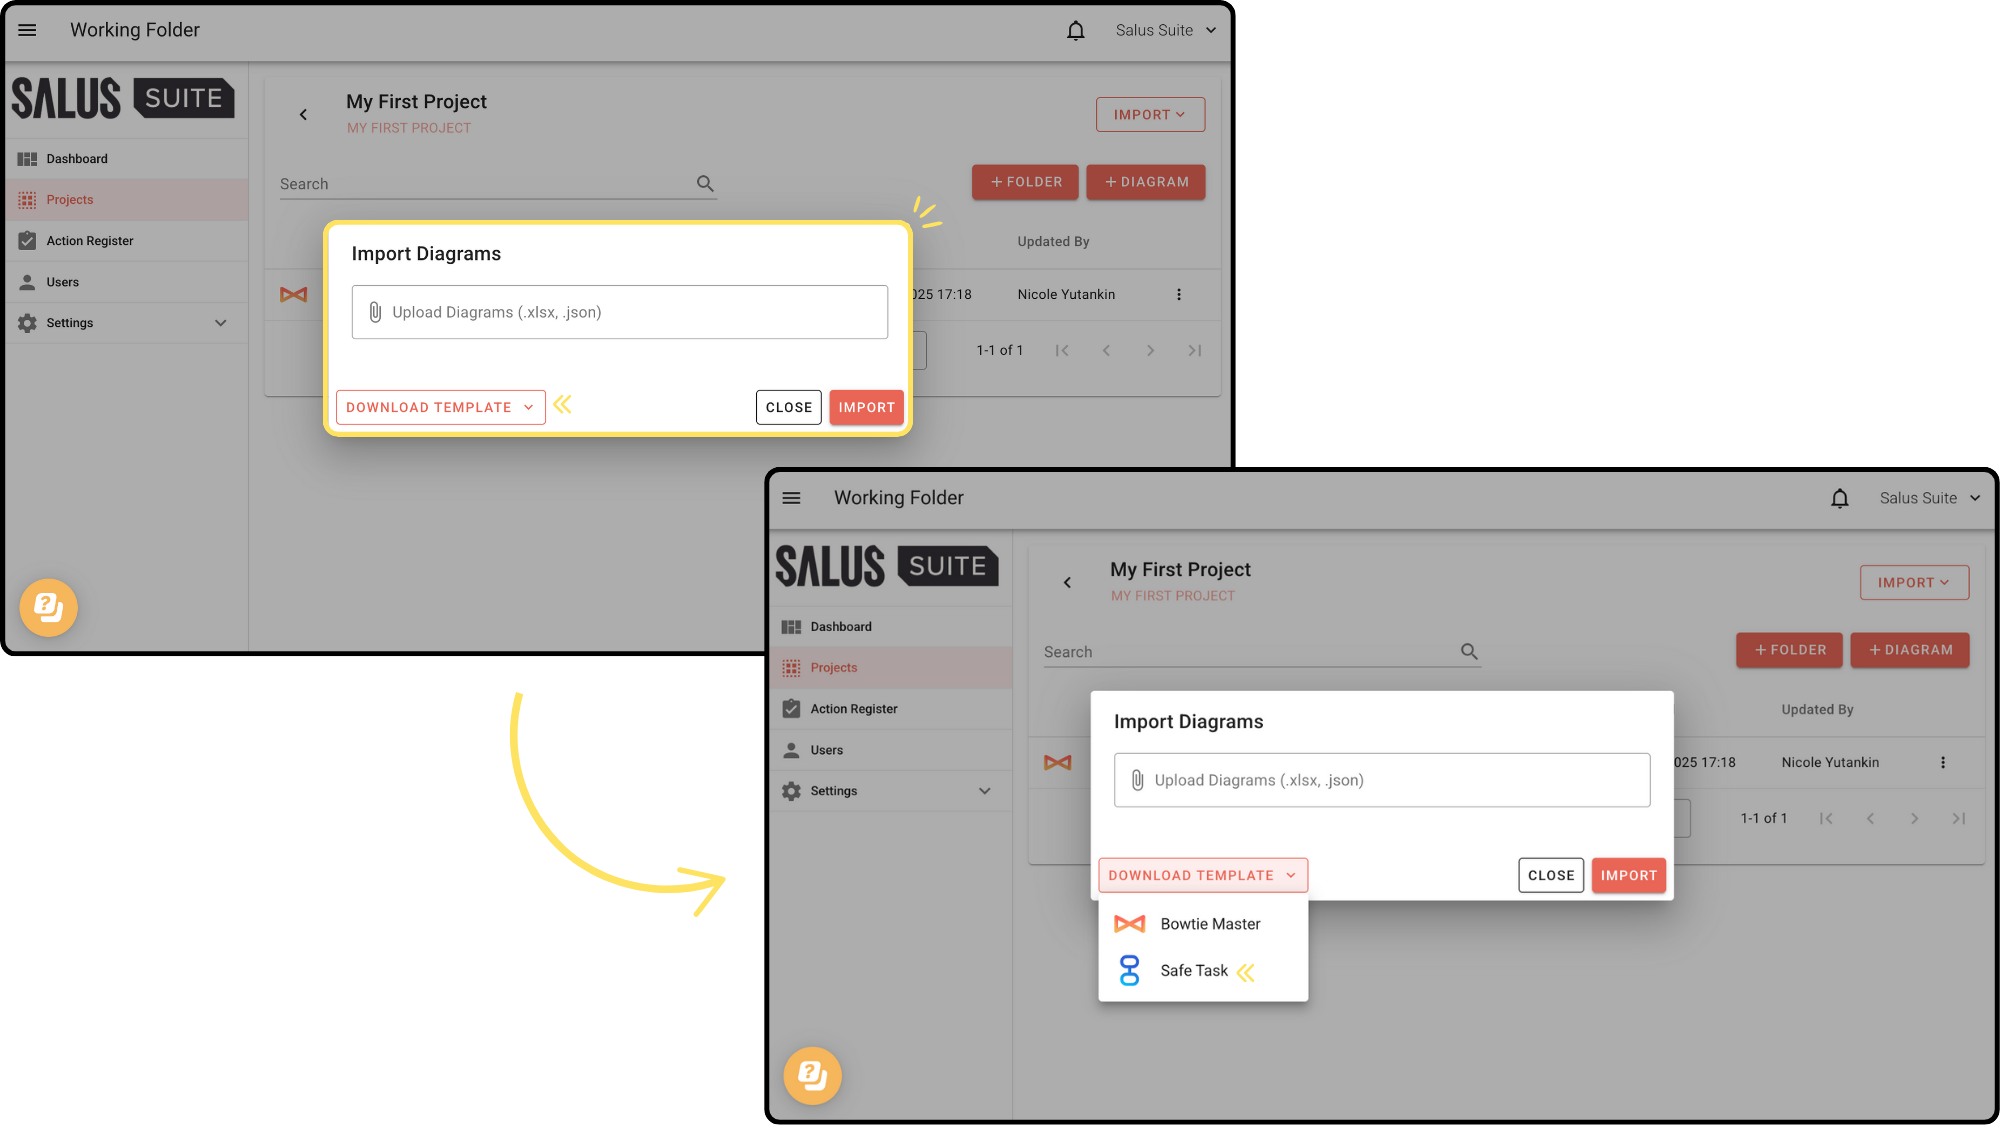
An Excel file version of the Safe Task template will be downloaded to your computer. 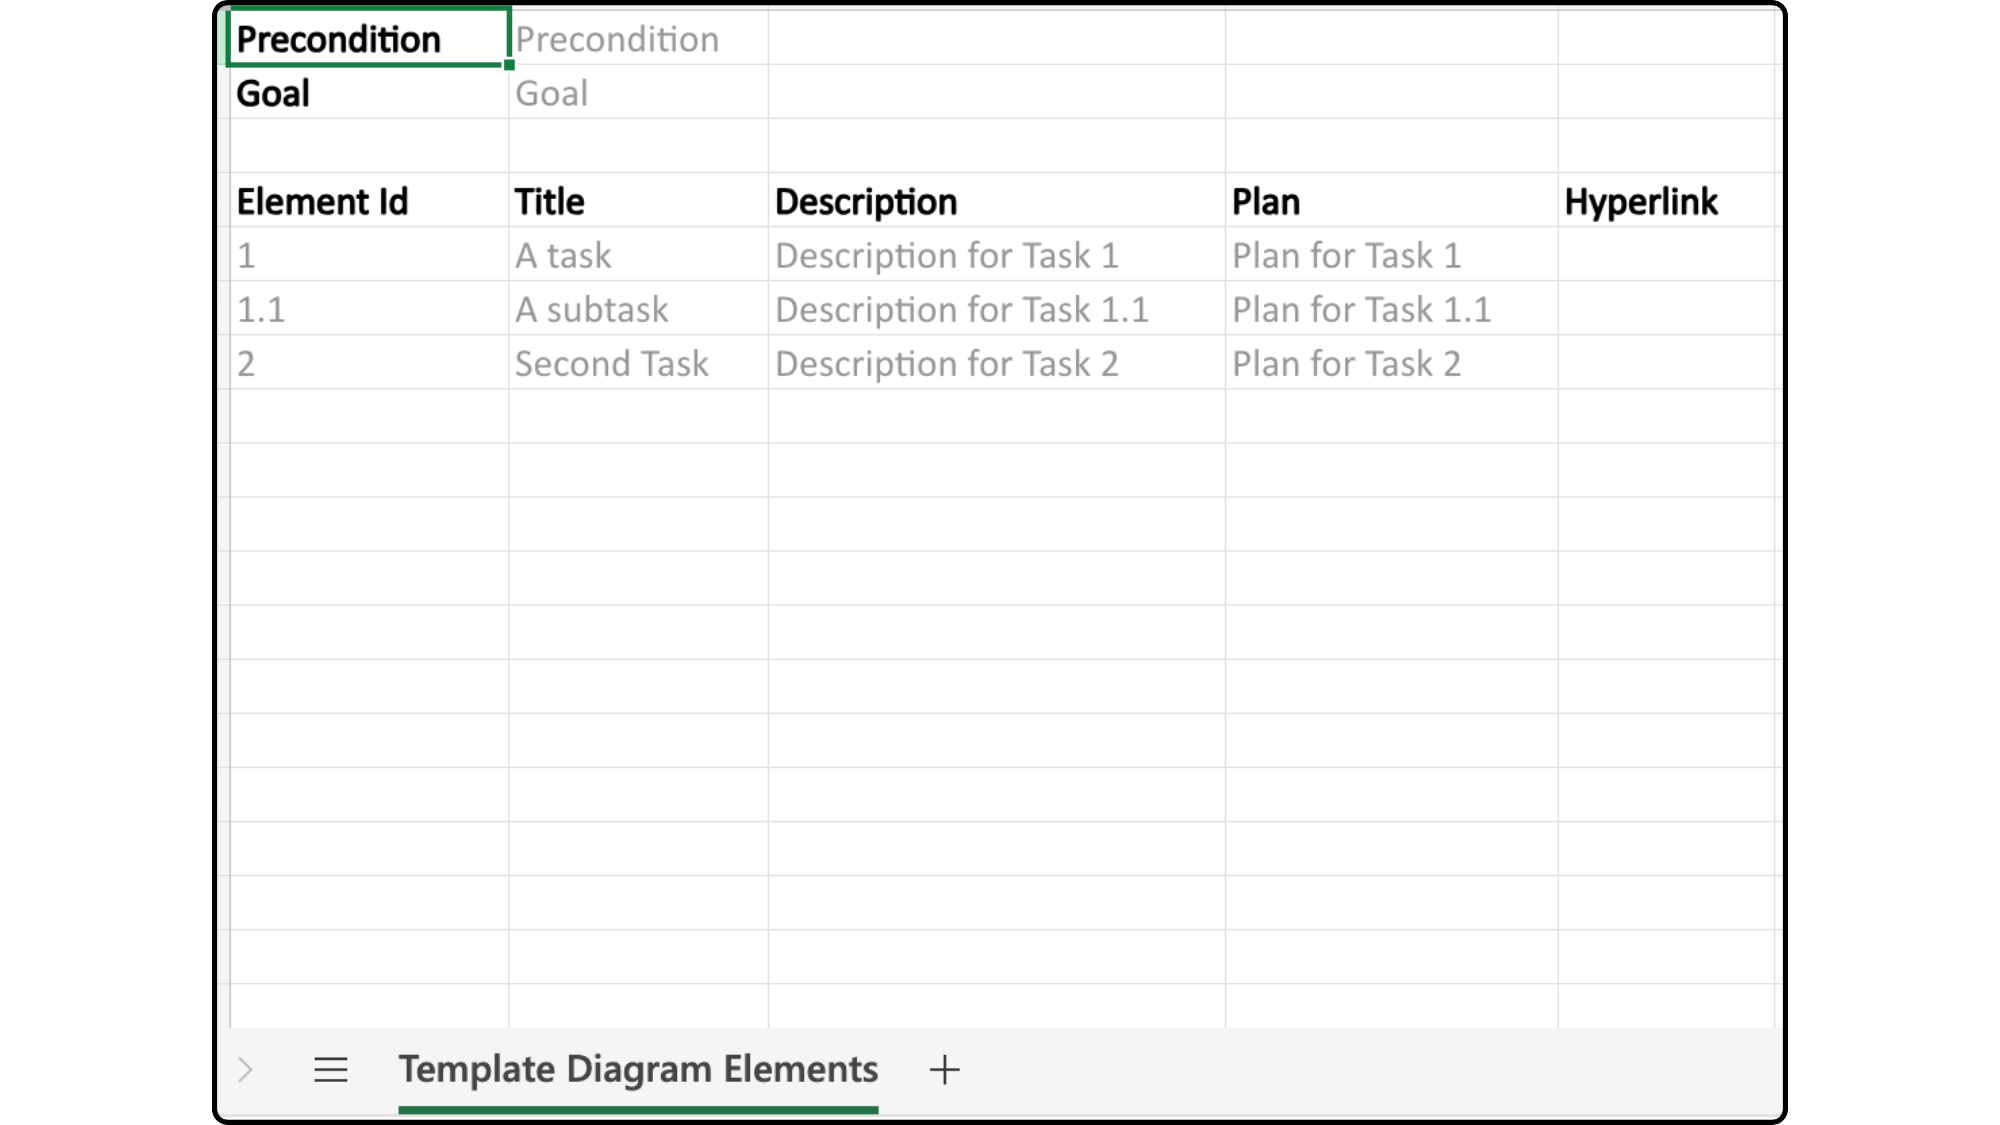
Step 4: To import the template, click Upload Diagrams. Select the template file. 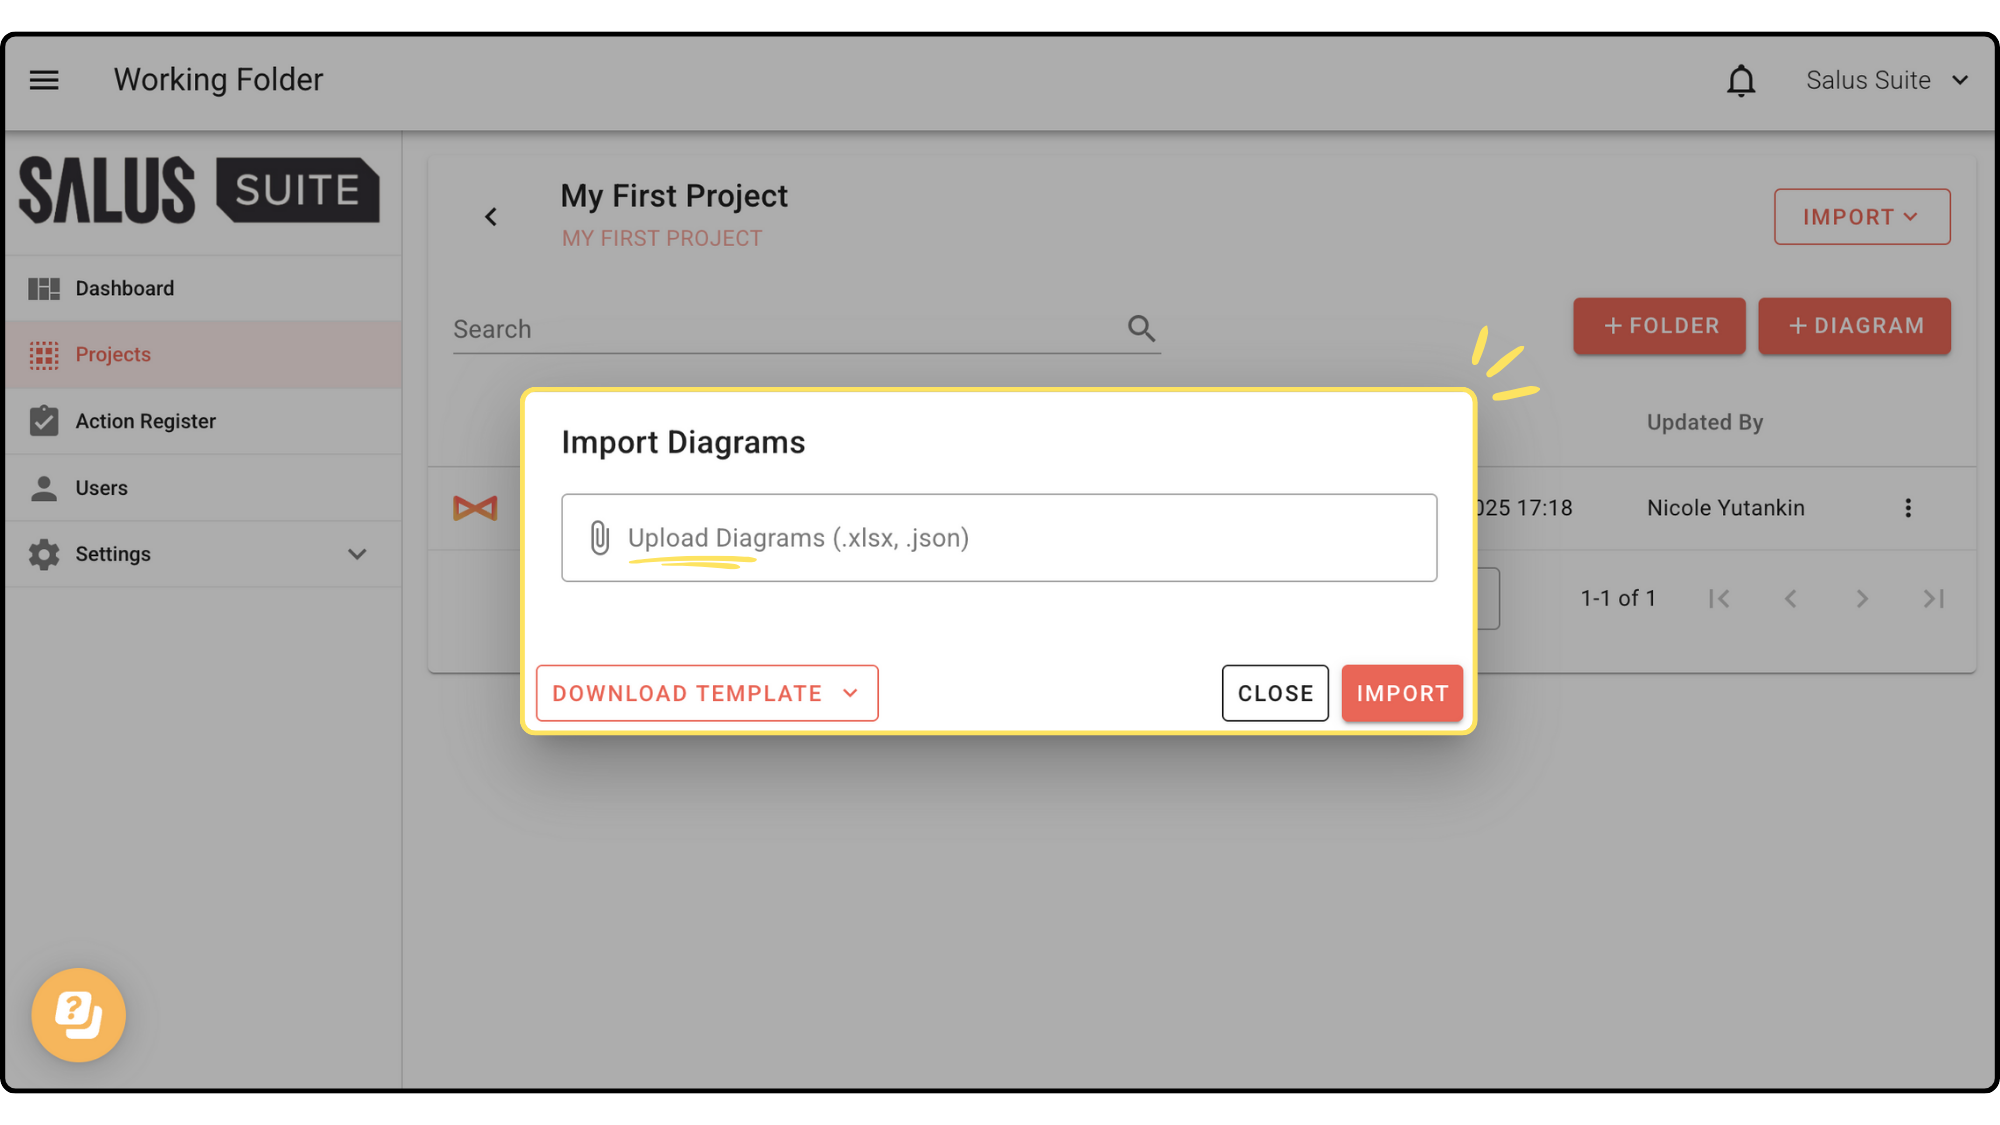
Note: The system will only accept files with “Template” in the filename. If the file name does not include “Template,” it will be uploaded as a backup instead.
Step 5: In the Diagram Type, select Safe Task. Then add a Diagram Name. Click Import. 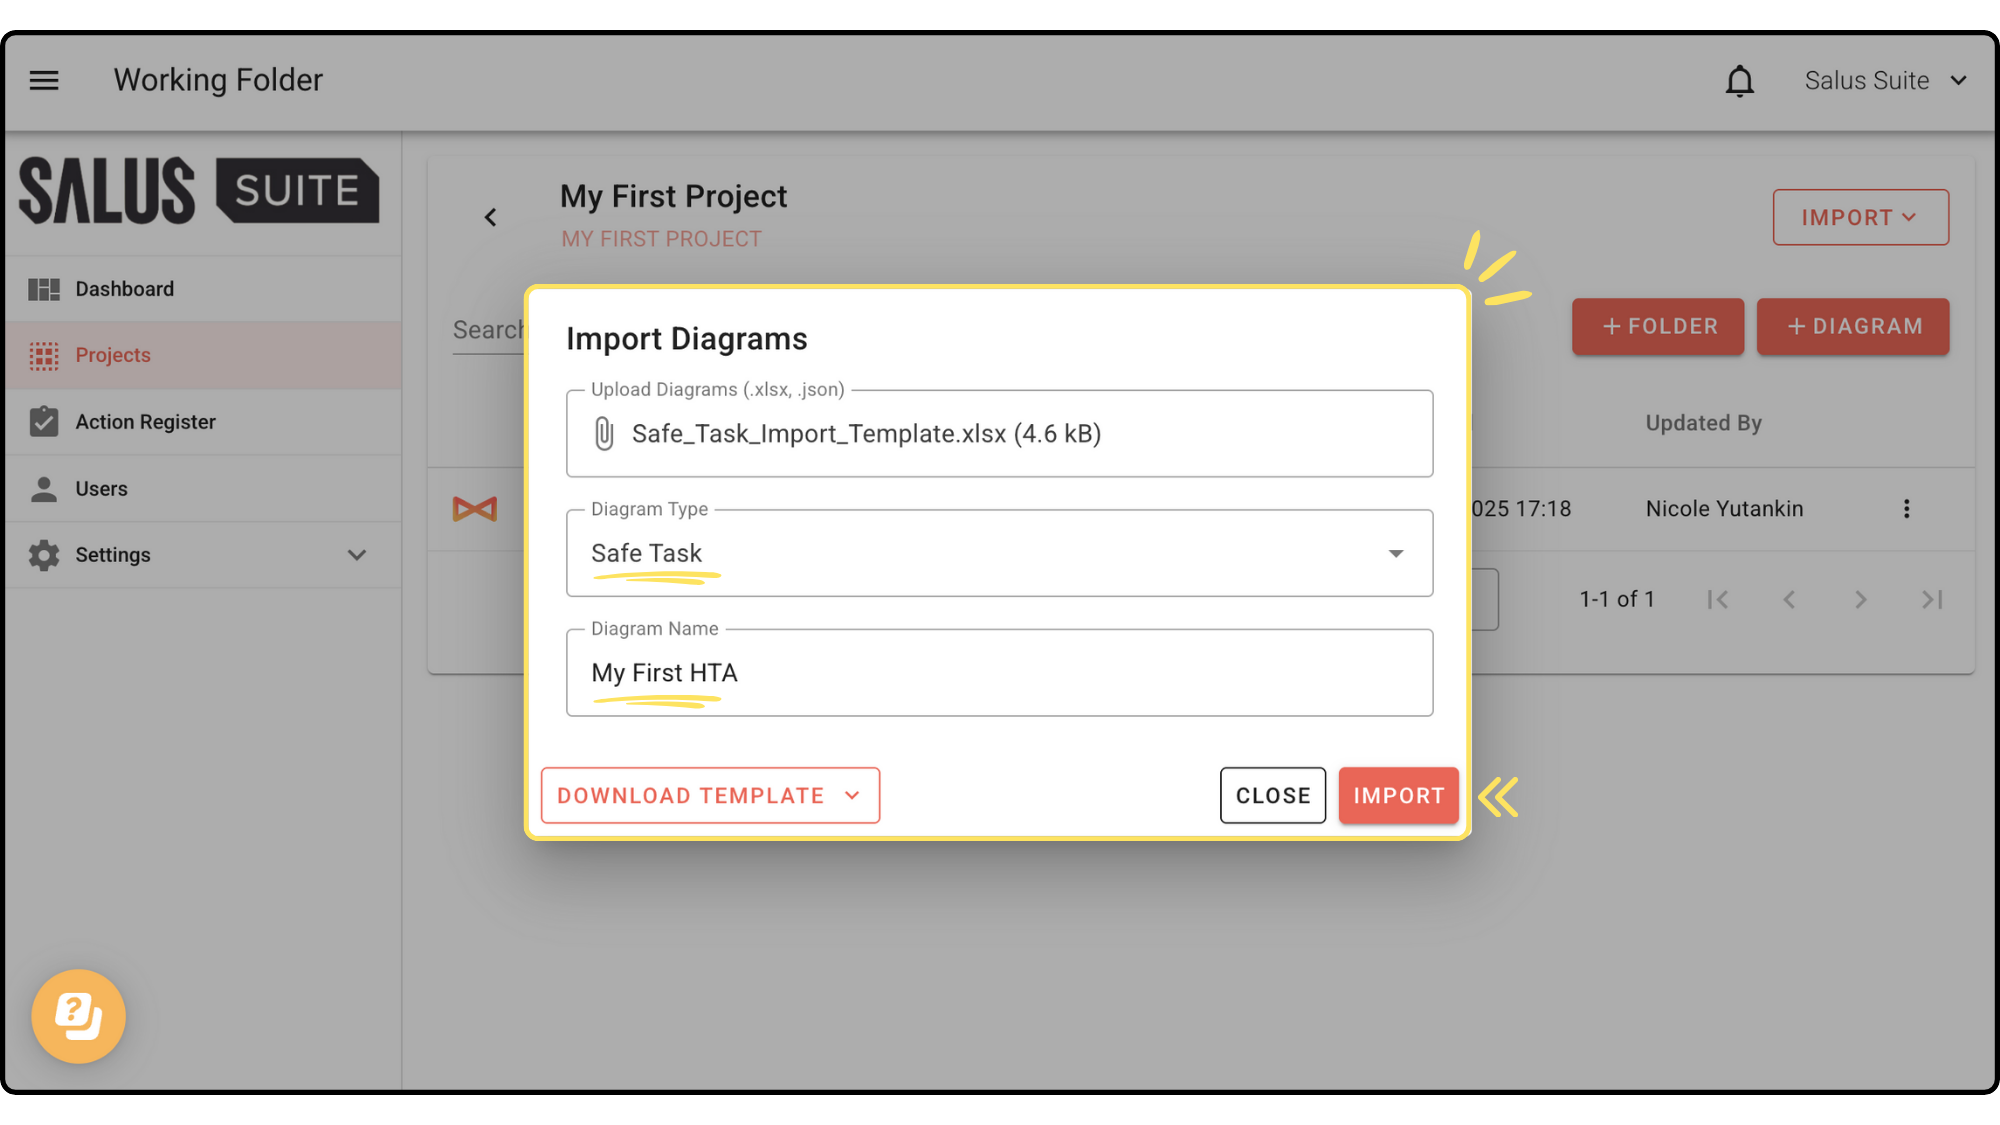
Your new Safe Task diagram will be uploaded into your projects folder.